
Free Shipping
On Orders $49+
On Orders $49+

Opportunities to use vinyl has been popping up all over the place for me lately and I am so happy with the results! I wanted to make a flower pot for Mother’s Day…

I know vinyl can be intimidating at first, but trust me it’s easier than you think! Applying vinyl to a curved surface is a little trickier than a flat surface, but I will share some secrets with you to make it easier!
I used my Silhouette Cameo to design this saying, but you can follow this same process for any vinyl project and use different cutting machines too. Make sure you measure your pot and keep your words within your measurements. I used two separate fonts- one was the “regular” font and one was for words I wanted to accent in my quote:

When cutting vinyl you’ll want to make sure you do not cut through the backing sheet. You are only looking to cut through the vinyl itself. Each machine is calibrated slightly differently, but I have found that a blade length of 2 and the preset “vinyl” settings work well for me with my Cameo!
Once you cut your design, you’ll need to “weed.” Weeding is removing any extra vinyl that you do not want on your final project. I find weeding very relaxing and almost therapeutic. Some people find it a pesky task, but I like picking out all the little bits… Start by removing the extra around the text, this part should be pretty easy.

Once the big stuff is out of the way, grab a hook tool and take care of the little insides of the design.

I found that if you work on a piece of cardboard you can jab the sharp end of the hook tool through the middle of the letters (and the backing sheet), it will pull the pieces right out. I am sure that is breaking some unspoken vinyl rule, but it works!
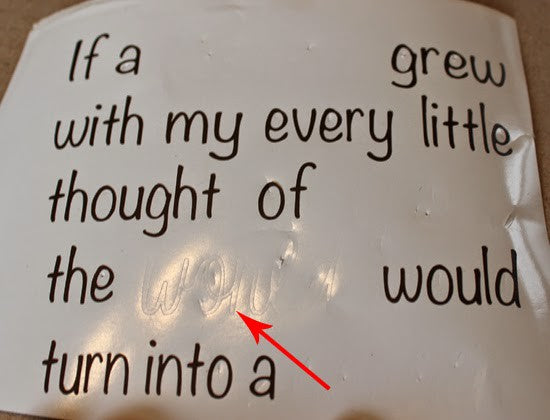
Now, since I have two different colors of vinyl, I wanted to remove the “accent words” in brown. You can see where the blade left an impression of the vinyl- this is going to help me “cheat the system.”
Usually when you have more than one color of vinyl, you would make registration marks to make sure you are getting your layers lined up perfectly. Since I was only doing two colors (and just 4 words in white), I didn’t want to waste all that extra white vinyl. I just moved all my white words into the corner of the cutting window and cut them out at once. To line the vinyl up correctly, I used those faint score lines the blade left when I cut the brown layer. It was a little tedious to move these delicate words by hand, but it worked like a charm. (I don’t always like to use transfer paper, have you seen my Easter Peeps Charger project?) The key is to get one portion of the word lined up right and the rest of the word will fall in place (I usually use either the first or last letter of the word- or something that stick up, like the top of the L in world, below).

Once you have your accent words in place, cover the whole design with a piece of transfer paper. Next you’ll want to burnish your vinyl onto your transfer paper (that is, rub it over really well so the vinyl will stick to the transfer paper and not the backing sheet). I used my Cricut bone folder, but you can use a scraper or credit card as well. Just make sure you go over all the letters well.

Now you can peel your transfer paper off the backing sheet and your letters should all stick to the transfer sheet. If some letters are not sticking, put the transfer paper back down and rub over the letter again.
Next you’ll want to put your vinyl onto your pot. I’ll admit, I have never applied something this size to a curved surface, but I assumed it was going to be like a smaller, simpler project I’ve done and I could just line it up with the top of the pot and smooth it down…. that does not work…

This lead to serious frustrations and the vinyl was NOT going on straight… transfer paper was sticking to itself, letters were sticking where they didn’t belong – it was a total disaster. I was ready to scratch this project…
I went back and did the vinyl again with a little trick I found, but it took two hands so unfortunately there were no photos taken (one of the downsides to being the crafter and the photographer!) It did work though:

I love the way this pot turned out and I can’t wait to make some flowers to put inside of it (of course, a real plant would work too, but then you have to water it, and I, my friends, do not have a green thumb).
I hope you found this tutorial useful!

Although putting vinyl on a curved surface requires a few tricks and some practice, I think I will try it again! Now I just need to come up with some clever plant sayings… any suggestions?
Wood Plant Pot Stakes with Cricut Iron-On

Comments
Leave a comment