
Free Shipping
On Orders $49+
On Orders $49+


Pineapples have long been a symbol of hospitality so who wouldn’t want to make a fabulous pineapple welcome sign like the one above? Click below and let me show you how I made this sign.
I designed this pineapple file in Silhouette studio as the first of the series of 12 exclusive vinyl designs you can only find right here at Craft-e-Corner. >>CLICK HERE TO BUY ALL 12 VINYL DESIGNS<<
This design is in two pieces: the green top part and the yellow part. These are grouped separately so you can cut just the color you want. If you want to resize this to fit your project size, make sure you select both pieces and resize them at the same time:

I started this project with a kitchen cabinet door I found at a rummage sale. I painted the door white and added in some pink stripes before sanding it all down a little to give it a shabby look:

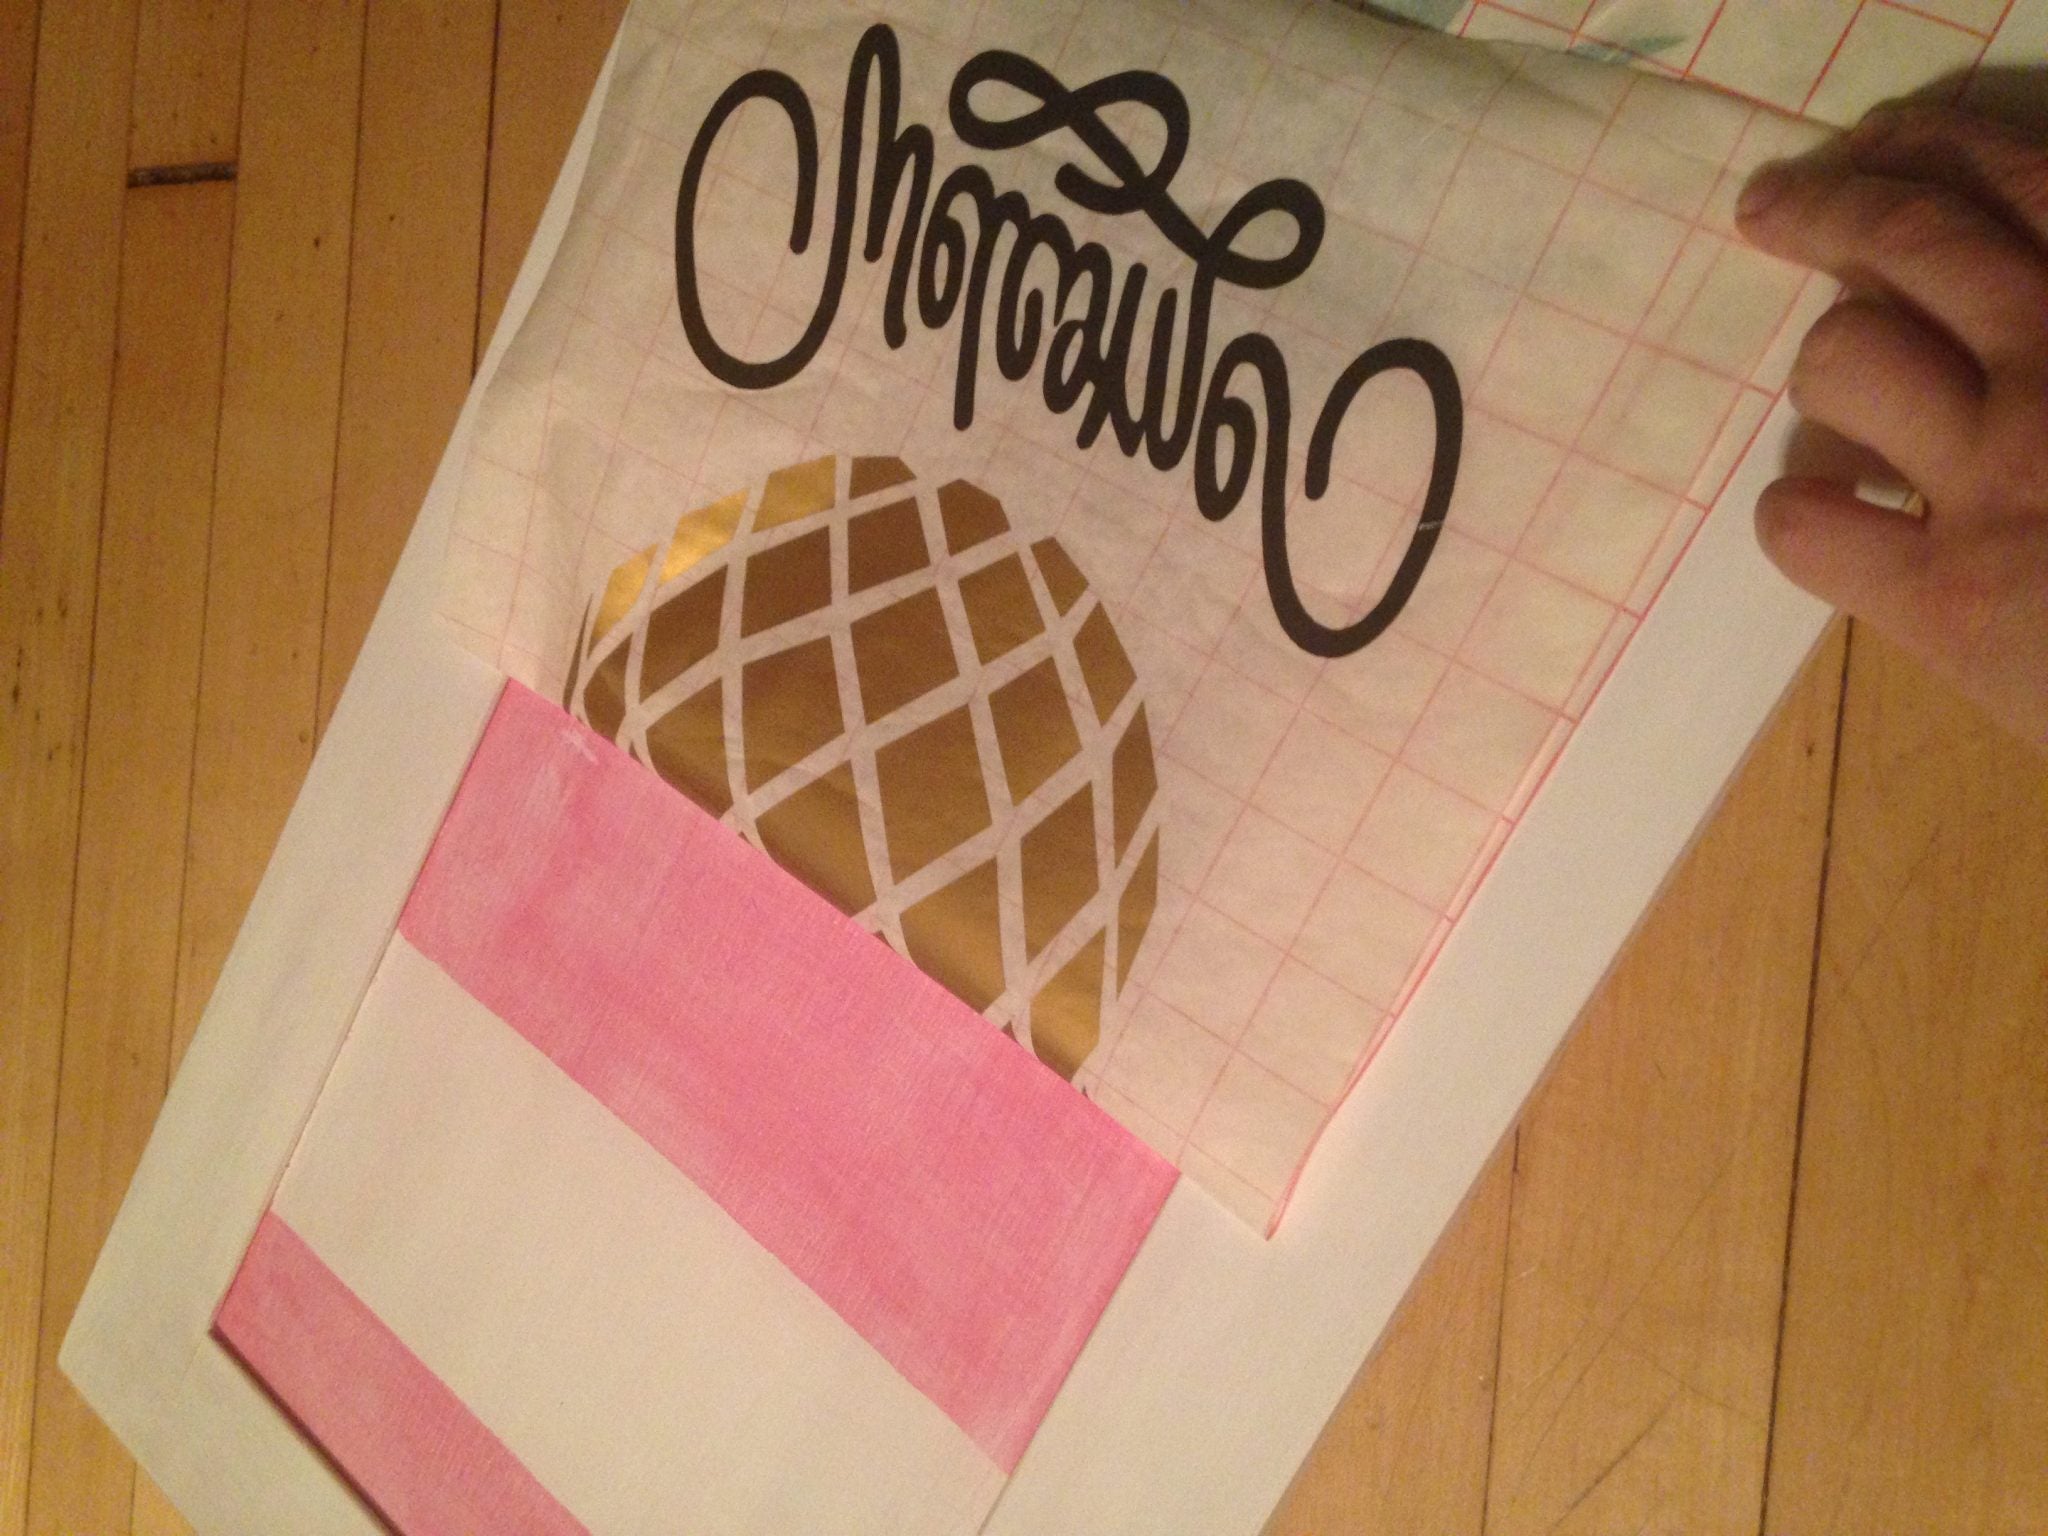
To ensure that my design fit on my sign, I measured the sign and and drew a box the same size in Silhouette studio. To make the pineapple fit my sign, I selected both pieces at once (hold shift and click each piece) and then dragged the corner of the box out and down to make this pineapple jumbo sized. Next I added the Welcome at the bottom. As you can tell, this was a rather large sign (24″ long!) that extended beyond the size of my cutting mat:

To help make sure all the pieces of the design were centered in the end, I added two little boxes at the top and the bottom of my design. These were centered so I could make sure the design was centered on the final project.
Next I cut each piece of the pineapple in the respective colors. In this case, I used green, gold and black. I cut each part separately. To cut the different colors, I dragged the piece I wanted to cut onto my cutting mat in the software and moved the rest of the design off the cutting mat:

Once I had all the pieces cut, I weeded the designs (removed the parts that were not part of the design) and trimmed the vinyl backing sheet as close as possible to the vinyl so I could align everything. I laid out my design on my sign and used the boxes on the top and bottom to ensure the design was centered on the board:

Once I was happy with my spacing, I used small bits of masking tape to tape the pieces into place. I taped them right on the sign (if you look closely at the next picture, you can see the bits of tape under the transfer paper). The tape helped to ensure that the pieces would not move while transferring them.
To transfer the design, I decided to do the “hinge method” of transferring. I took a piece of transfer paper and taped it to the top of the sign. I flipped the transfer paper off of the sign and removed the backing sheet. Next I smoothed the transfer paper down to cover the whole design:

Once I had the entire design covered, I used a scraper to burnish the vinyl onto the transfer paper to lift it off the individual pieces of vinyl backing sheets.

Once I rubbed over the entire design, I started to work the transfer paper back towards the top, ensuring that all the pieces of the design stuck to the transfer paper as I went and removing the pieces of backing sheets as I went:

(I apologize for the poor quality of the photo above. Once the design was transferred to the transfer paper, the overall size was 4 feet long!)
Now that the entire design was stuck to the transfer paper, the next step was to transfer the design to the board. I took the backing sheet from the transfer paper and cut it in half width wise. I stuck the transfer paper pieces onto the design and left a small gap in the middle, exposing a portion of the vinyl (see arrows below)

I then folded the whole design on to the sign:

The only sticky part of the design at this point is the small space in the middle of the pineapple (indicated by the arrows above). I burnished this small section onto the sign. This anchored the design to the board.
To finish transferring the design, I flipped the bottom of the design up so it laid on top of the top part:

I removed the transfer paper backing off the bottom part of the design:
and then flipped it back down so it was in place on the sign. I pressed the vinyl down but left the transfer paper on the design. Next, I flipped the top part of the design so it laid on top of the bottom part. I removed the backing sheet from the top half and then flipped the design onto the board and burnished the entire design. Once I had the whole design secure, I removed the transfer paper and added a saw tooth hanger to the back of the cabinet door making a sign:

This method of vinyl application is called the hinge method because you are hinging the design… it is sort of like a binding in a book. The exposed part in the middle holds everything together so you can flip the design like book pages while keeping everything aligned.
This is one way to transfer very large designs and ensure that they line up straight, and it also works well when putting designs on a curved surface.
I hope you enjoyed this project, I know this sign will be welcoming all my guests for years to come!
See more about my 12 Exclusive Craft-e-Corner Vinyl Designs here.


Comments
Leave a comment