Design #3: Dahlia Flowers! Applying Vinyl To The Wall
Flowers are so fun to add to just about any design. They are a nice “space filler” and can bring so much color to a project.
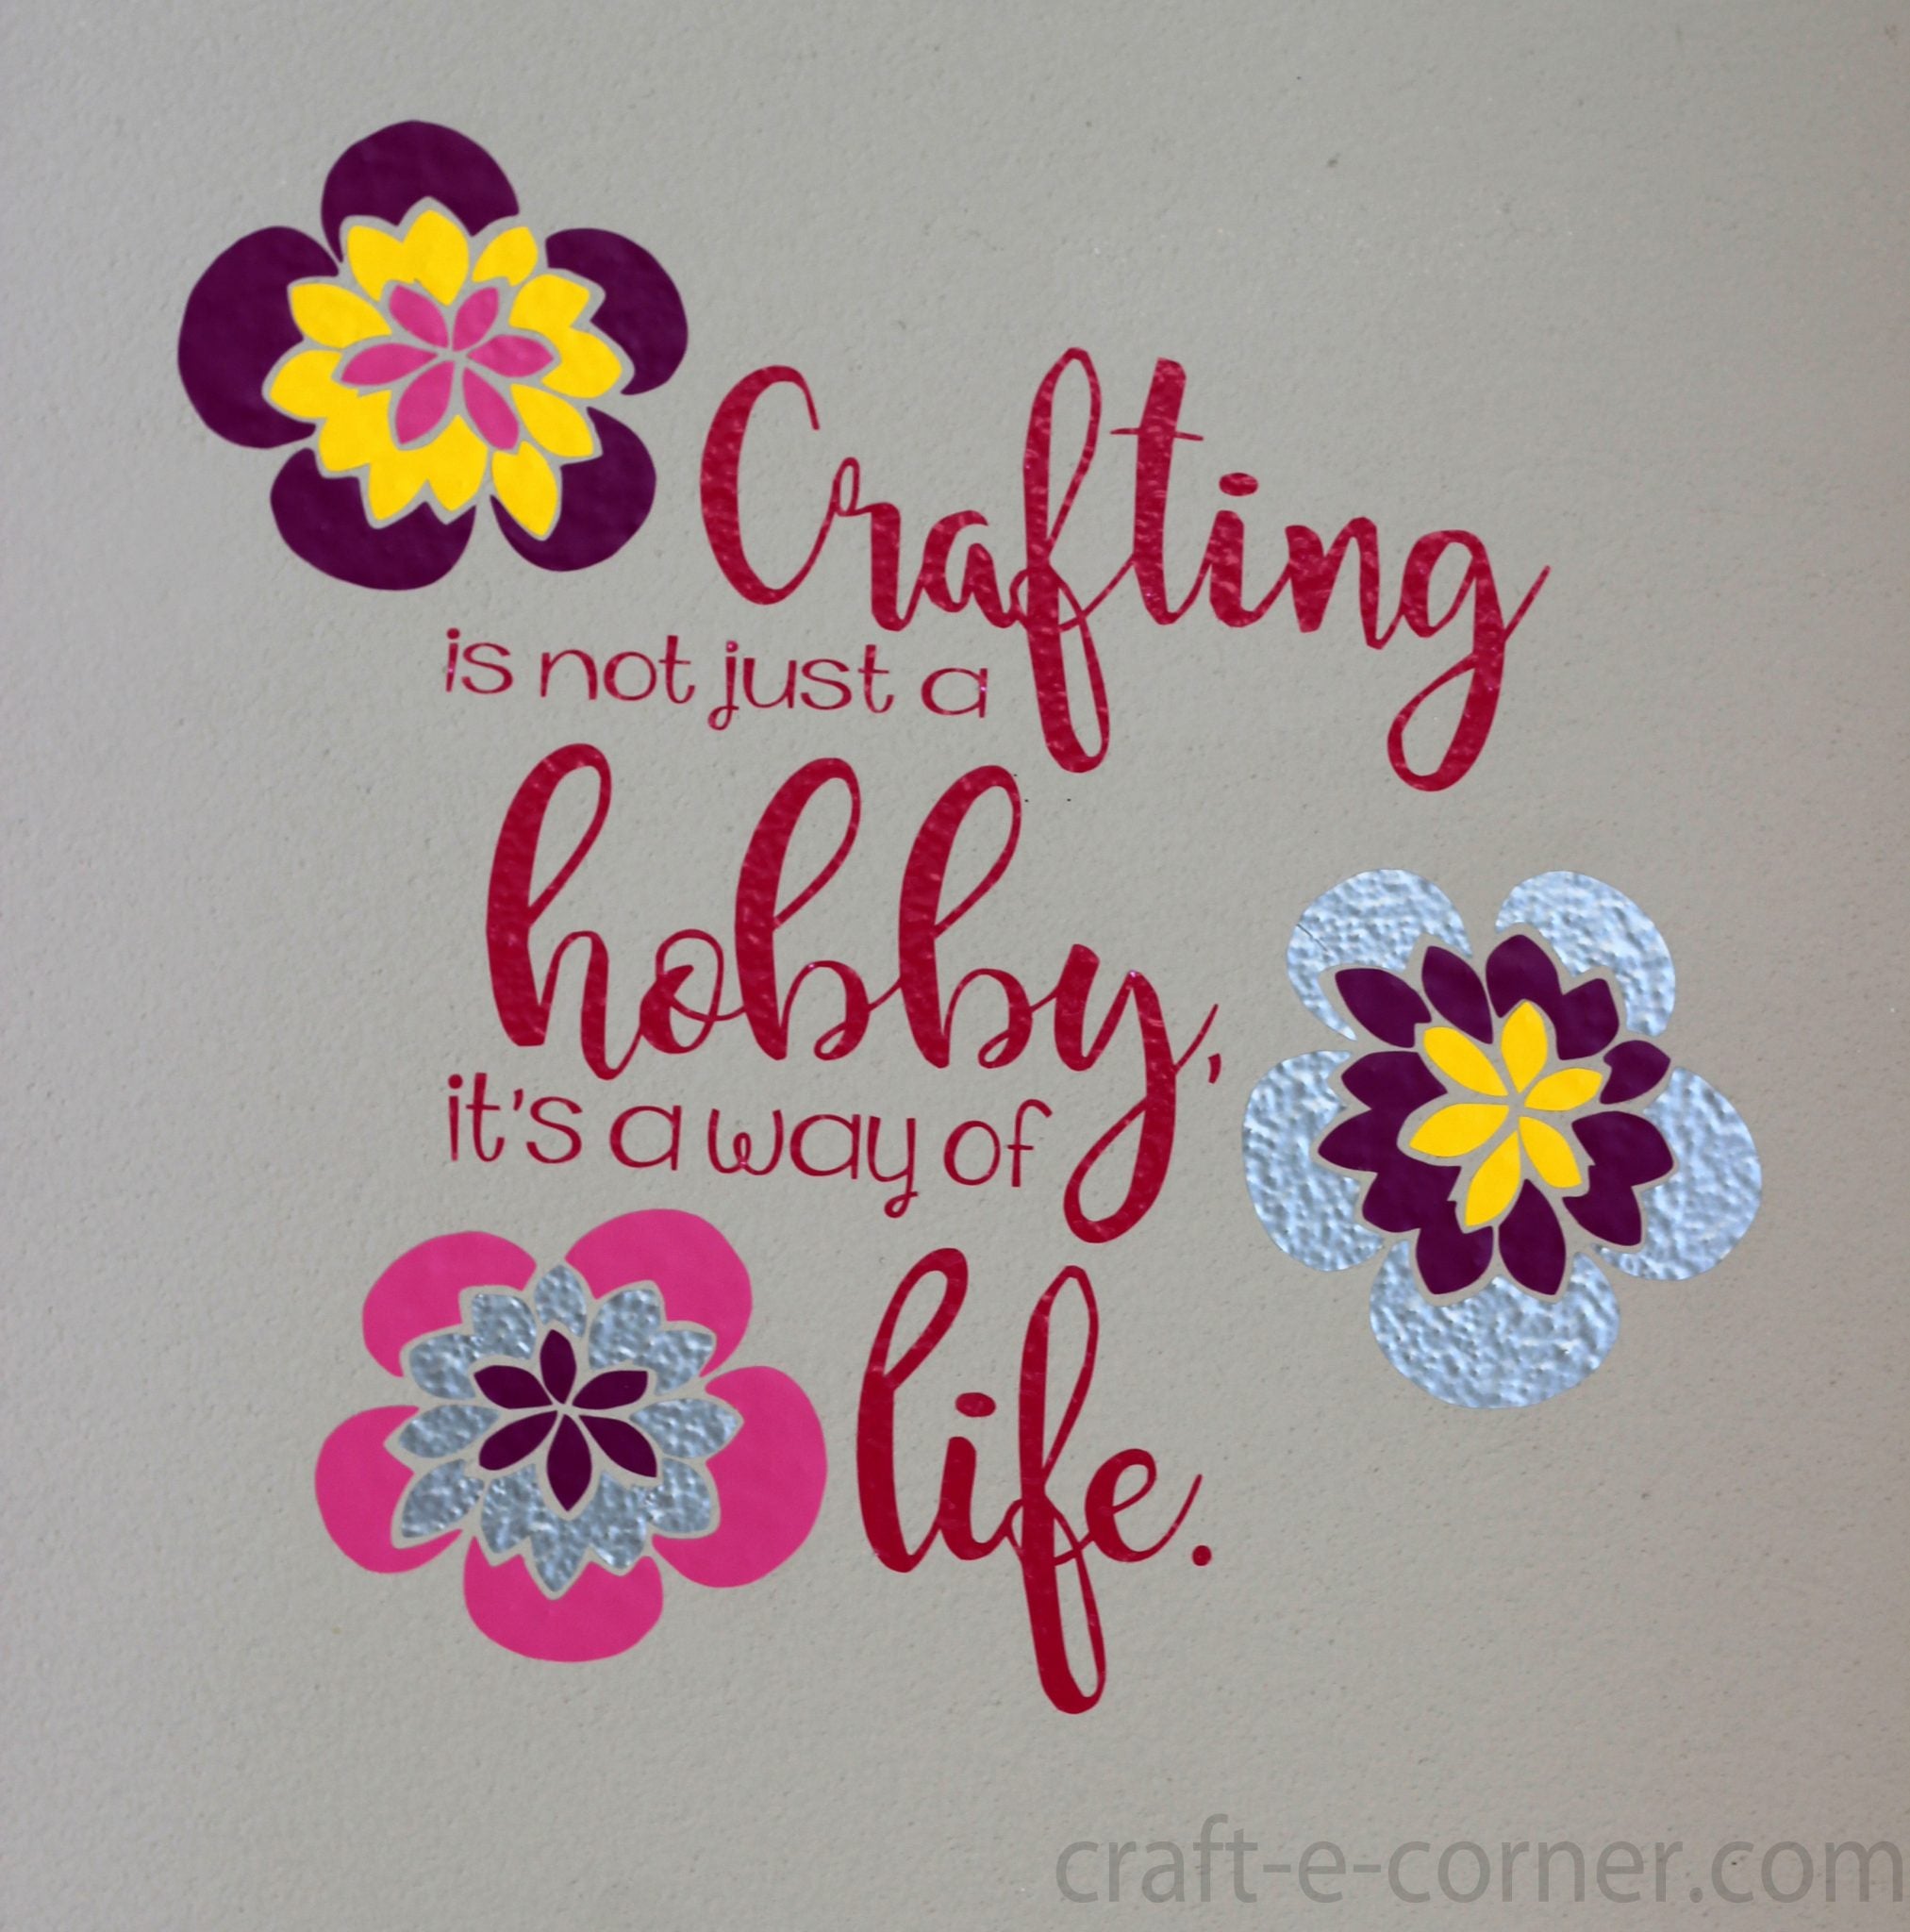
I made this flower design with using many colors in mind, let me show you how I added them to the wall to complete this wall art, you won’t guess the unexpected tool I used for application!
I made this flower design as one of the 12 exclusive vinyl deigns. >>CLICK HERE TO BUY ALL 12 VINYL DESIGNS<<
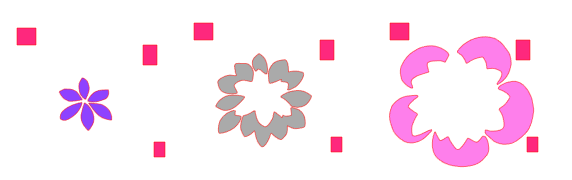
When you first open this file, you will see four flowers:

Each flower in this file has three layers that are grouped together. When you select a flower, you can ungroup it into three separate layers.
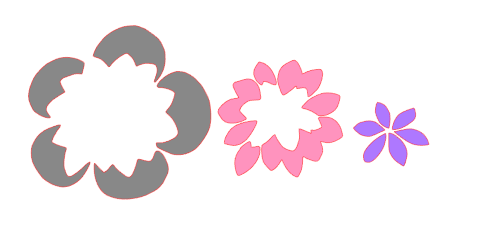
If you ungroup all the layers again, you will be able to move the individual petals and have 18 separate pieces (if you wanted to for some reason):

You can cut each layer a different color, or you could do them all the same color as well.
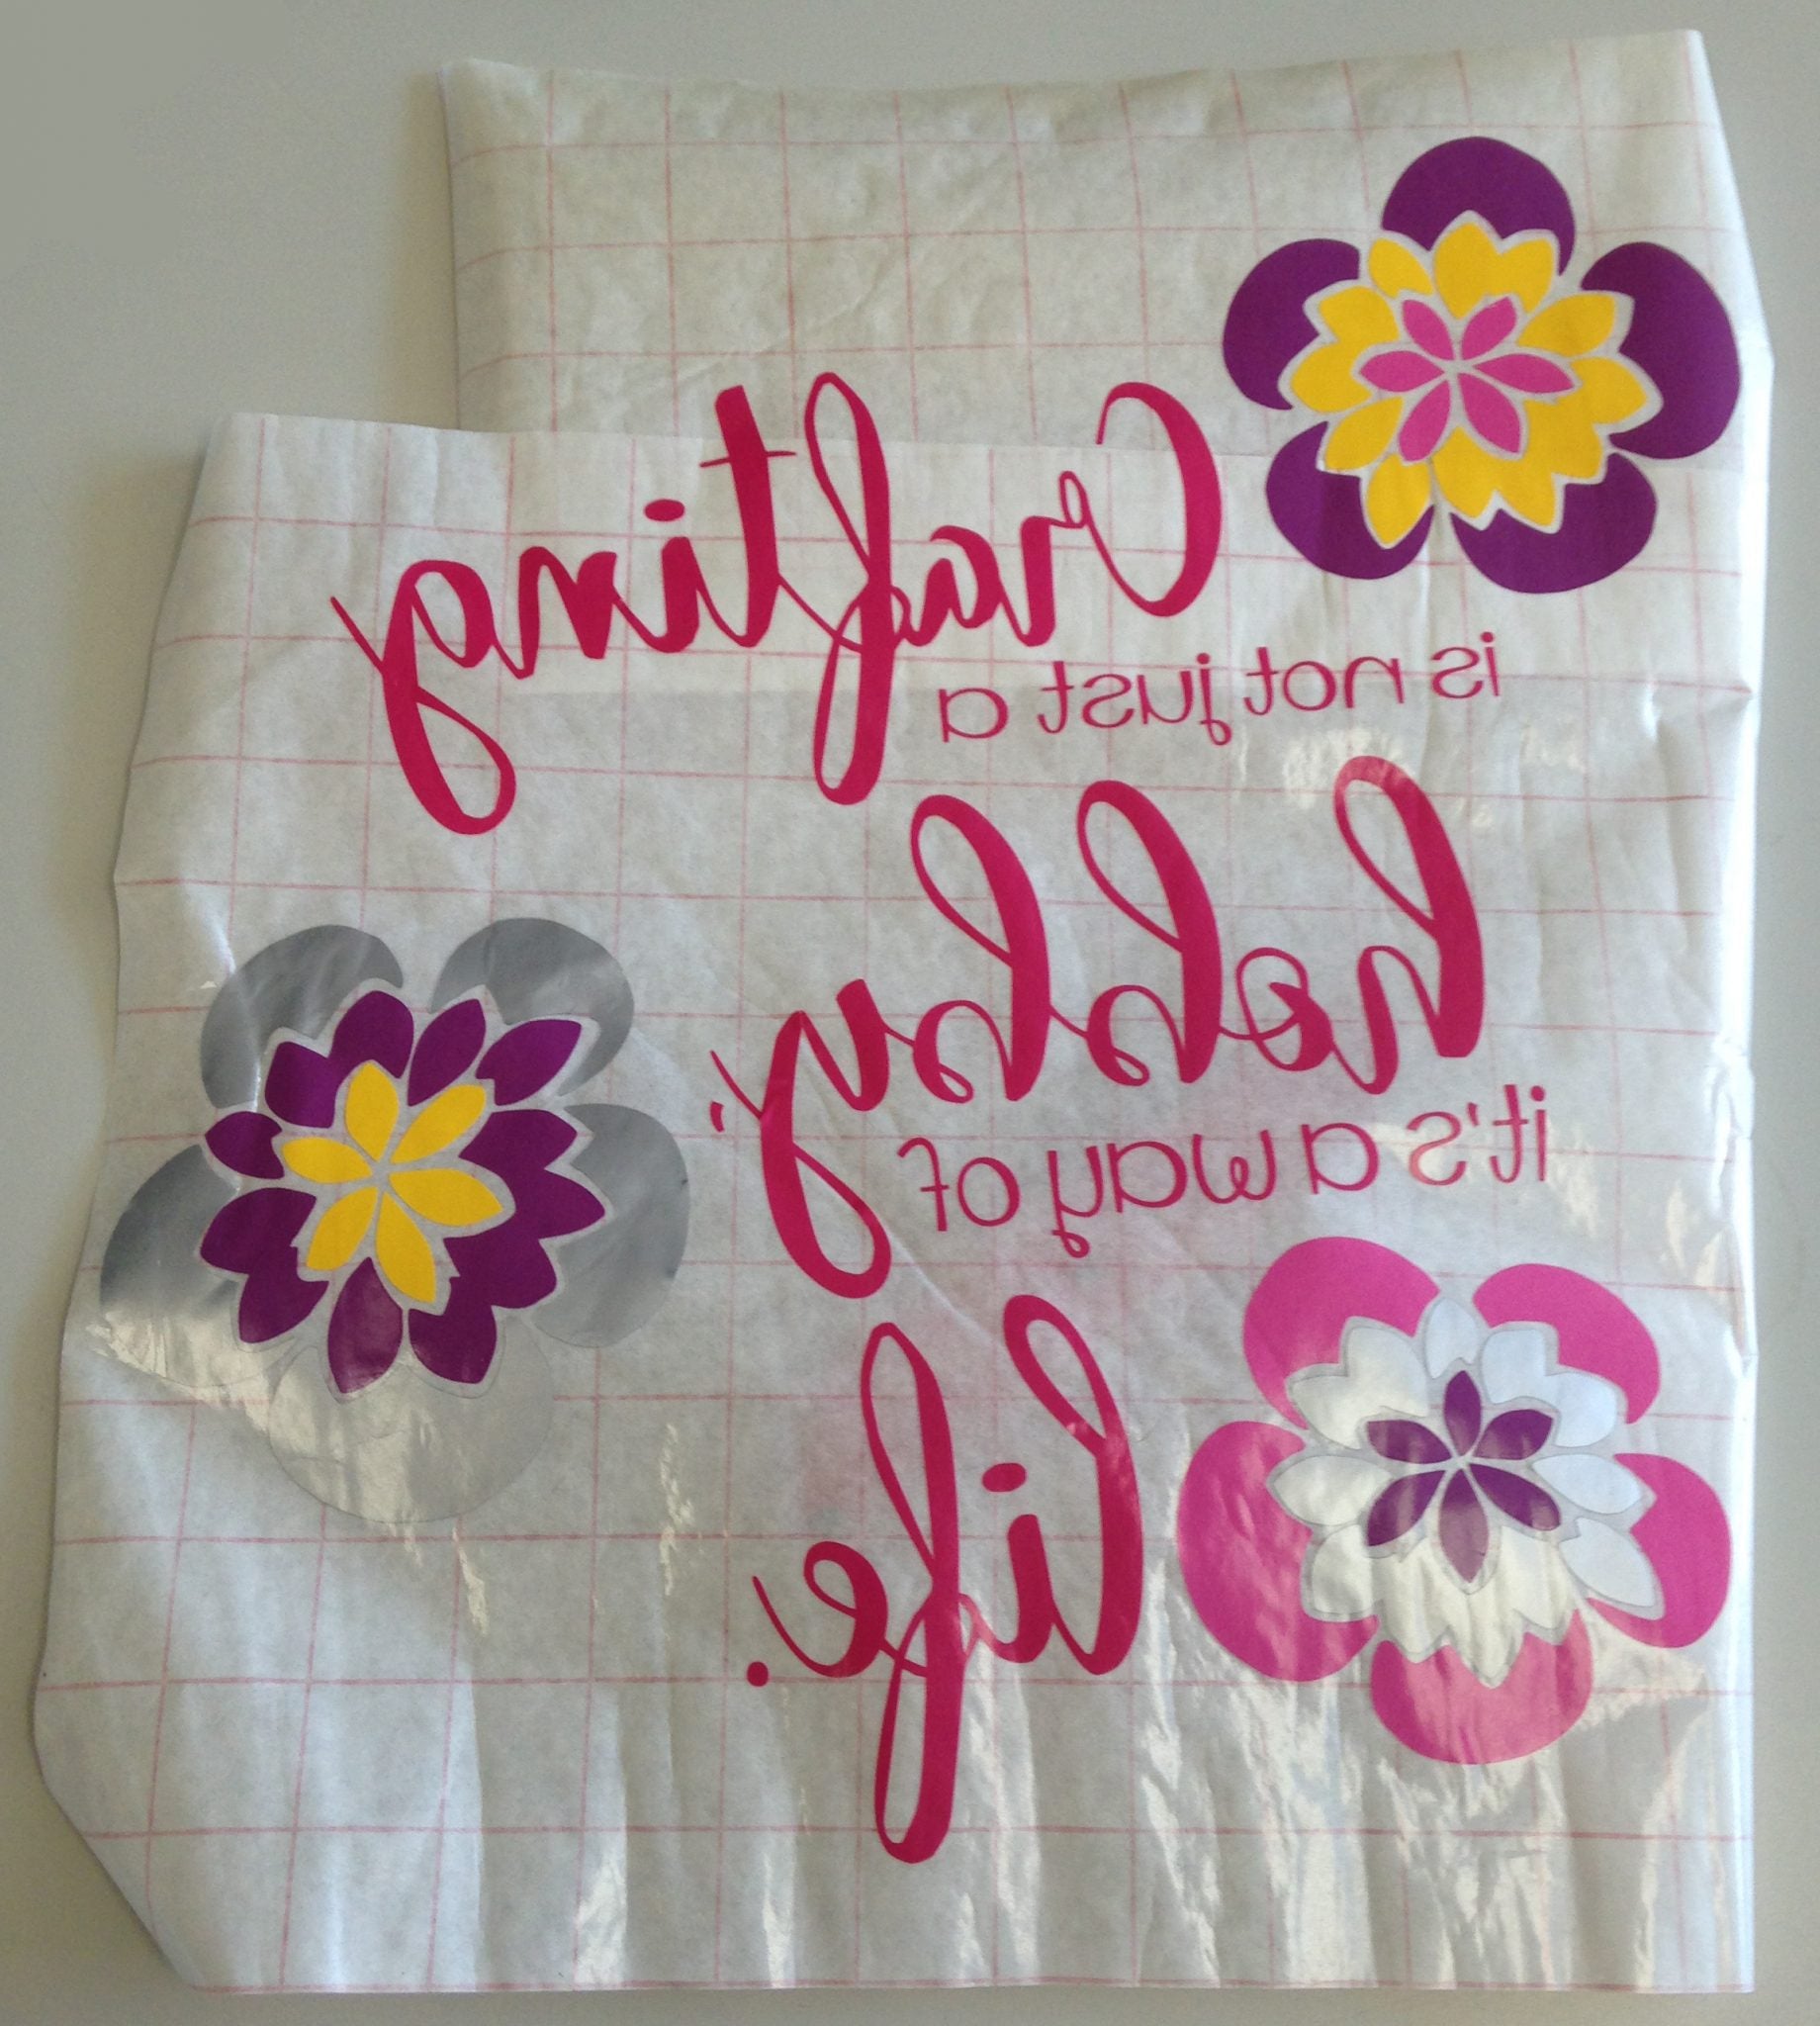
I decided to add these flowers to a quote that I wanted to put up on the wall so I typed my words and then decided how I wanted to arrange my flowers around the quote:

Once I decided where I wanted to put the flowers, I added in some small boxes around the flowers. The size of the boxes do not matter, I am adding them in to help me when I got to layer the design, and you need at least 2 boxes per flower (though I added three in some of the larger flowers to help with alignment):

To make the layers for the flowers, I ungrouped the flower into three layers. Next, I selected the inside pink layer and each box surrounding the flower (hold shift and click to select more than one piece at a time):

Once I had the pieces all selected, I pressed Control C and then Control V (copy and paste). While the copied pieces are selected, press Control G to group your pieces. You can then move the pieces around without messing up the spacing. Here is the flower with all the pieces ready to cut:

I did this with the other two flowers as well:

Notice that each layer has the exact same boxes surrounding it. Once I had all the pieces grouped with their alignment boxes, I cut the pieces out by color. First, I did the words (making sure to include the spacing boxes as well) and then did the flowers based off colors, for example:

Once I had everything cut out, I was ready to assemble the design. There were two ways I thought I could transfer everything to the wall for my completed project. One would be to put the words up on the wall and then transfer the flowers right on the wall. The second way would be to get everything layered and then move it all at once to the wall.
I decided it would be easier to layer everything first and then move it to the wall all at the same time, but you could certainly layer it right on the wall if desired.
I stuck the everything to my cutting mat for stability as I began to layer, this prevented the backing sheet from rolling up on itself. First I put down the layer with the words as it was the largest layer. Next I added in the flowers. This design went outside of the 12″ backing sheet the words are on, so I taped on some pieces of scrap backing in the areas where needed. To align the flowers, line up the boxes with each flower layer with the boxes on the quote:

The goal is to keep lining up the boxes so your flower stacks correctly. Obviously mine were a little off, but that’s okay. You can always make adjustments by picking up the individual petal and moving it over if needed. Once you have it all lined up, remove the boxes and discard:

Tip: When adding in vinyl elements, cover the rest of the design with your hand or a scrap of backing sheet to prevent the transfer paper from sticking to other parts of your design:

Once I had everything layered, I took transfer paper and covered the entire design. This design was too large for just one piece of transfer paper, so I used two pieces of transfer paper stuck together to move the whole design:
Once the design was all on the transfer paper, I moved over to the wall. I wiped the wall down with some rubbing alcohol and allowed it to dry before applying vinyl to it. Vinyl will stick better to a clean wall than a dirty wall!
I placed the design on the wall:

And began working the transfer paper off:

The vinyl was sticking to the wall, but it took some extra encouragement and it was a slow process to remove the transfer paper. Folding the transfer paper backwards onto itself as you remove it will help the vinyl release from the transfer paper and stick to the wall. I used my hand to press the vinyl onto the wall as it came off the transfer paper.
Once I fully removed the transfer paper, I could tell the vinyl was only kind of stuck to the wall. To help the vinyl stick better , I used my super secret vinyl adhesion tool! …a tennis ball! The tennis ball helped to work the design into the texture of the wall:

Keep your hand flat and ROLL the tennis ball around on your design. You can see in the above photo that some of the light pink did not stick as well as the silver. Rolling the tennis ball over the design helped the vinyl conform to the texture of the wall, giving it greater surface area adhesion.

You can see that the silver vinyl really picked up the texture of the wall.
There are two types of vinyl that you likely will use with projects: glossy permanent and matte removable. While glossy will stick to the walls easier, it is also harder to take off the walls. This vinyl is usually used for outdoor applications or on items that are going to be handled a lot (cups, bags, etc). The matte removable vinyl is a little harder to get to stick to the walls, but it will come off without peeling the paint. Matte removable vinyl is the type you use for indoor purposes, as a stencil or on things that aren’t going to be handled a lot (decor pieces, for example).
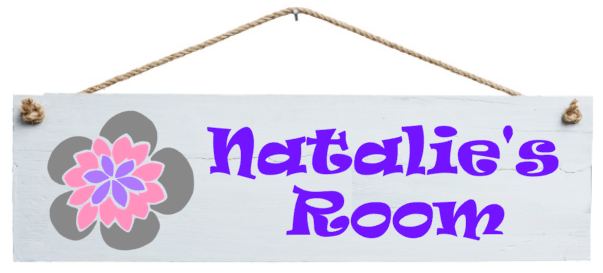
Here’s another quick project I made using this flower. I love the pink, gray and purple colors together:
I hope you enjoyed these projects and have a lot of fun ideas for this design!
See more about my 12 Exclusive Craft-e-Corner Vinyl Designs here. >>CLICK HERE TO BUY ALL 12 VINYL DESIGNS<<

FEATURED SALES