Design #4: Cupcakes! Personalizing Your Stand Mixer
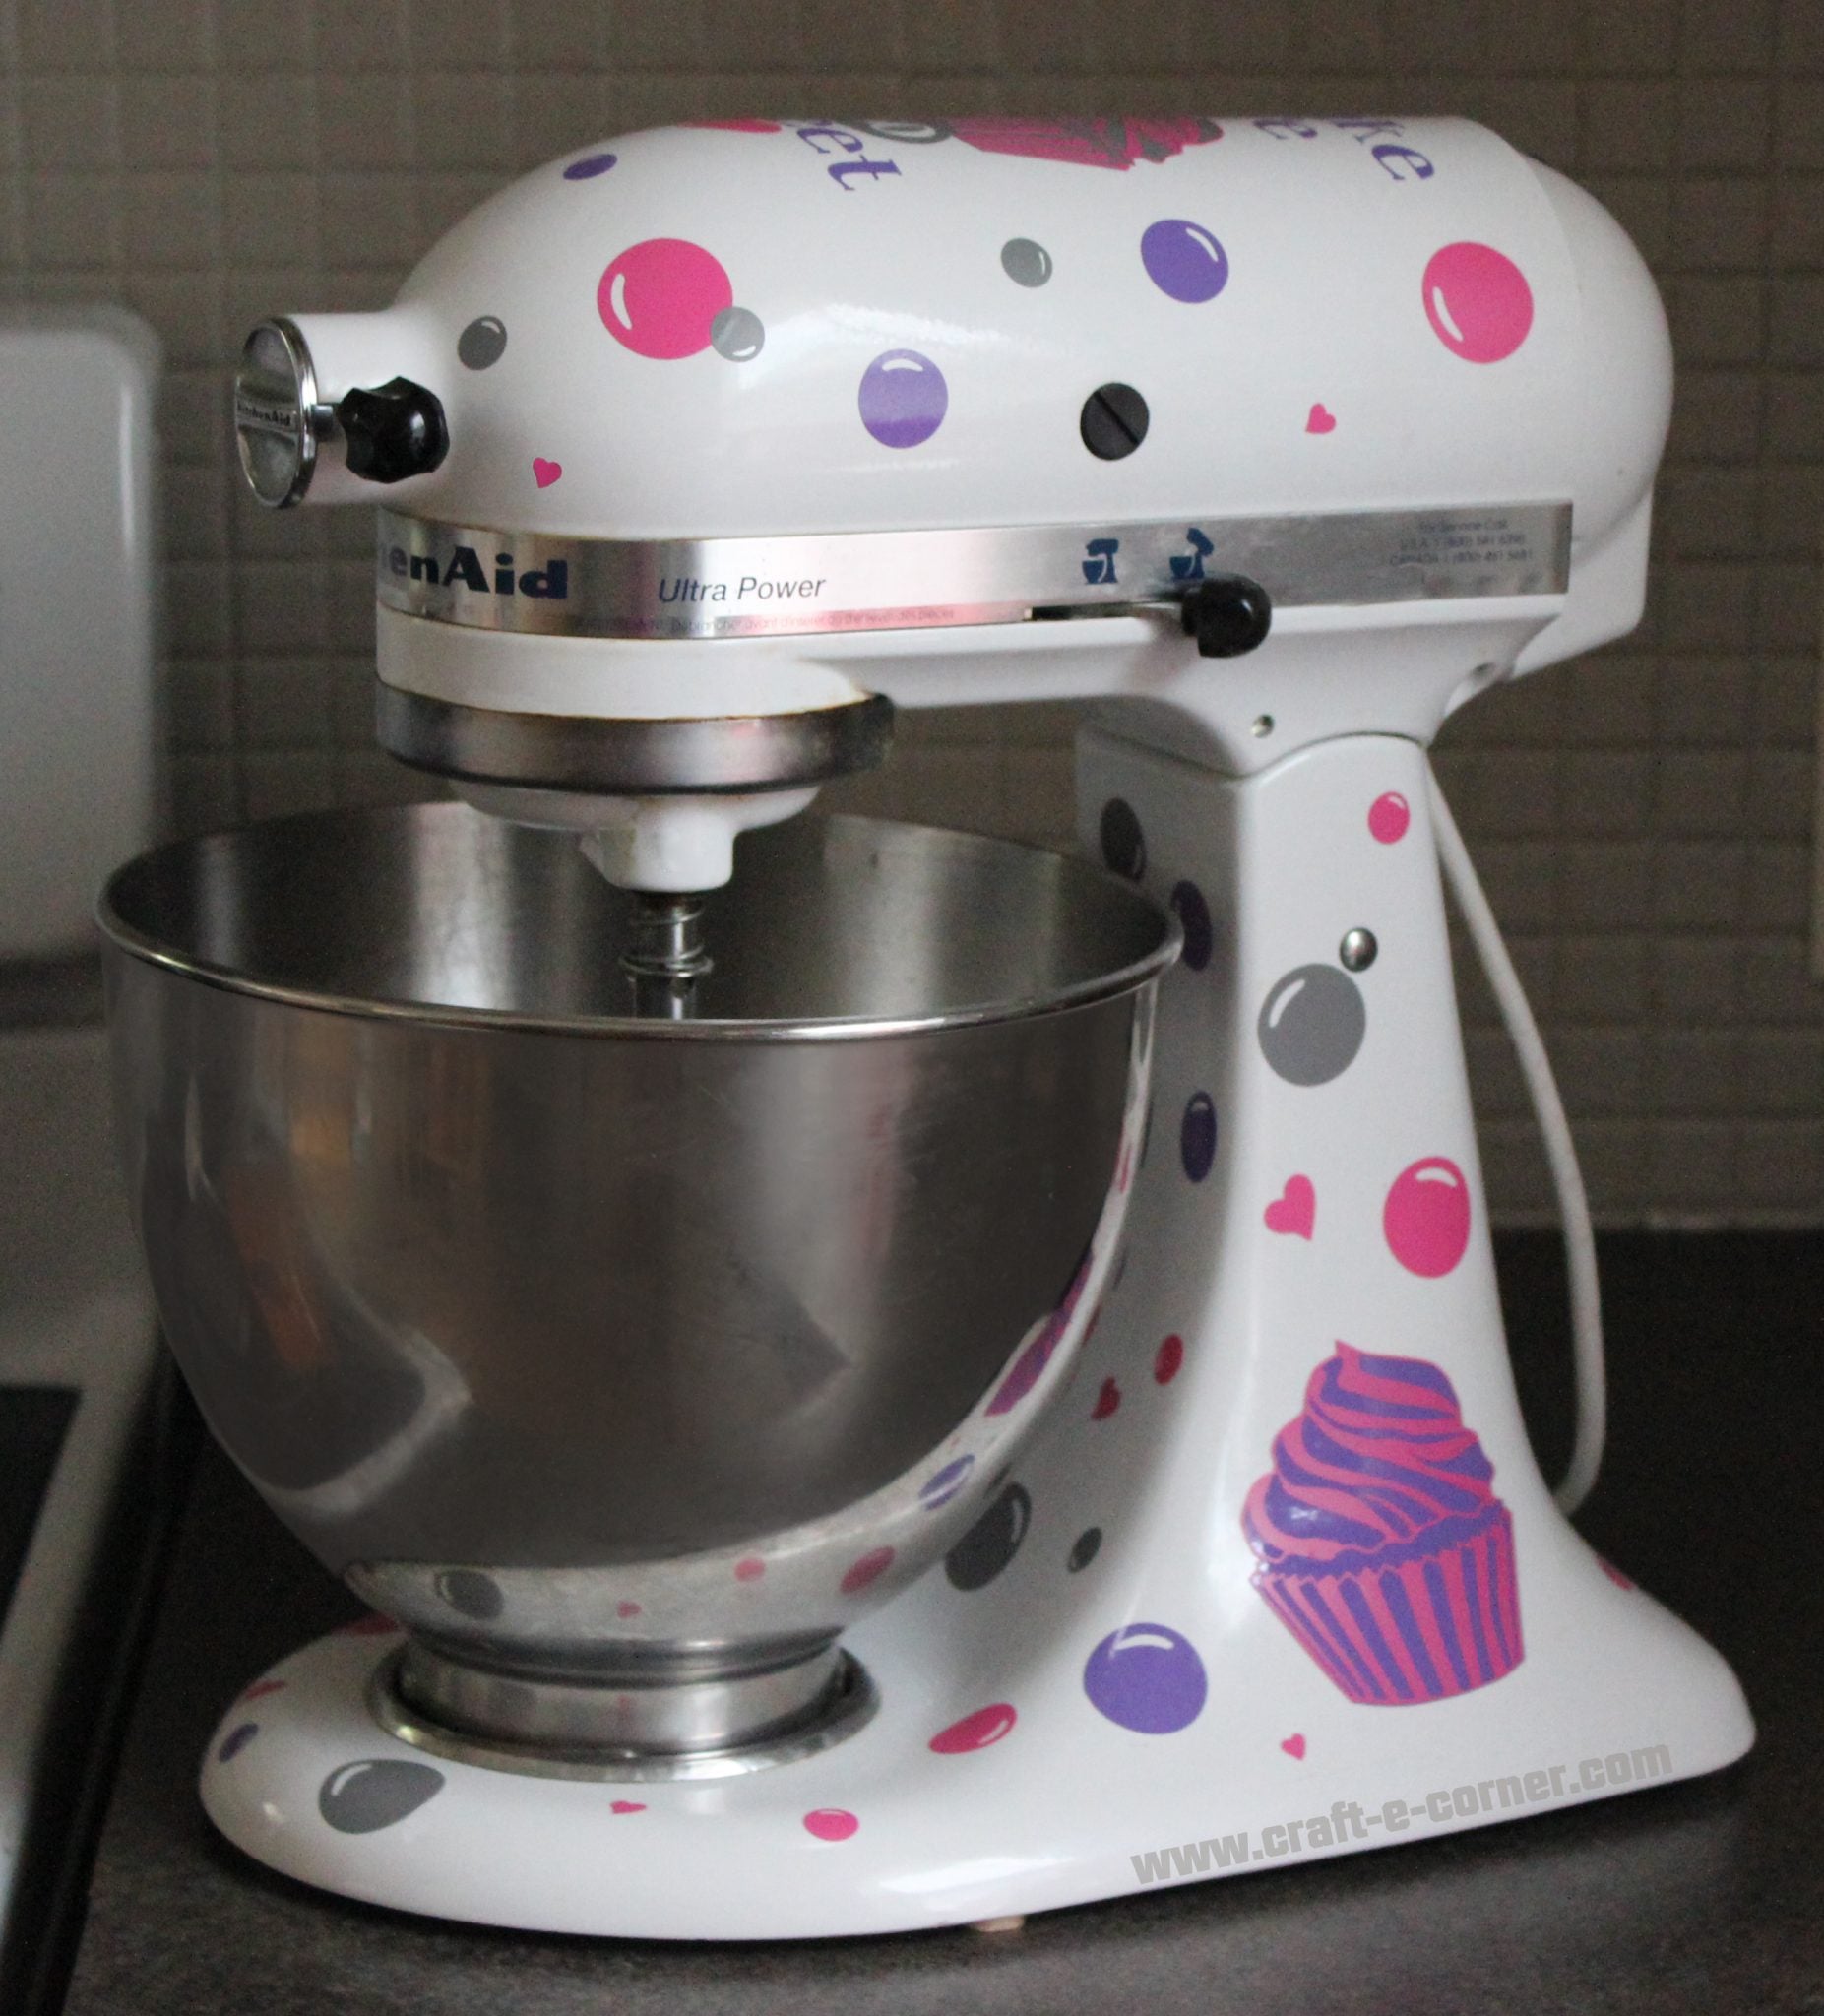
Vinyl can be used to freshen up just about any surface. Take, for example, my 10-year-old, well loved and well used, KitchenAid stand mixer. She’s got a few nicks in her enamel, and she may be starting to accumulate some rust here and there…. but add a little vinyl? Add a little vinyl and she looks brand new!

This vinyl “update” was pretty simple to do and, if I ever grow old of the design, I can always remove it and do something new! Get all the directions, below!
The design I am highlighting with my “brand new” stand mixer is the cupcake design. I created this cupcake with some versatility in the design, which I hope you’ll enjoy. This design is part of the 12 exclusive vinyl designs. >>CLICK HERE TO BUY ALL 12 VINYL DESIGNS<<
When you open the file, you will see this:

The left cupcake has two layers that are grouped together. The middle cupcake comes in three parts: the backing of the cupcake, the frosting and then the cupcake liner. These pieces can be moved around and cut from different colors, if desired. The right cupcake has two pieces: one for the frosting and liner and one for the background color.

I used the third cupcake for my stand mixer design. I wanted one solid color for the frosting and liner and a different solid color for the back.
I added the vinyl design to the top of my mixer by first measuring the top of my mixer with a ruler. Next I drew a box the same size in my Silhouette studio software. I added two small boxes and centered them at the top and bottom of the design box. This is a trick I used on the Pineapple Welcome Sign as well, it really helps when you are trying to center a design.
Once I had my design space size ready, I designed my words and cupcake so they fit within the box. I cut all my layers out and used alignment boxes like seen in the Candy Corn project and the Dahlia Wall Design. The alignment boxes made it easier to align everything as I layered.

I picked up my entire design, including the outside box, with transfer paper. I used the small boxes at the top and bottom and aligned them with the screw on my stand mixer:
 then I removed the backing sheet:
 Next I cut two more cupcakes for the sides. You can see the alignment boxes:


To finish it off, I added a bunch of circles and hearts randomly around the machine. These helped cover up some of the scratches my mixer has (poor thing) and added some quick color. To add these, I just drew a bunch of circles in Silhouette studio and added in a little slit for the “reflection” on the bubbles so the white of the mixer would show through.
Look at that transformation!
Vinyl can be used on a variety of surfaces, even slightly porous ones. In the case of the stand mixer, it was pretty easy to just stick the design down.
It’s important to ensure your project surface area is clean before applying vinyl to it. For glass or hard surfaces, wiping the surface down with rubbing alcohol is ideal. This helps remove finger prints and anything on the surface that may discourage the vinyl from sticking. On any other type of surface, such as a wall or painted board, you can use some soap and water and just give the surface a good cleaning. Make sure your surface dries before applying.
Here are a few more project ideas for you using this design. Use heat transfer material to add a cupcake to an apron:

or use the vinyl as a stencil to paint cupcake kitchen pop art:

I hope you enjoyed these projects!
See more about my 12 Exclusive Craft-e-Corner Vinyl Designs here. >>CLICK HERE TO BUY ALL 12 VINYL DESIGNS<<

FEATURED SALES