How to Make Custom DIY Car Decals
I love blowing dandelion seeds, and I love that no one will ever care if you pick one from their yard. Some people see them as weeds, but I think that sometimes weeds are just flowers growing where they don’t belong. With my love of dandelions, it’s no surprise that I wanted to add one to my car with my own custom car decal.
I love how tiny of a detail that the Cameo can cut! Let me share how I created my own “bumper sticker,” click below for the details!
This is design #6 in the 12 Exclusive Vinyl Design series. >>CLICK HERE TO BUY ALL 12 VINYL DESIGNS<<
Lets take a look at the file:

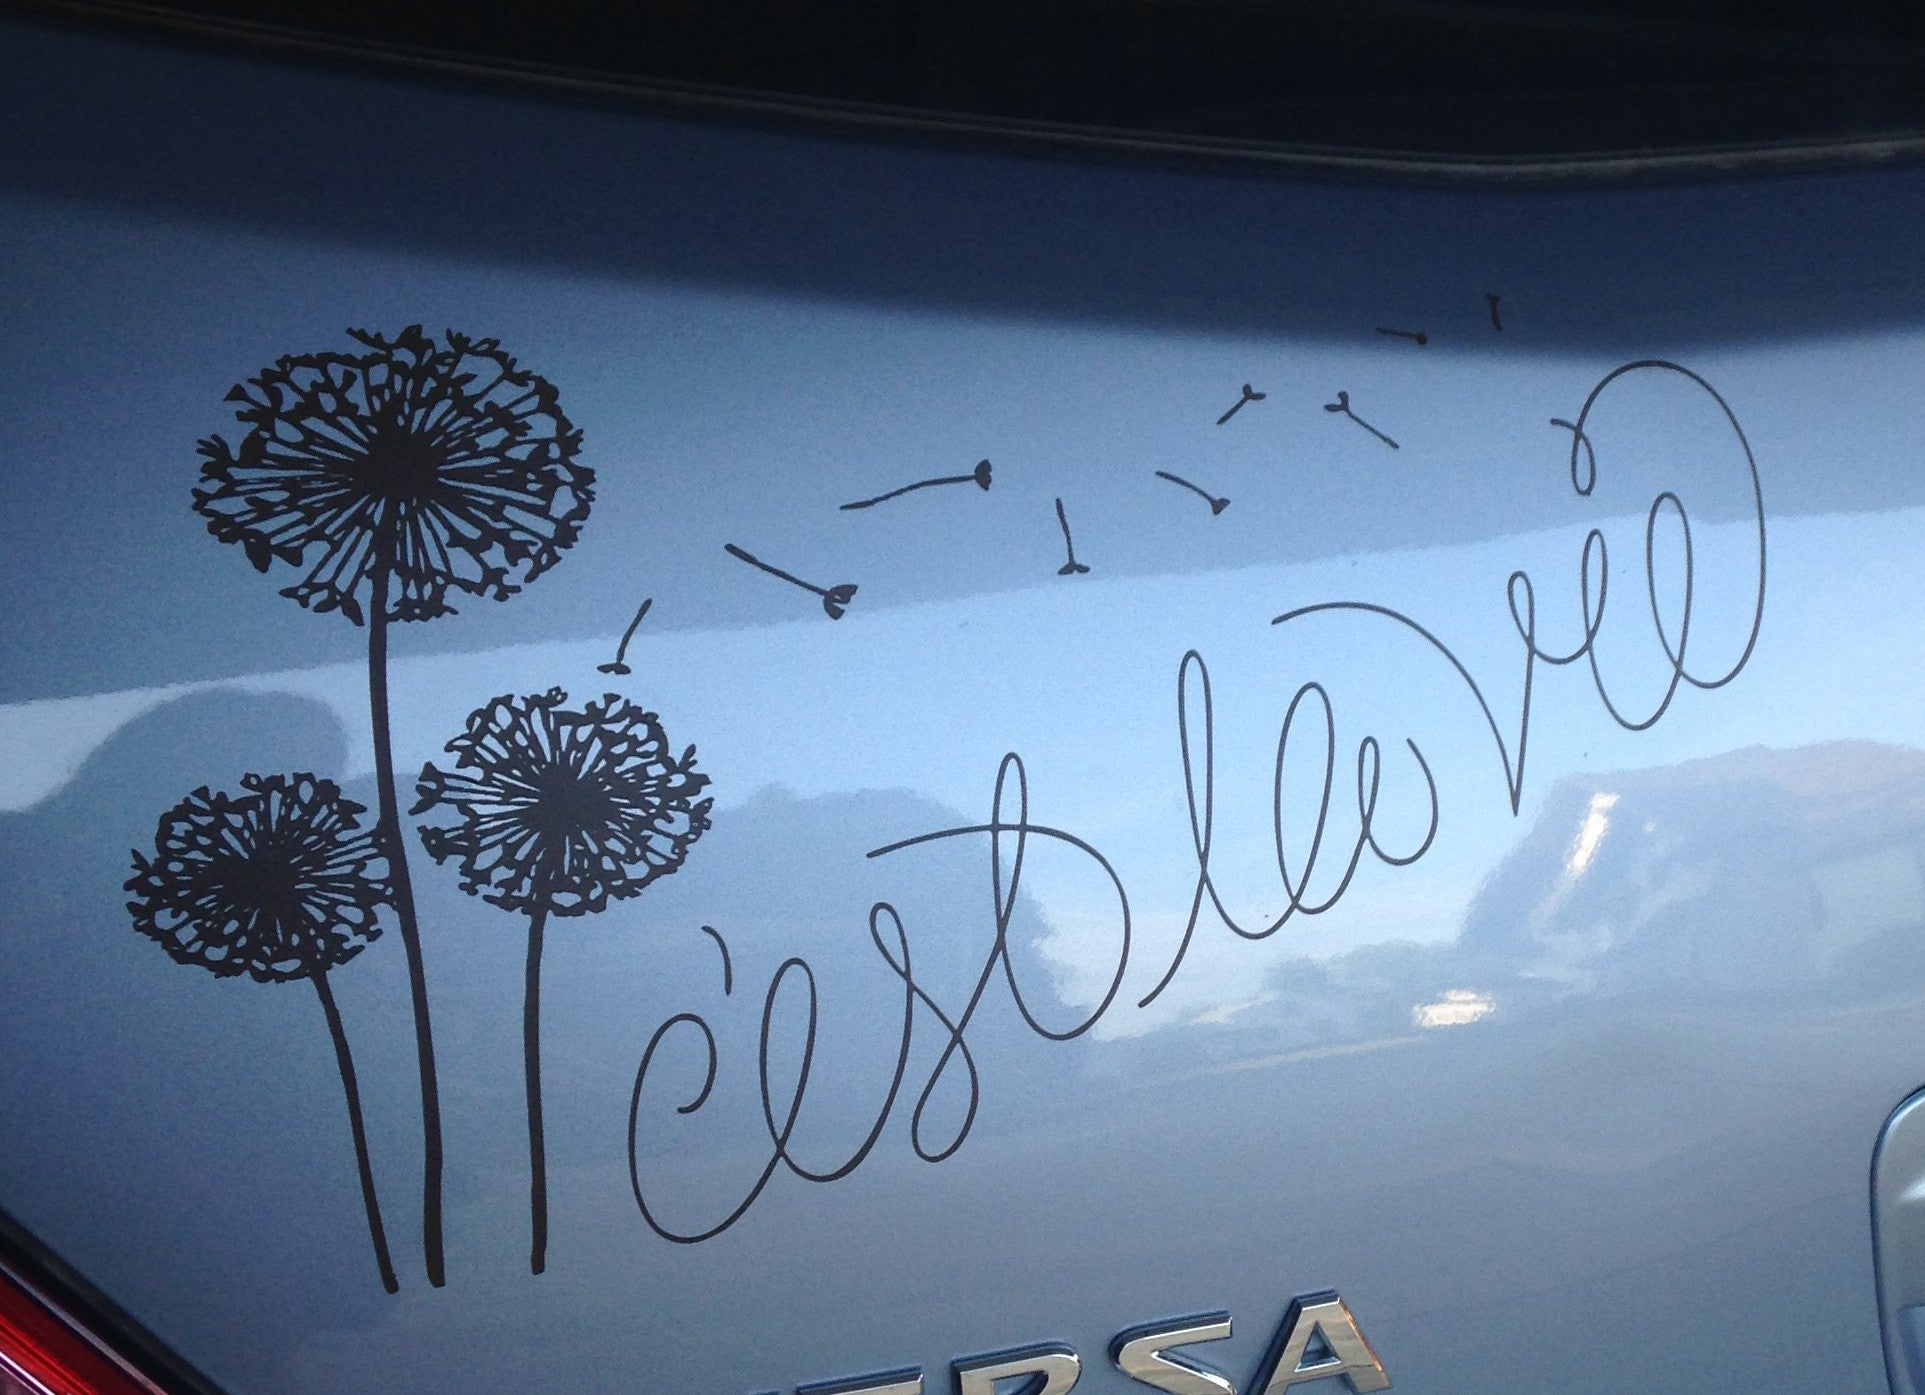
The file has a dandelion and 10 little tufts floating away… it feels very breezy to me. I added this to my car bumper a few years ago and about a week later, I got in an accident where the car was a total loss (sad face). I miss you Corolla…

But, such is life, as the decal says! So I decided to add it to my new vehicle!
First, I duplicated the dandelion. I have two kiddos, so I wanted to make three dandelions to represent us. Then I added in the “c’est la vie,” which means “such is life” because I feel that goes really well with what a dandelion means to me. I measured the space on my car and sized the design to fit. Next I cut the vinyl and began to weed. A hook tool is very helpful:

Here is one of my favorite vinyl weeding tips, wrap a scrap of vinyl around your finger, sticky side out, then stick all your little scrap bits to as you weed:

Once I weeded the design, I covered the whole thing with transfer paper:
 Next, I burnished the design with a scraper tool:

I then turned the design upside down and removed the vinyl backing sheet. To help the vinyl release from the backing sheet, I folded the backing sheet over on itself and pressed down as I went:

Now I was ready to transfer it to the car. First I cleaned off the car with a little rubbing alcohol. This will ensure your vehicle is dirt free allowing the vinyl to stick better:

Next, place the vinyl onto the vehicle and rubbed over the transfer paper:

Finally, remove the transfer paper and ensure your design is well adhered:
If you have a decal you want to remove from your vehicle, such as the one from the dealership…

You can use a hook tool to work it off:

Just gently work the hook under the vinyl and peel it off. For stubborn vinyl, you may need to use a blow dryer to gently heat up the adhesive on the back of the to help it come off. When the vinyl comes off, you may have a little glue residue left:

I used a little lemon essential oil to remove the residue, but you could use Goo Gone or any other sticker residue remover you choose.
All done! So happy to have “my decal” on my new vehicle again!
Window V. Bumper: A Sticky Debate
I put my sticker on my bumper, but many people choose to put their decals on their window. We live in Wisconsin, so I didn’t want to put it on my windshield where I would be scraping ice off the window all winter long.
Think of all the things you could do making your own vinyl car decals! Memorial decals, your kids sports teams, make your own stick family or advertise your favorite independent consultant business (Thirty One Gifts, doTerra, Origami Owl, Avon, Mary Kay, Younique, etc).
See more about my 12 Exclusive Craft-e-Corner Vinyl Designs. >>CLICK HERE TO BUY ALL 12 VINYL DESIGNS<<
FEATURED SALES