Design #8: Birds On A Branch! The Wet Method of Application

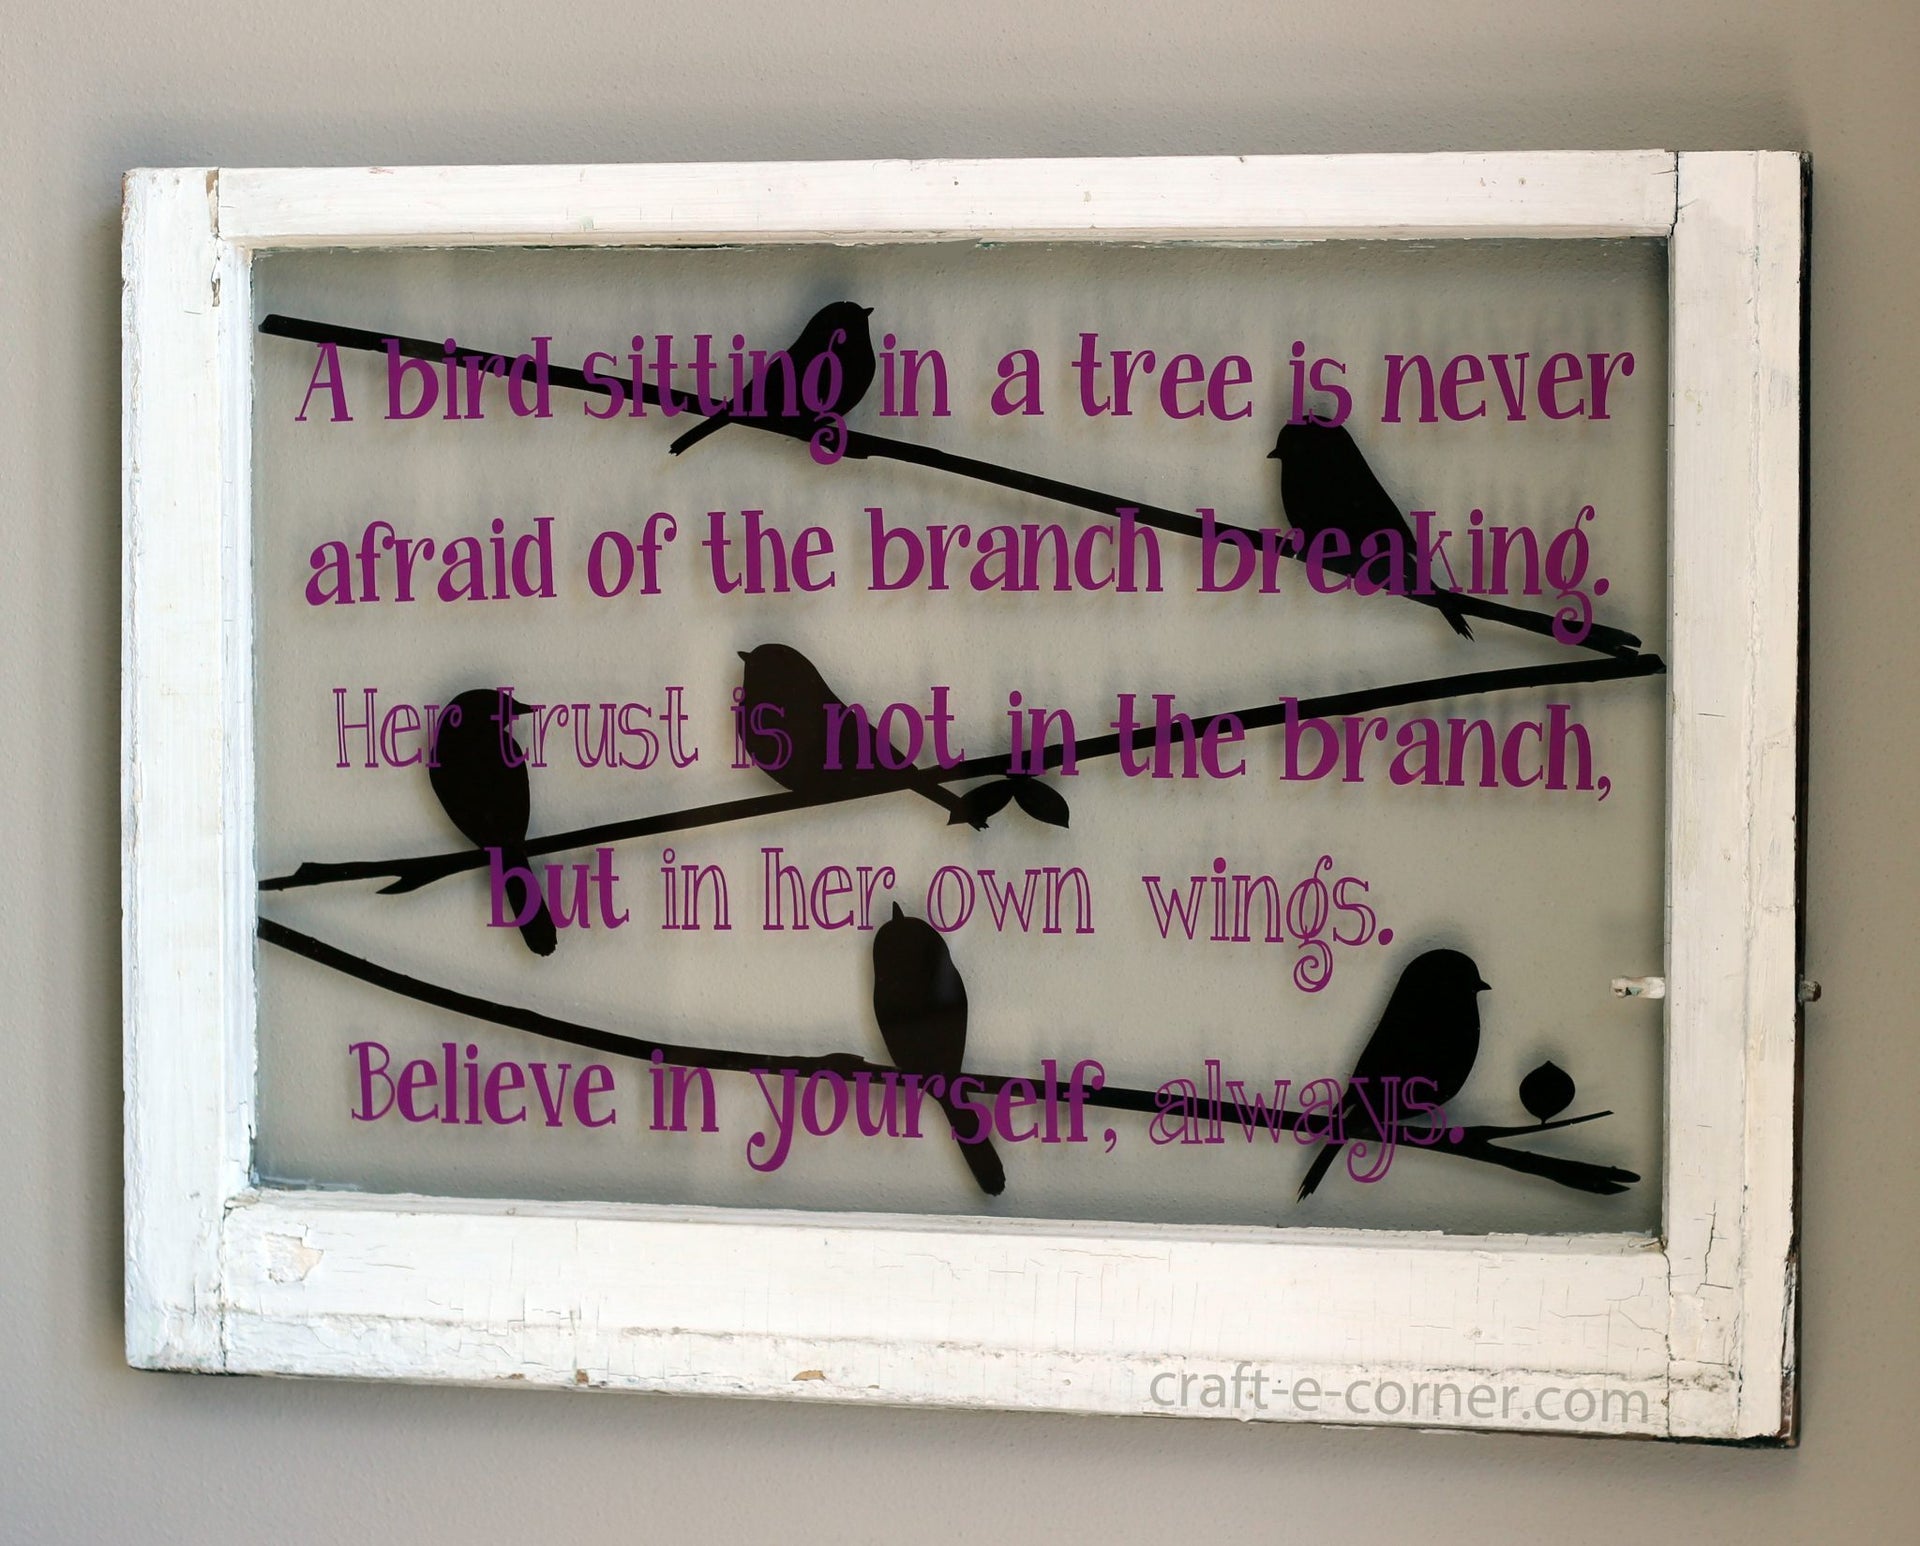
I found this window at the local antique store thought the birds on a branch file paired with a quote would be a perfect match for it. There are some tricks on application that I wanted to share with you, including the “wet method of application” which helps avoid dreaded bubbles! Click below to learn more!
This is design #8 in the series of 12 exclusive Craft-e-Corner vinyl designs! >>CLICK HERE TO BUY ALL 12 VINYL DESIGNS<<
Before we delve into the project, let’s take a look at the file:

I tried to build in a lot of versatility into this design so there are a few options within the file:
-
Unwelded (black fill): you can move the birds around, cut just the branches, cut just one bird, etc. Note: You will want to weld anything that overlaps before cutting this version of the design. Here is a picture of it not filled in, you can see that the lines overlap. Anywhere that there are lines, the machine will cut, so you want to make sure to weld before cutting to avoid making cuts you don’t want:
-
Welded (blue fill): will cut as one piece so you can apply it to your project surface as one solid piece. Here is the unfilled version, you can see that the birds and branches are attached to each other so they will cut all as one piece:

-
Offset birds (pink fill): are slightly smaller so you can use them to layer, if desired. Layering the birds with this set will leave a slight border around the birds:

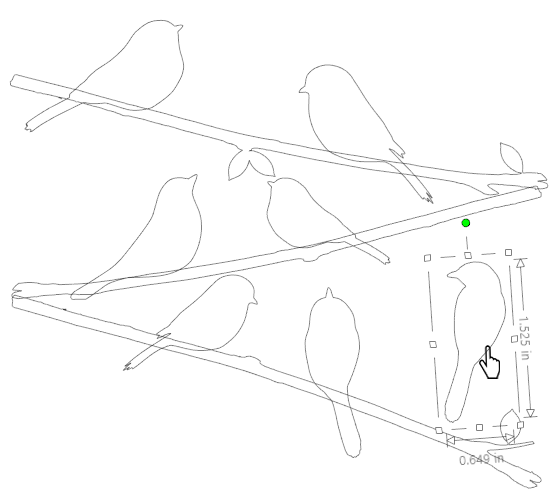
To use this file for my project, I measured my window and made a rectangle the same size in my Silhouette Studio, just off to the side of the cutting mat. In this case, the window was 15×24 inches so I created a huge box in my Silhouette software and zoomed out so I could see it all. I then used the unwelded version of the design and moved the branches over to my box and stretched them out to fit. Next I added in birds to fit on the branches. Once I was happy with the layout, I welded the birds to the branches they were touching so the vinyl cut as solid pieces (select all the pieces you want to weld by clicking each piece while holding shift then right click–>weld):

Note: I did NOT weld the branches together. The total height of my design was 15 inches, which is too wide for my Cameo to cut. To cut the design, I rotated the branches sideways and cut them on a 12″ by 24″ long sheet of vinyl:

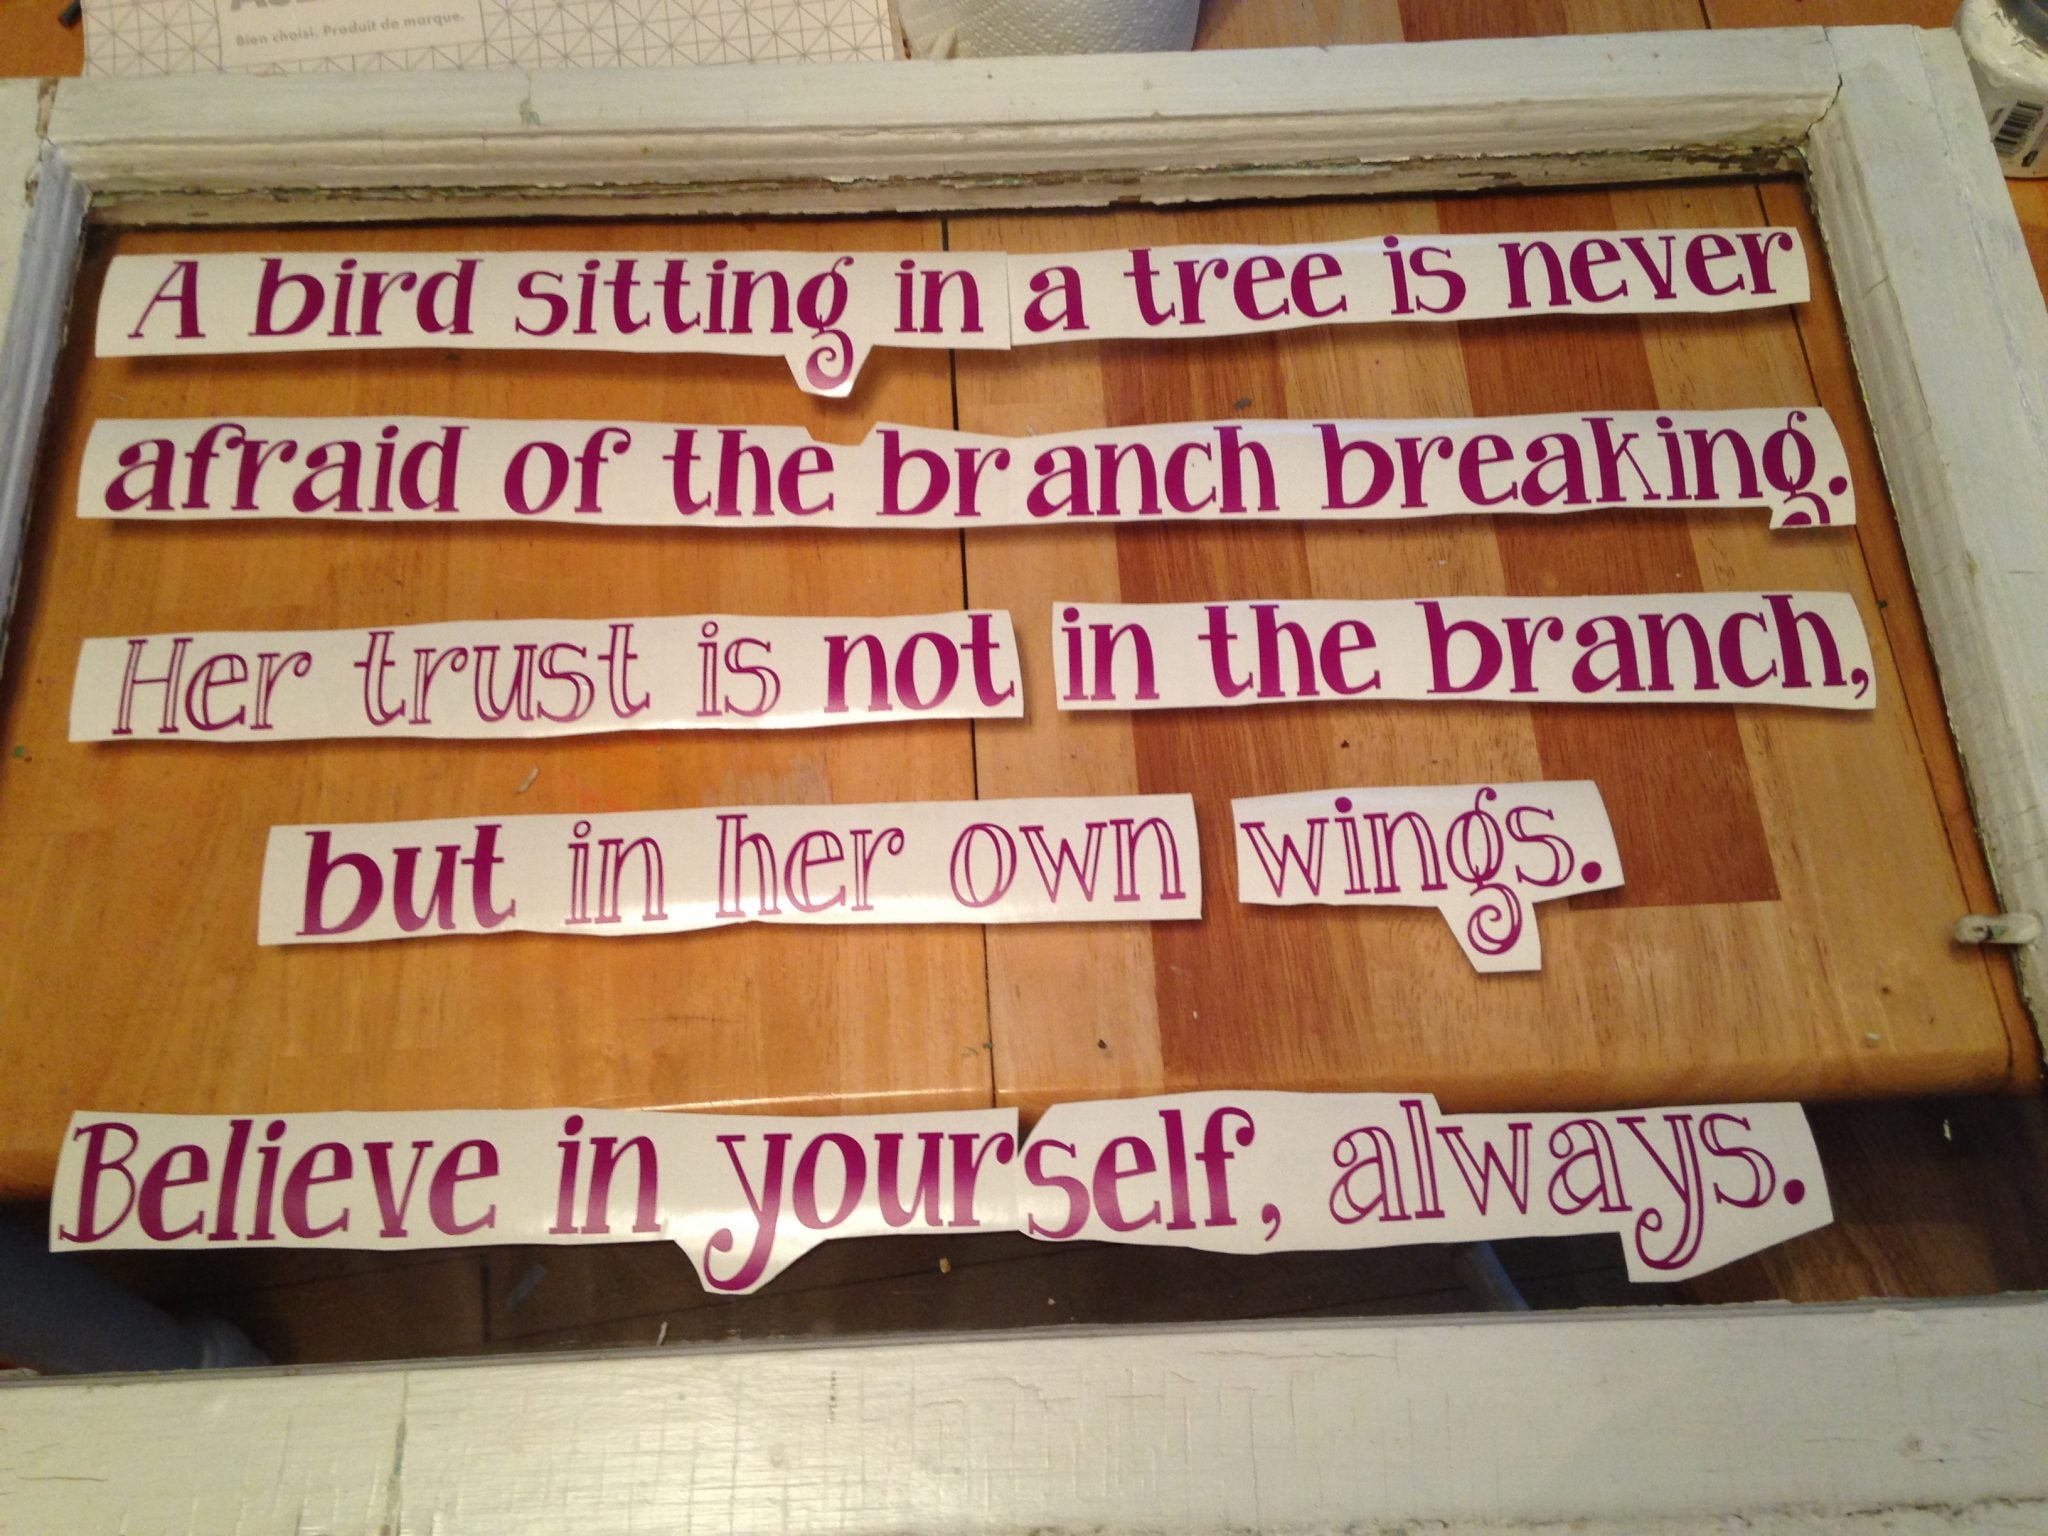
Next, I prepped the quote for the design. I added the text right over the top of the birds in my file to make sure the spacing looked right and the font was as big as I could make it:

I had limited purple vinyl to work with, so I had to cut the words in several pieces. I laid them out in lines and taped the pieces together, adding in scrap pieces where there were spaces:
Now that all the pieces were cut, I went to transfer everything to the window. I started with the birds on the back of the window. One advantage of using a window is that you can layer your vinyl without having overlap lines!
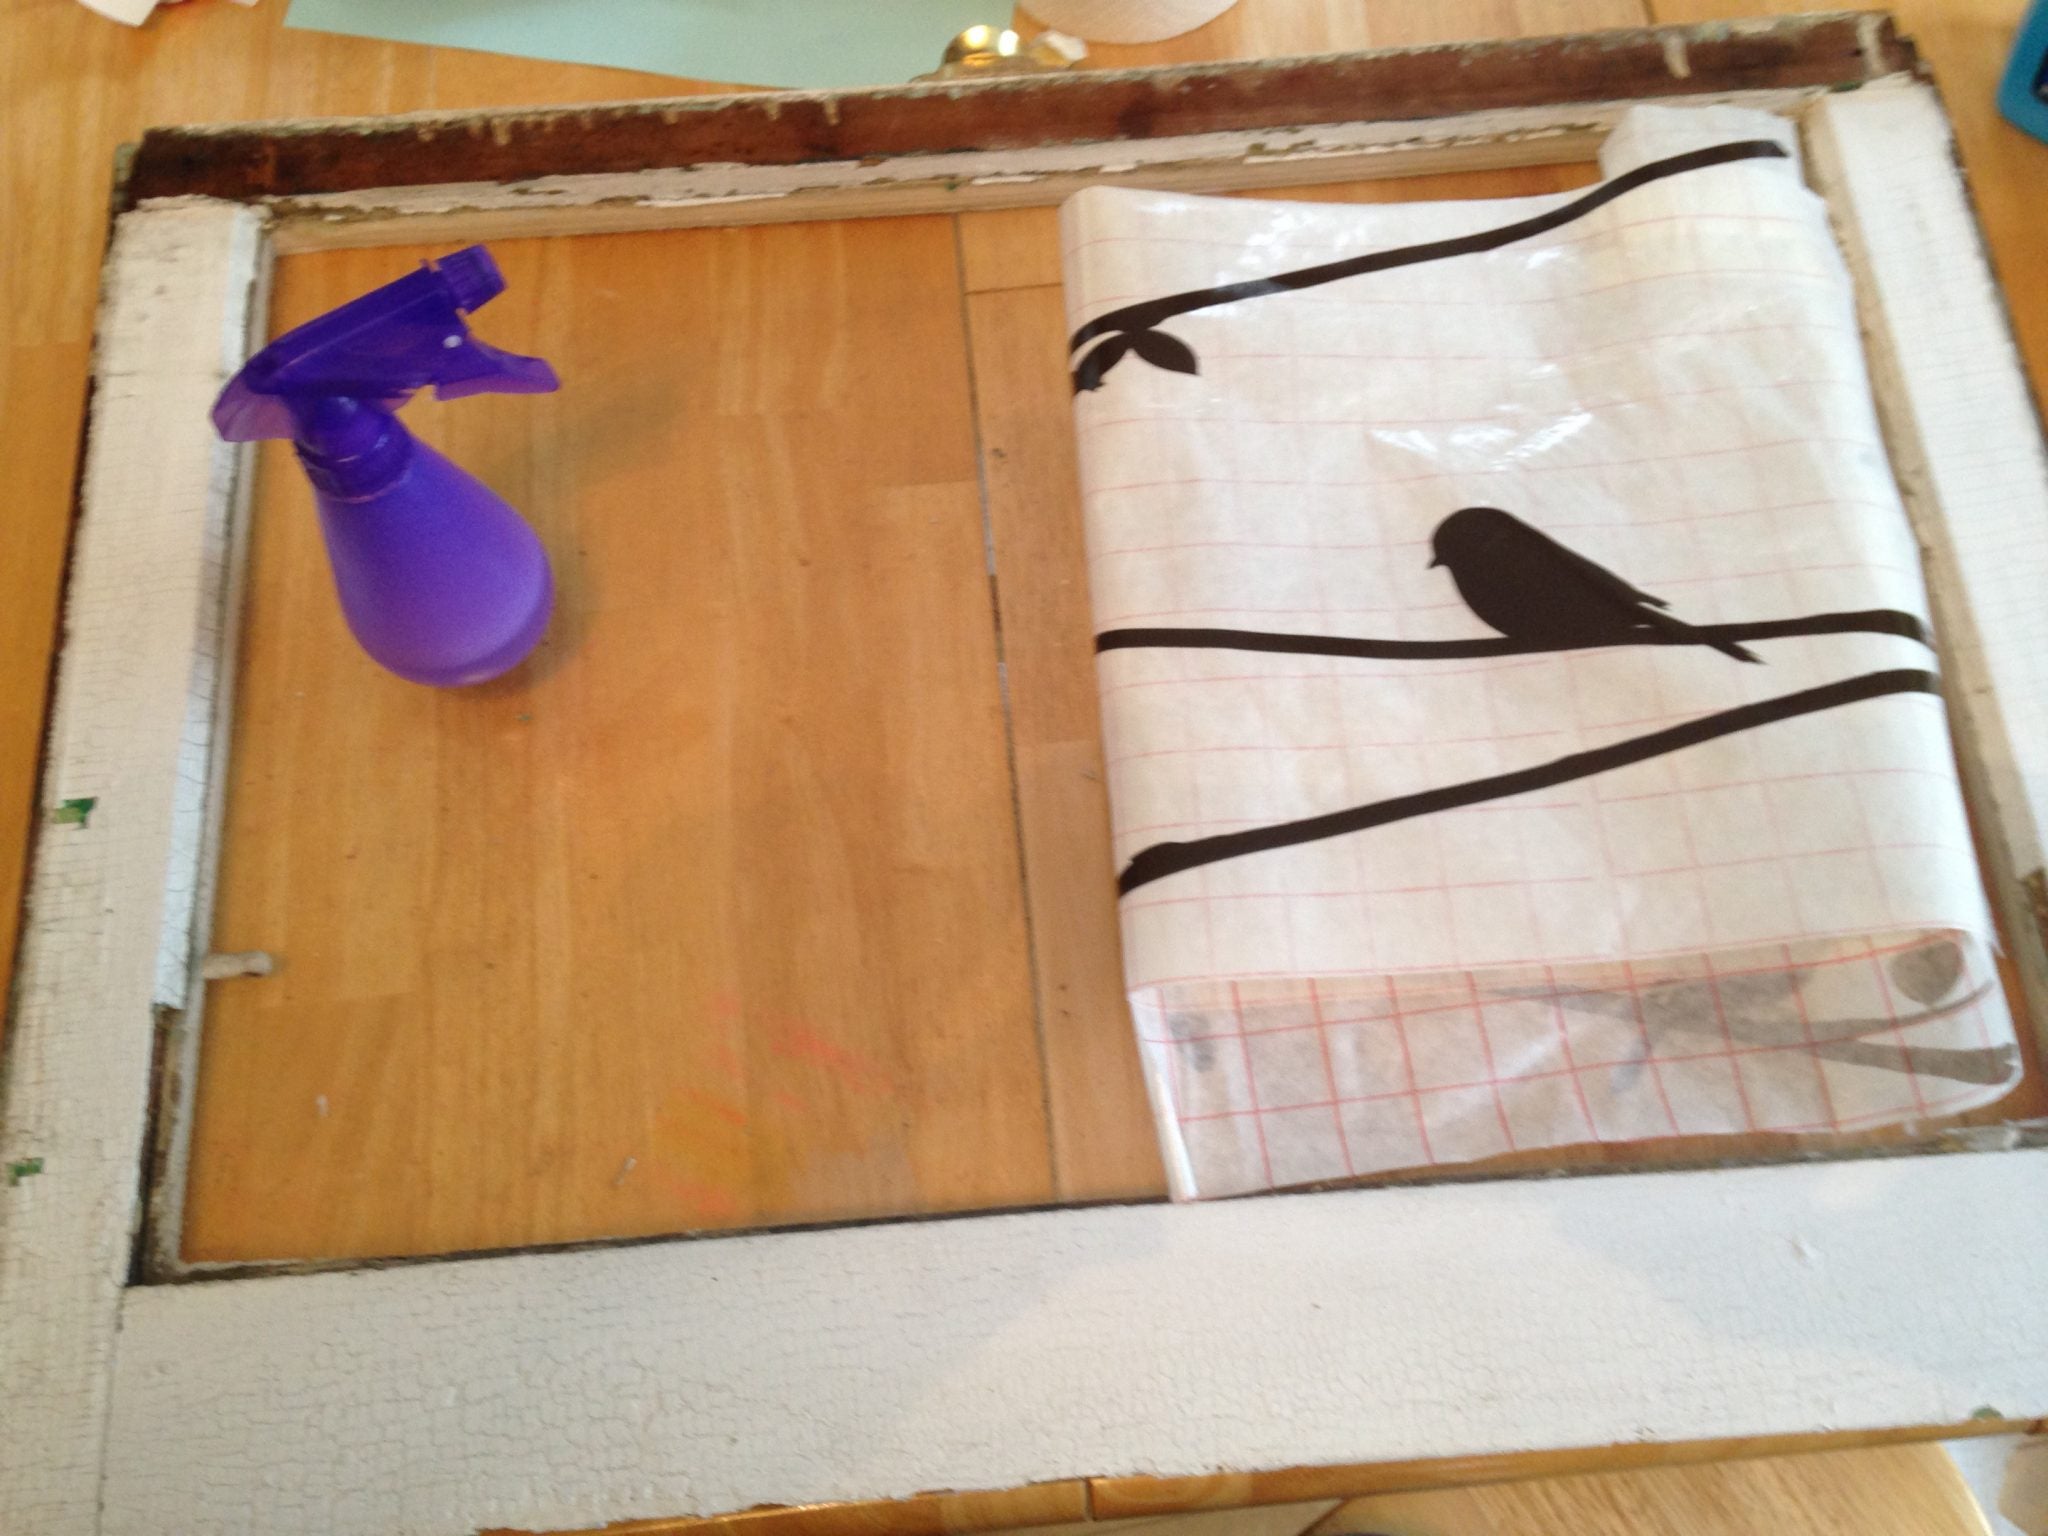
Transferring large designs to a glass surface can be difficult to get the design straight on the first shot and to not have bubbles in the vinyl. To help with that, you can use the wet method of application. The wet method is really helpful when you have a non-porous surface and want to avoid bubbles.
I filled a spray bottle with about a cup of water and a squirt of baby shampoo (I don’t think exact measurements are all that vital, you just want a little shampoo in some water). Shake the contents up. Next, LIGHTLY spray your surface. I sprayed one half of my window first:

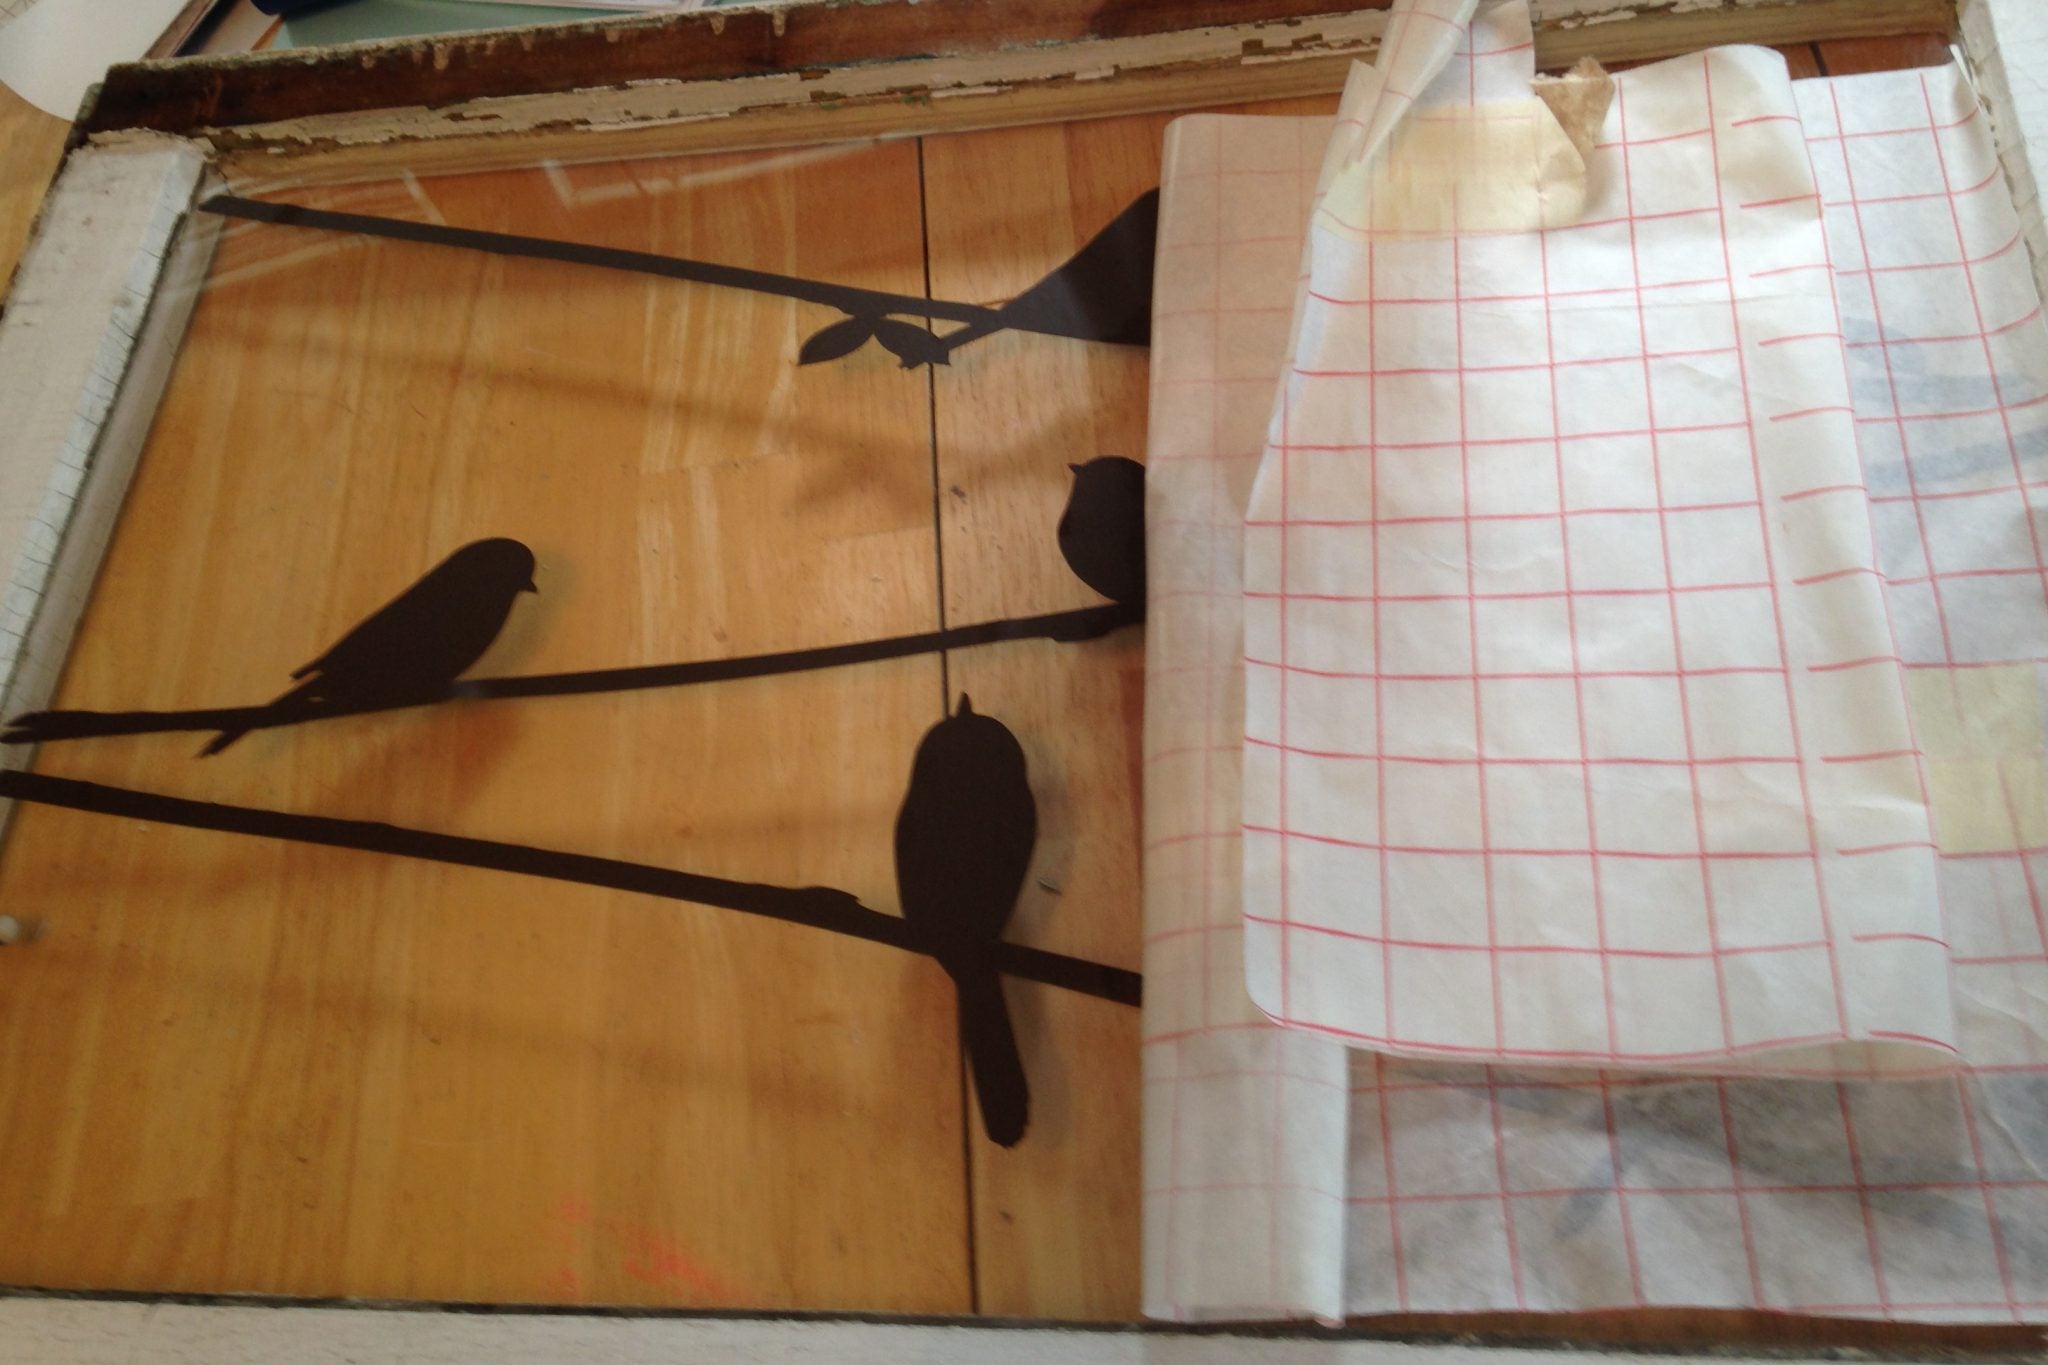
I laid the vinyl onto the window and then used the a scraper to work all the moisture out from under the transfer paper. I used a paper towel to sop up the liquid as I squeegeed it out:

I started in the middle of the deign and worked the water towards the edges. Once I had worked out most of the water on the first side, I sprayed the other side of the window and repeated the process:
When I was confident that the moisture was mostly out, I removed the transfer paper:
I then blotted all over the design to sop up any water left behind. I was able to make some slight adjustments to where the branches lined up on the window at this point. To finish up, I used my scraper tool to go over the vinyl one last time, getting out any water that was left behind.
I let the vinyl dry for a while as I prepped the other side of the window for the words. I taped all the words into lines and used the lines from our hardwood floors to help ensure I was aligning the words straight (sometimes you just have to use your environment!). Once I was happy that the words were straight, I used small pieces of tape to hold them in place:

I flattened a piece of transfer paper over the design and taped it to the window with a strip of a tape. I used the hinge method of application described in the Pineapple Project post to transfer the words.

You can use the wet method of application on any non-porous surface including glass, certain plastics, wood with a finish on it, tiles, stainless steel tumblers and more. The advantage of this application method is that you squeegee out the water as you apply the vinyl, which works out any bubbles as well leaving you a nice smooth application!
I love the way this project turned out, so I decided to cut a few more birds to apply to our actual window. I think it’s fun to see the birds when the sun comes up:

Or you can grab just a bird or two and a branch and make a cute personalized wedding/ anniversary gift for someone special:

I hope you enjoyed this project and find some use for the file! I could see these birds on so many things, I know you will be creative with them too!
See more about my 12 Exclusive Craft-e-Corner Vinyl Designs here. >>CLICK HERE TO BUY ALL 12 VINYL DESIGNS<<

FEATURED SALES