Customizing Wedding Gifts with Heat Transfer Vinyl
Weddings are all about the bride and groom and celebrating them. Who wouldn’t want a custom album for their wedding pictures? This would be great for guest photos:

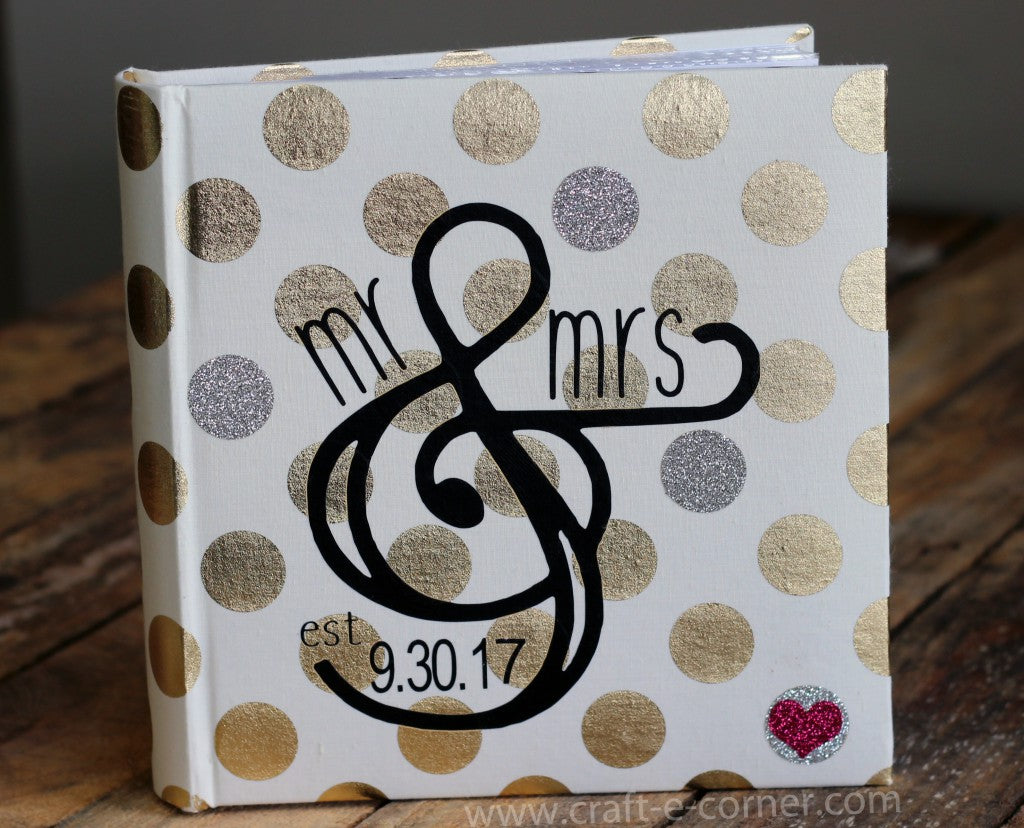
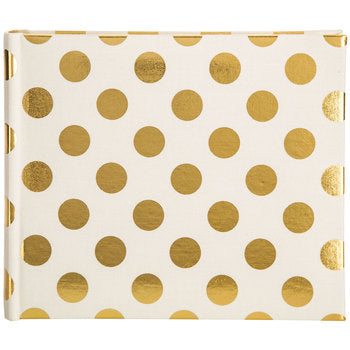
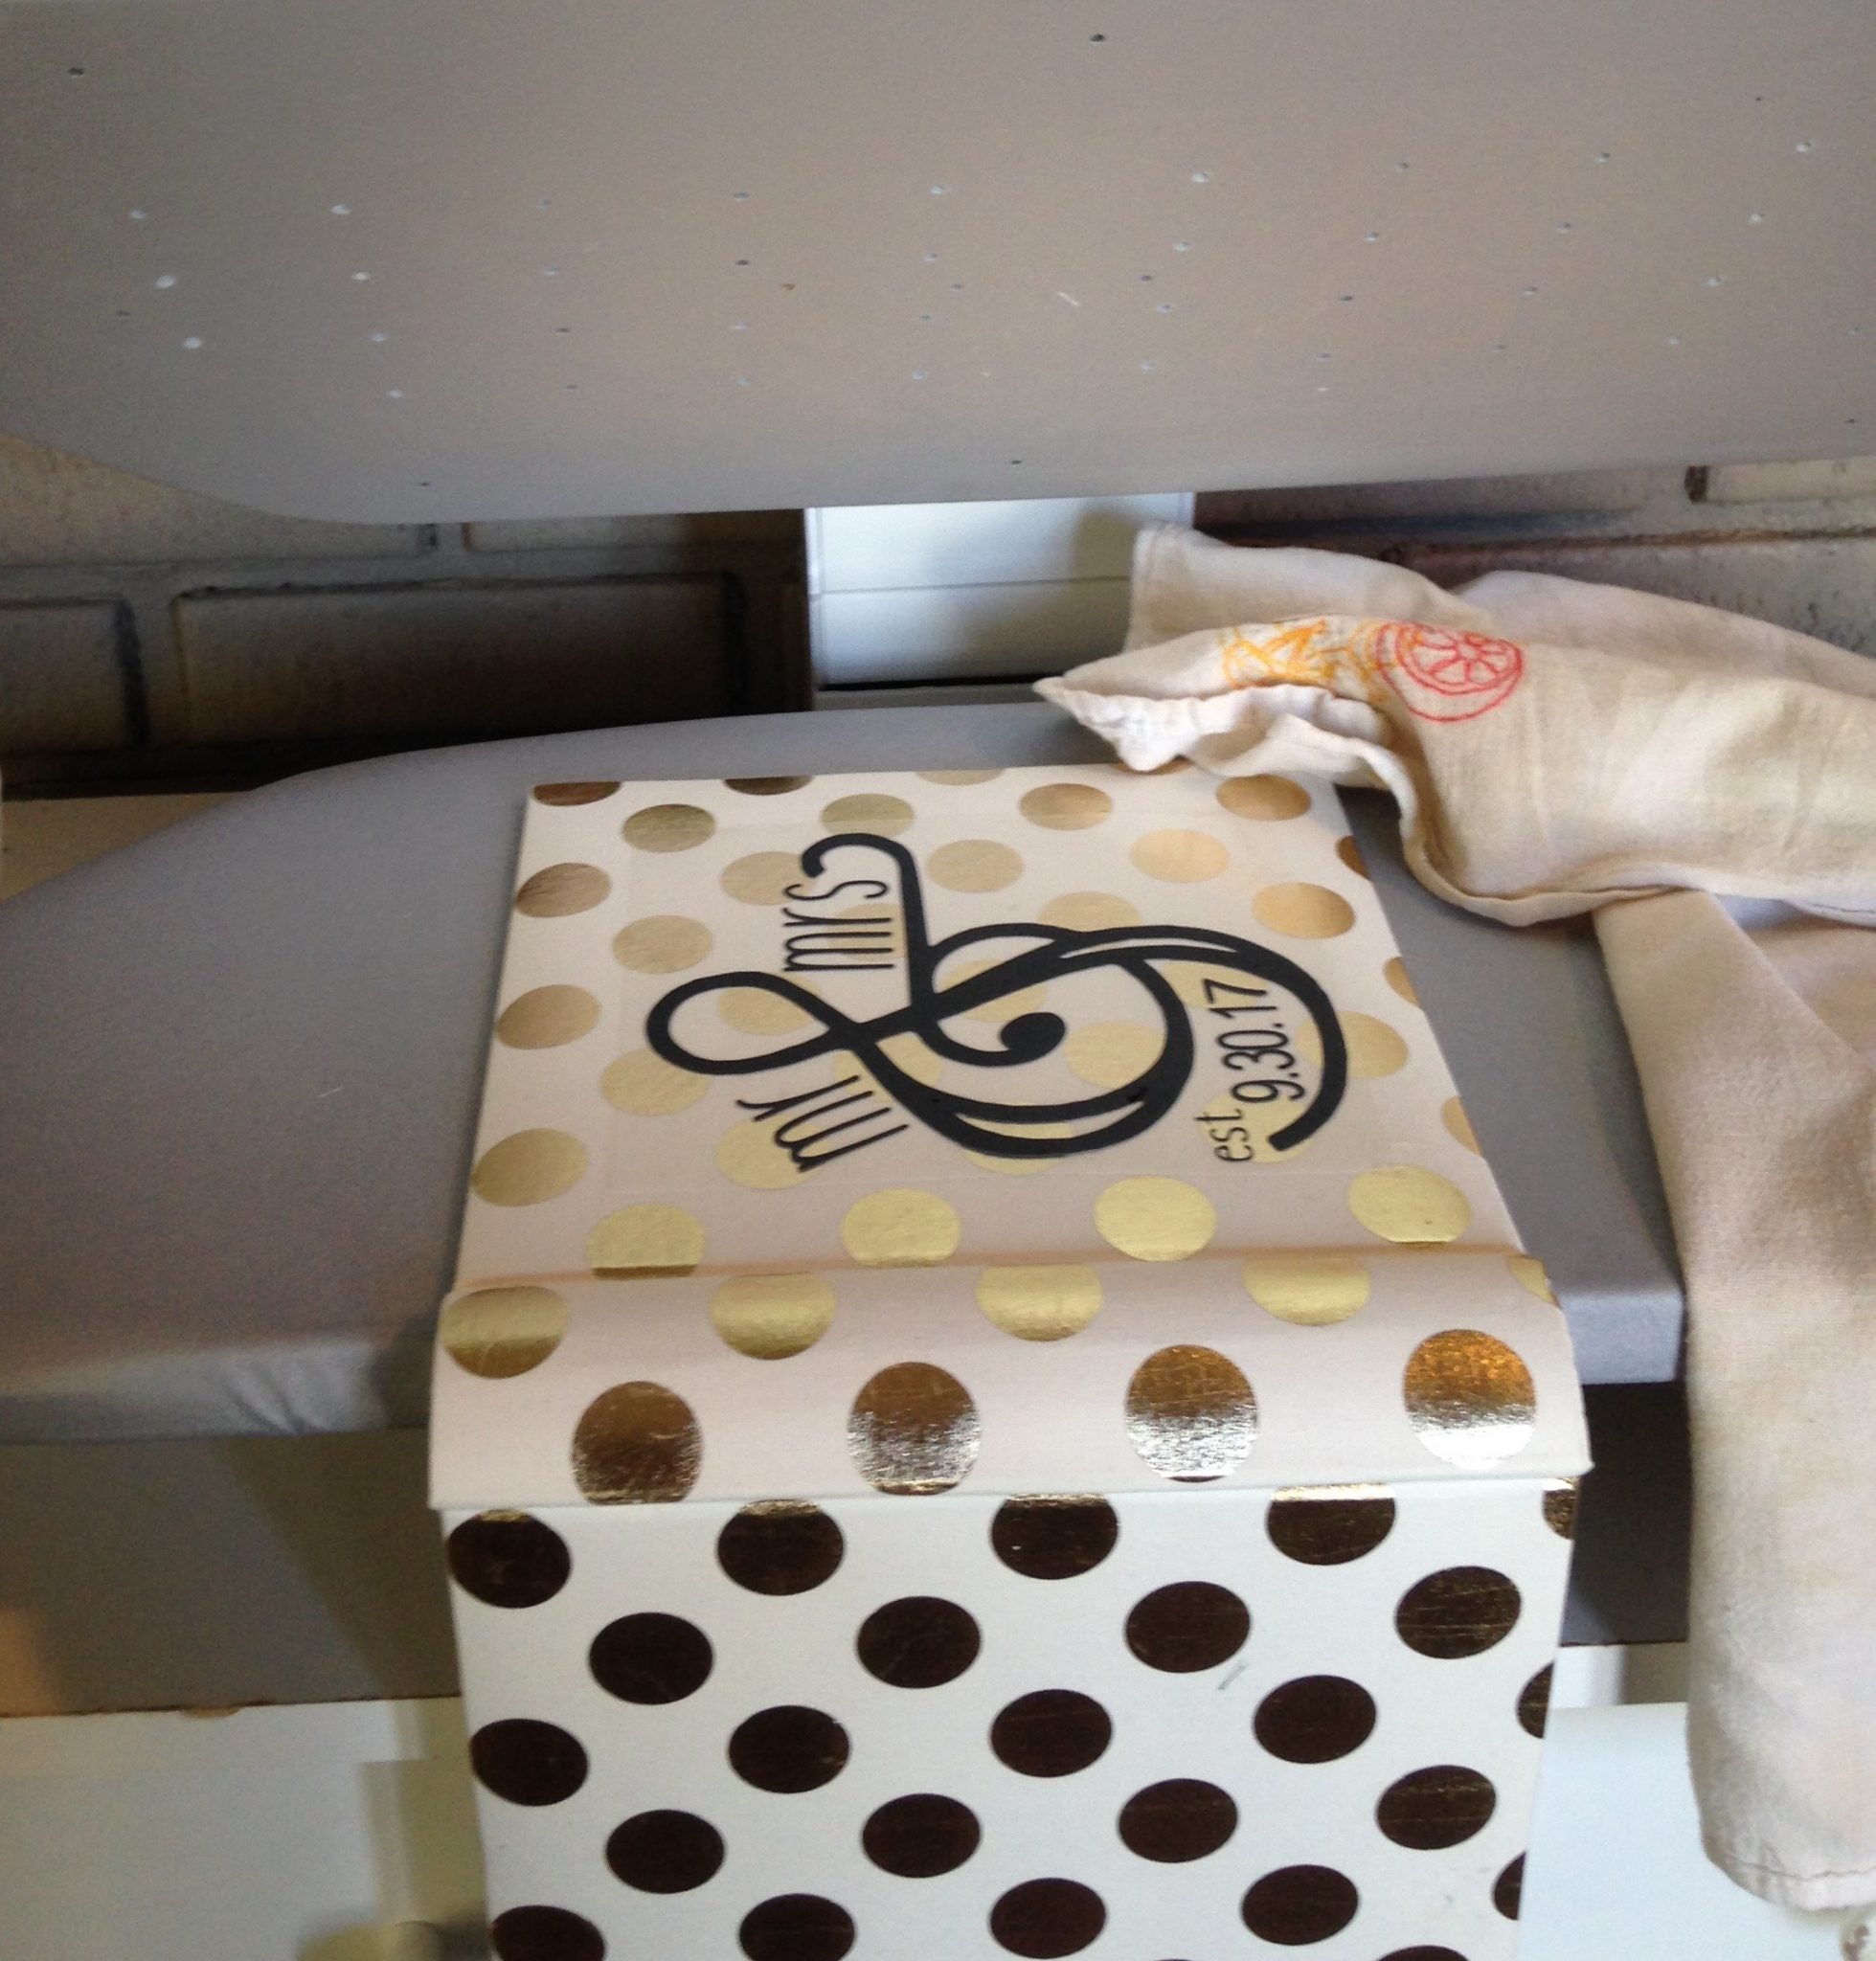
I found this pretty gold polka dotted photo album and thought it would look great with a custom cover:
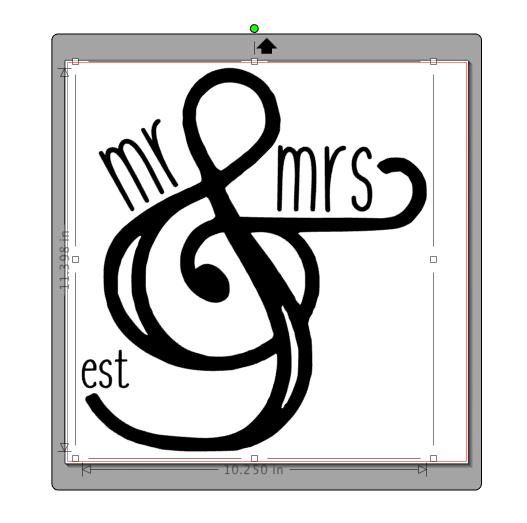
For this project, I decided to use the Mr. & Mrs. exclusive Heat Transfer Design that I created as part of our 12 exclusive Heat Transfer Designs. When you first open the file, you will see:
I made the design pretty big, but you can resize it to whatever size you need. Before resizing, I added in the wedding date. To add a text box to Silhouette Studio, click the text button from the left hand menu:
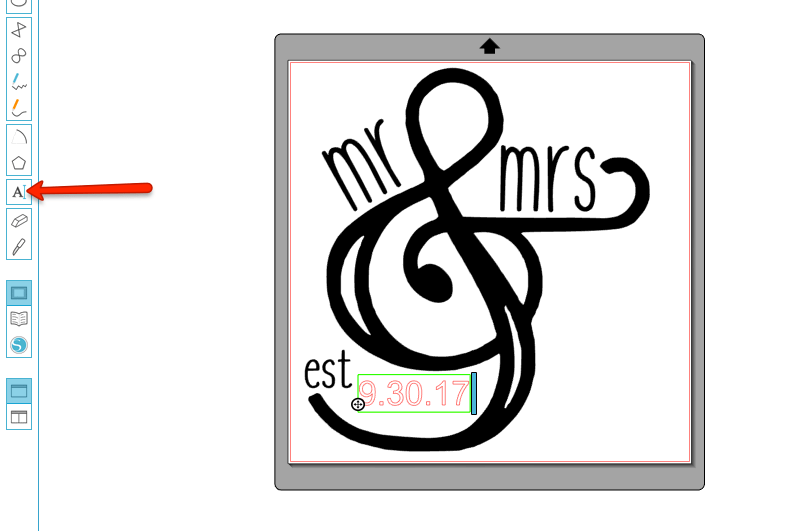
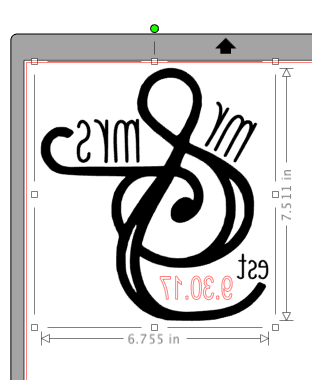
Next I typed out the date and sized it to fit. Select the date you just added and the design and right click->group. This will make it so your design and date all resize together. Finally, right click->flip horizontally. This will reverse your design for heat transfer:
I cut the design from smooth black heat transfer vinyl:

To heat press the design onto the album, I lined the design up on the cover then hung the plastic pages inside the album off the side of my heat press so they didn’t melt. This also let me close my heat press on the cover and get enough pressure on the book to transfer the vinyl:
If you don’t have a heat press, no worries, you can use an iron with the same technique. Just open the book and lay it flat on your ironing surface. Cover the album and press. I covered with a tea towel and then expected to be done… but I had a sad surprise when I removed the HTV carrier sheet:
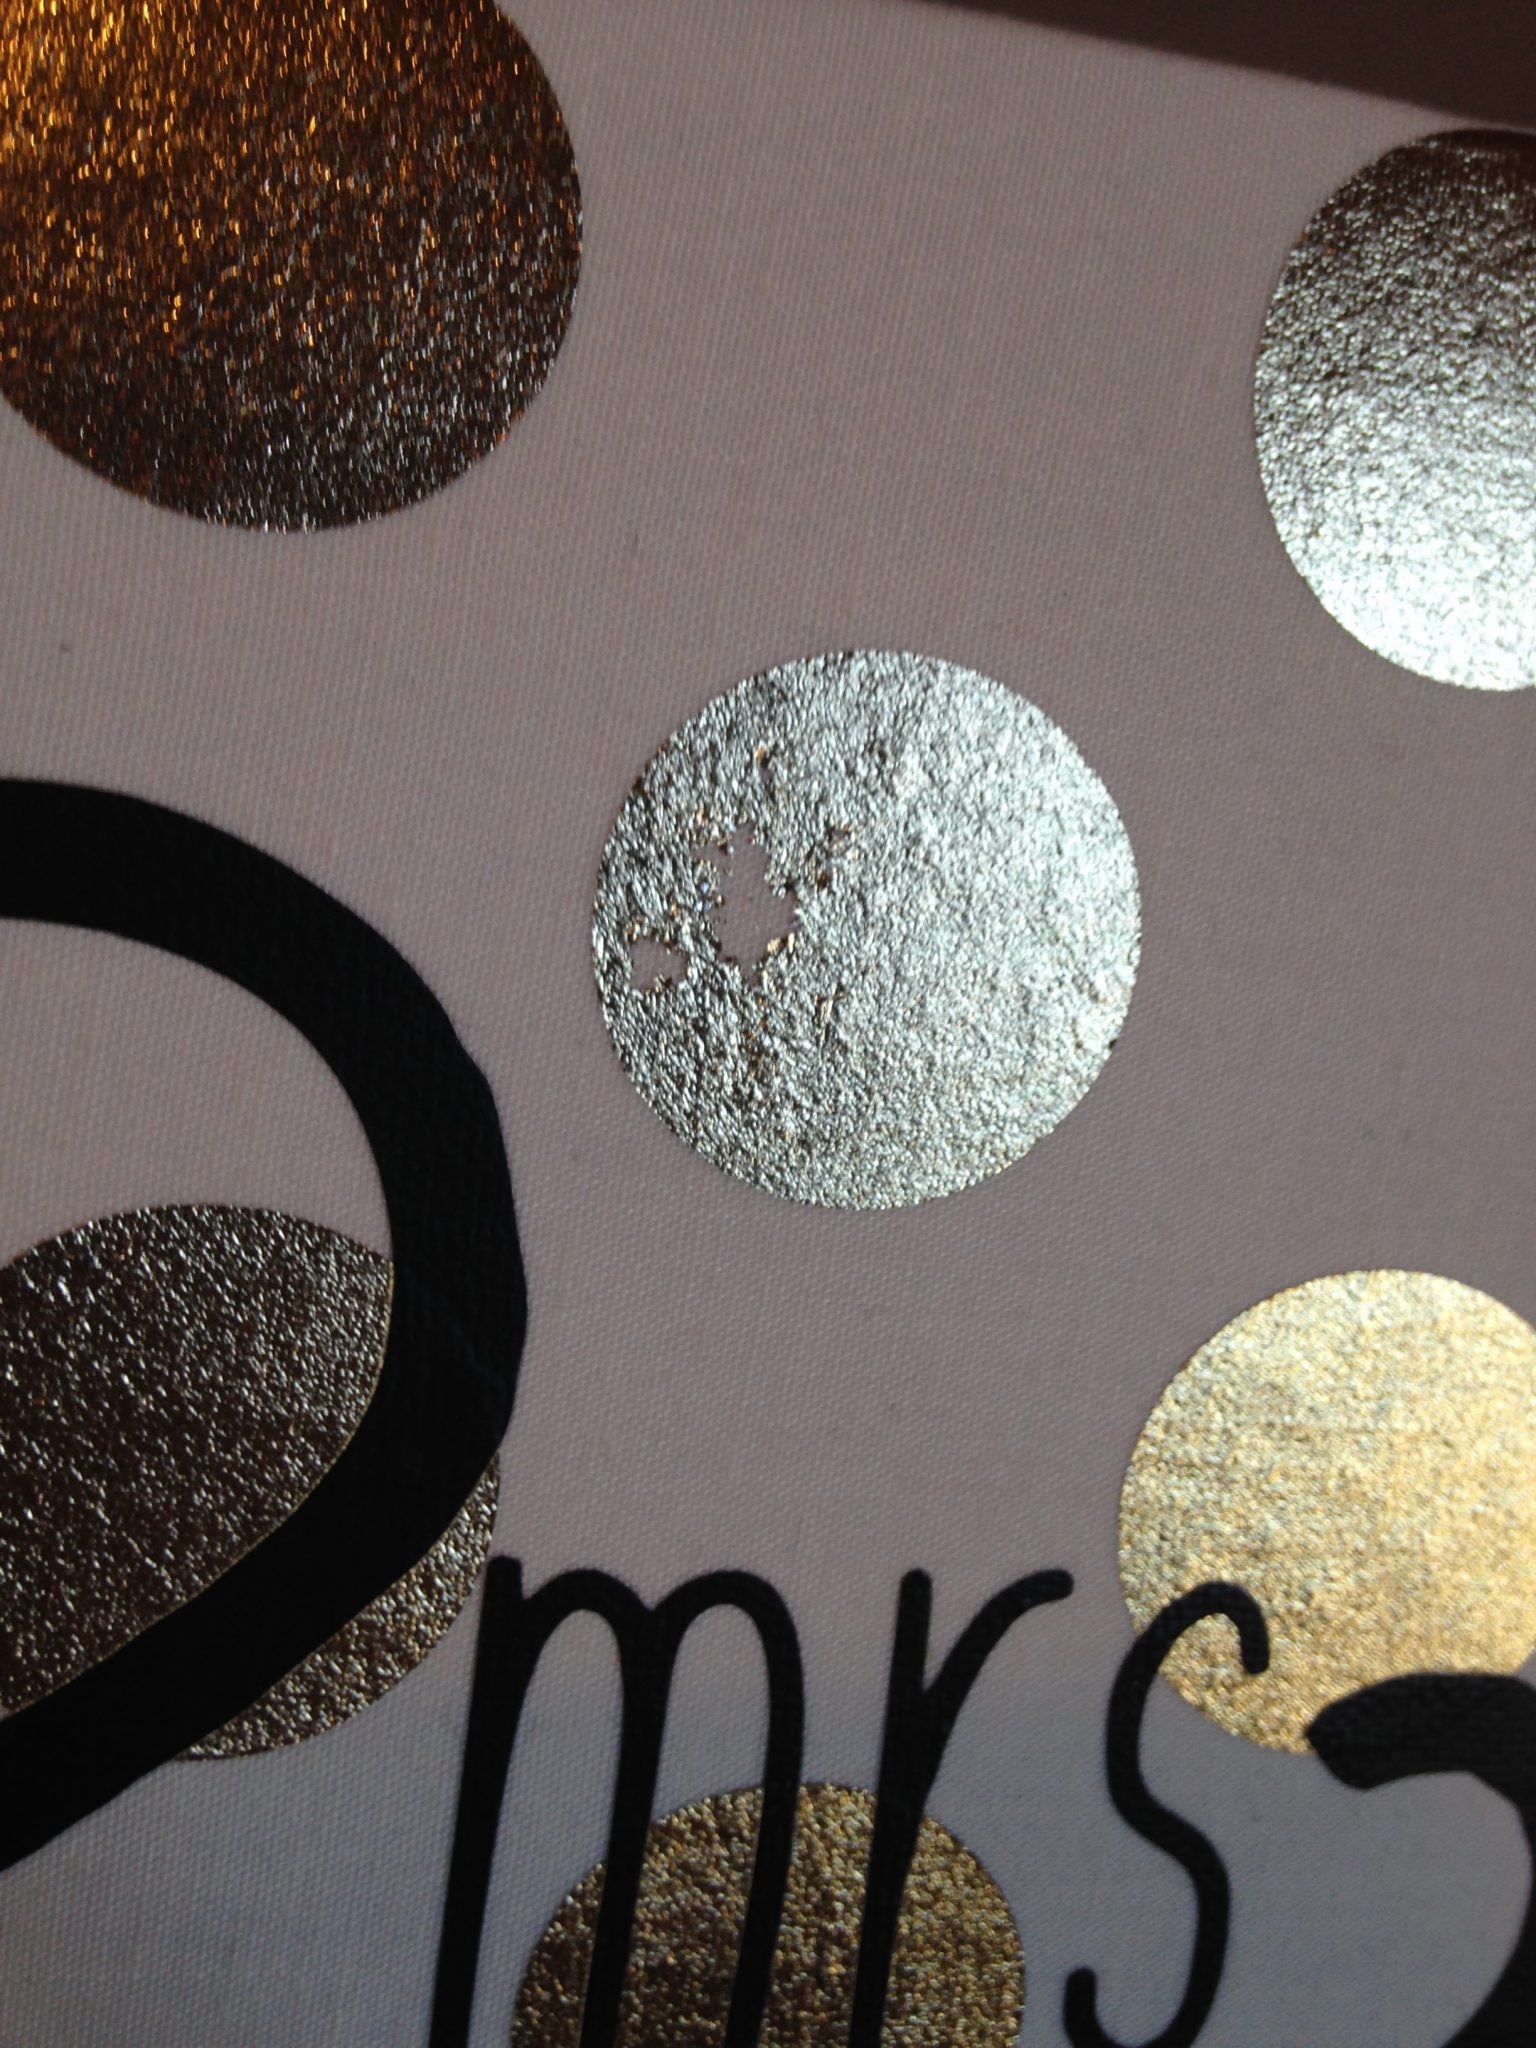
The carrier sheet is sticky and it peeled up the gold foil. Whoops! I certainly couldn’t leave this sad circle with pieces of gold missing, so I decided to fix it by covering it up with silver glitter heat transfer:

Once I had fixed my whoops circle, I added a few more silver circles on both the front and back of the album to make it look intentional (hey, who says sprakley silver dots weren’t part of the design?!). I even layered in a scrap of gold glitter heat transfer and added a heart to the bottom corner of the album:
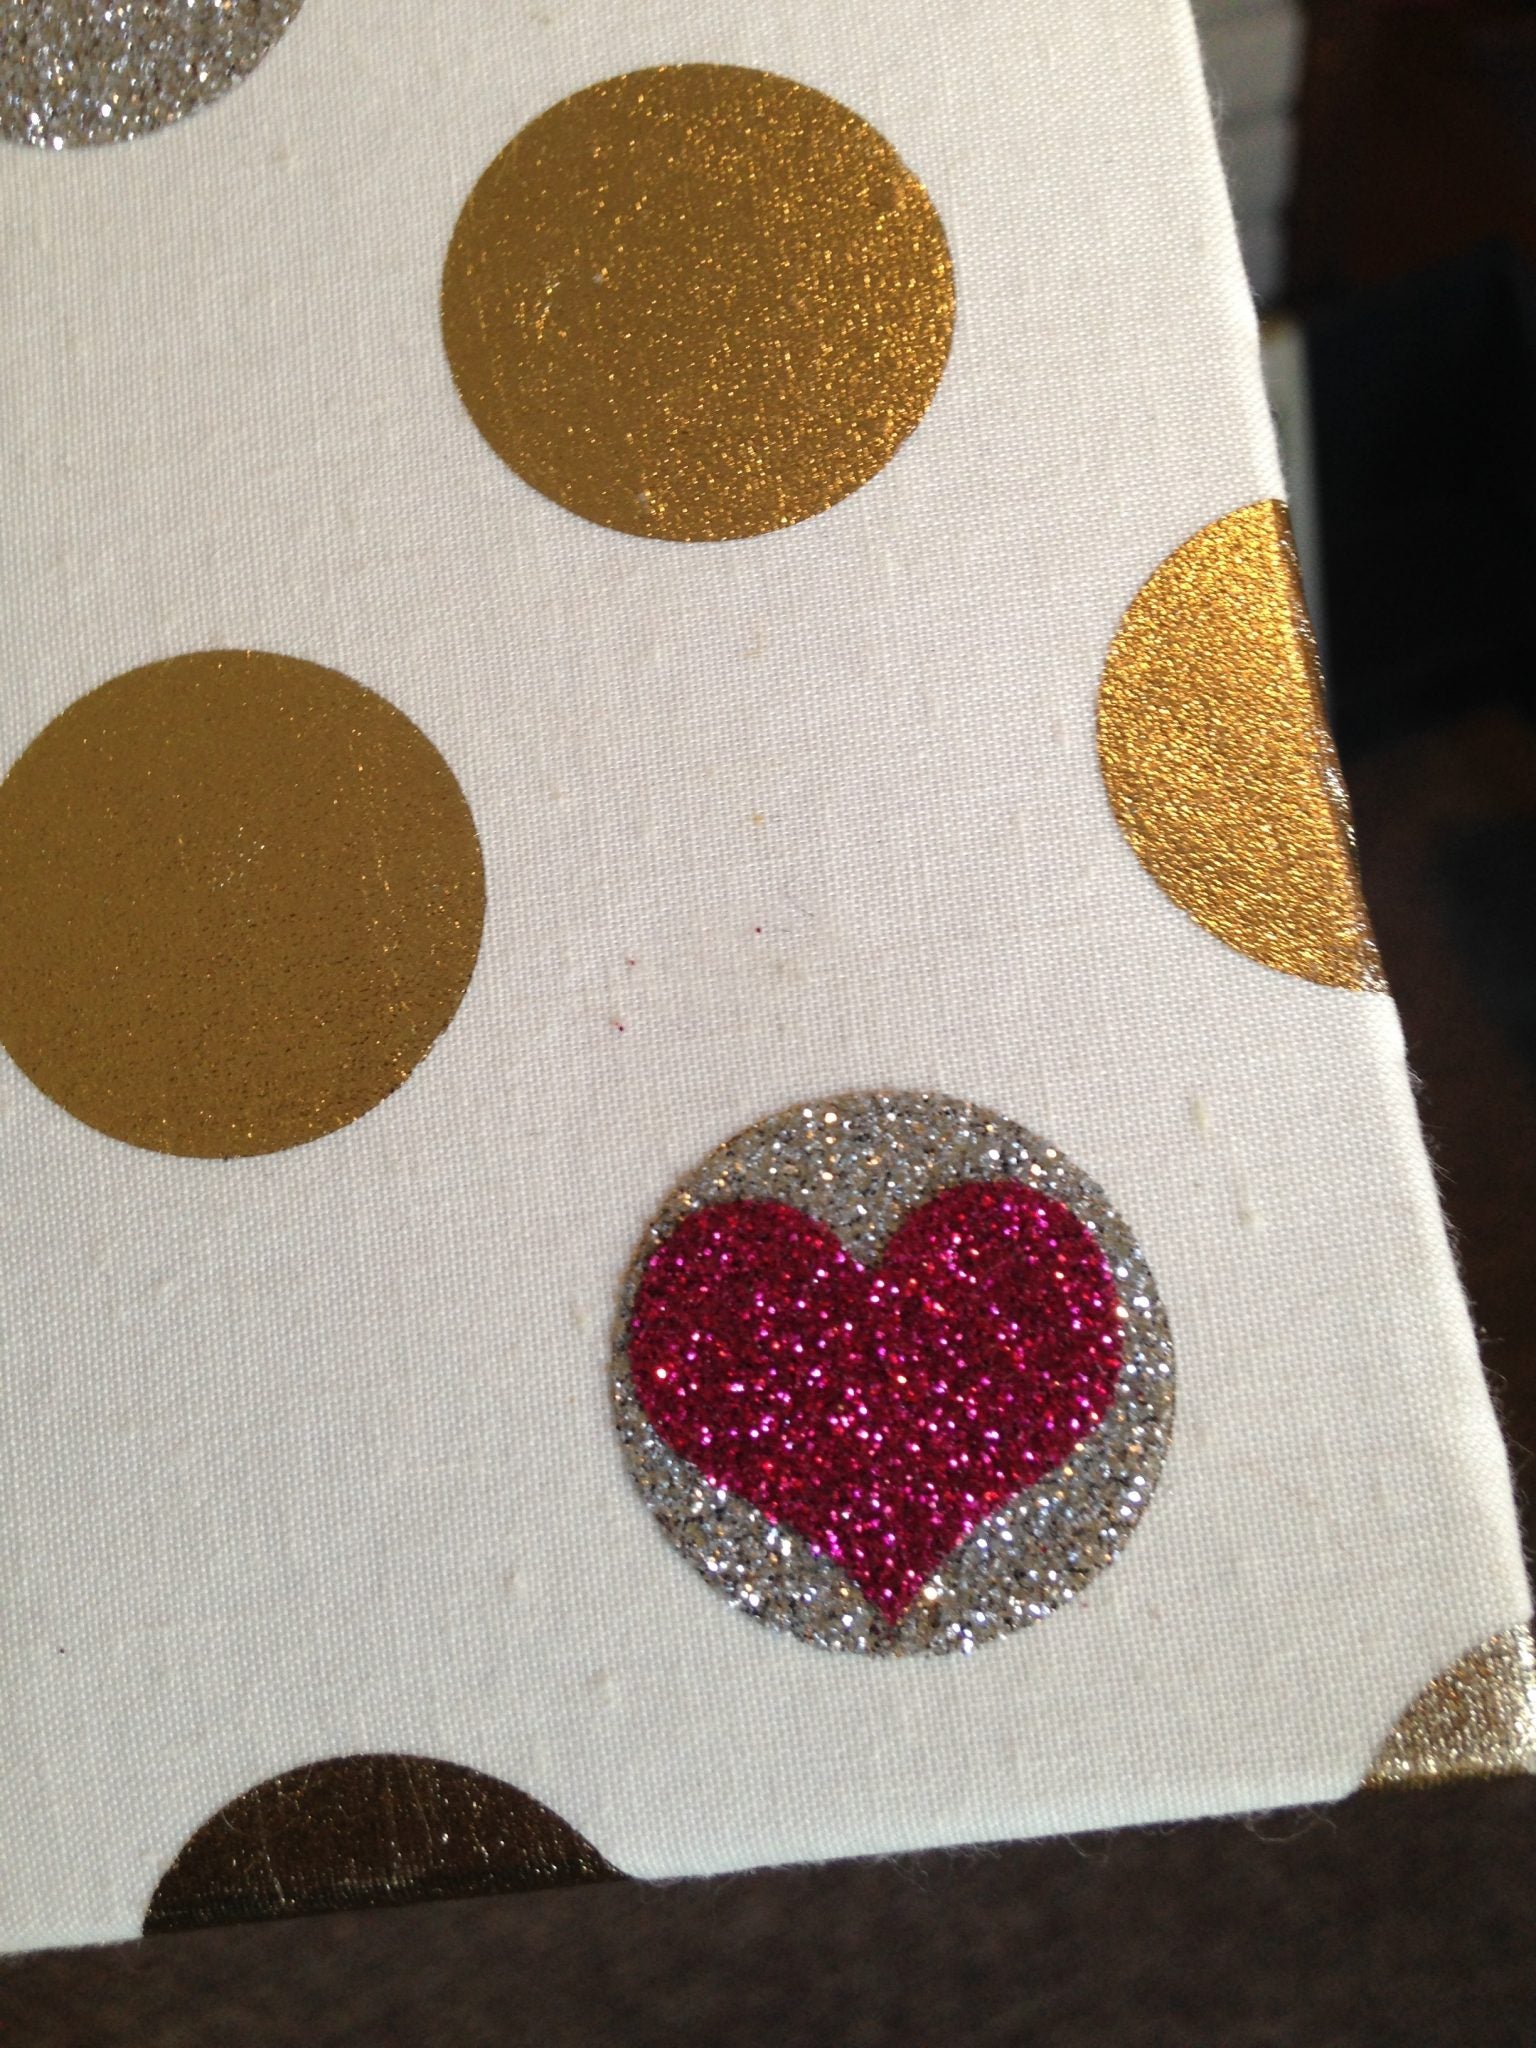
To layer glitter heat transfer, put one layer down and press, then put the next layer down and press again. It is generally said to not layer glitter heat transfer, but I think it will be okay on the album. If I were making a shirt and wanted to layer glitter heat transfer, I would the designs subtract so you have one layer instead of two stacked.

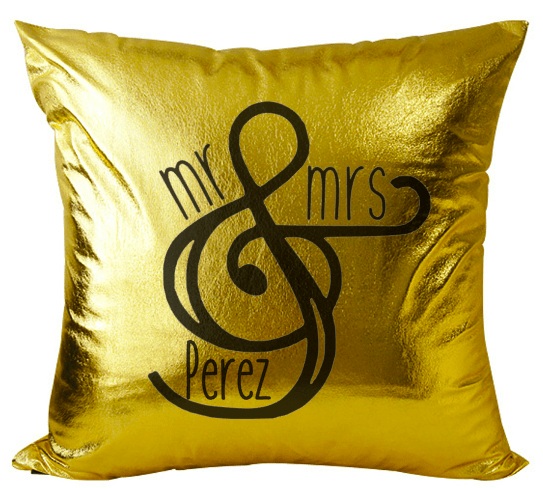
This design would also be great for a pillow or wooden sign as well! If the est. doesn’t fit into your project, ungroup and delete that portion:

FEATURED SALES