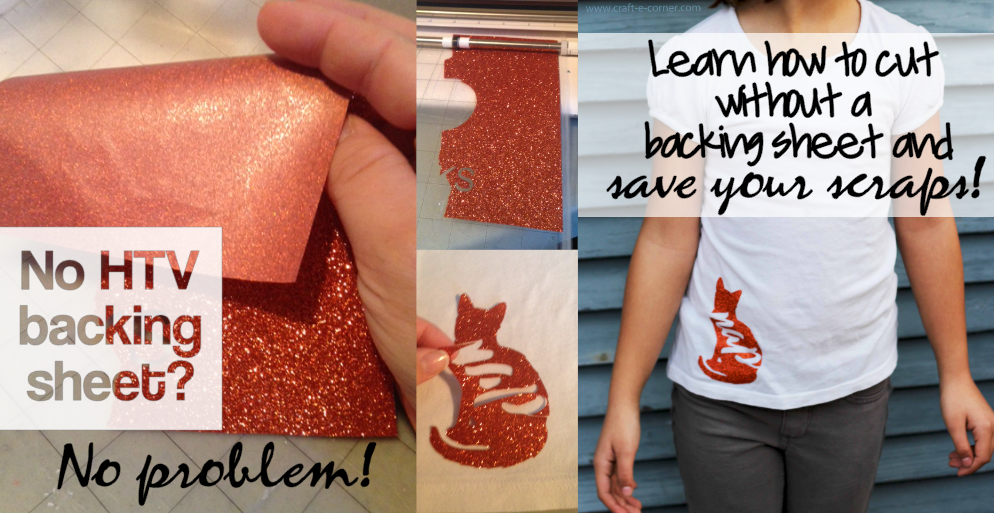
Cutting HTV Without A Backing Sheet (Save Your Scraps!)
At some point, you may end up with a piece of heat transfer that has come off the backing sheet. Is it garbage? No! Keep that piece and USE it!

Heat transfer vinyl normally comes on a clear backing/transfer sheet. It’s sticky and it holds the vinyl in place so you can put it on your project surface without it moving. If you should ever get a scrap of HTV that comes off the backing sheet, you can still use it, let me show you how!
Note: this technique only really works with Glitter HTV or other thicker material. Smooth heat transfer vinyl gets stretched and distorted as you pull it off the backing sheet and would get stretched out even more when you try to get it off the cutting mat without the carrier sheet- so stick with something that is thicker.
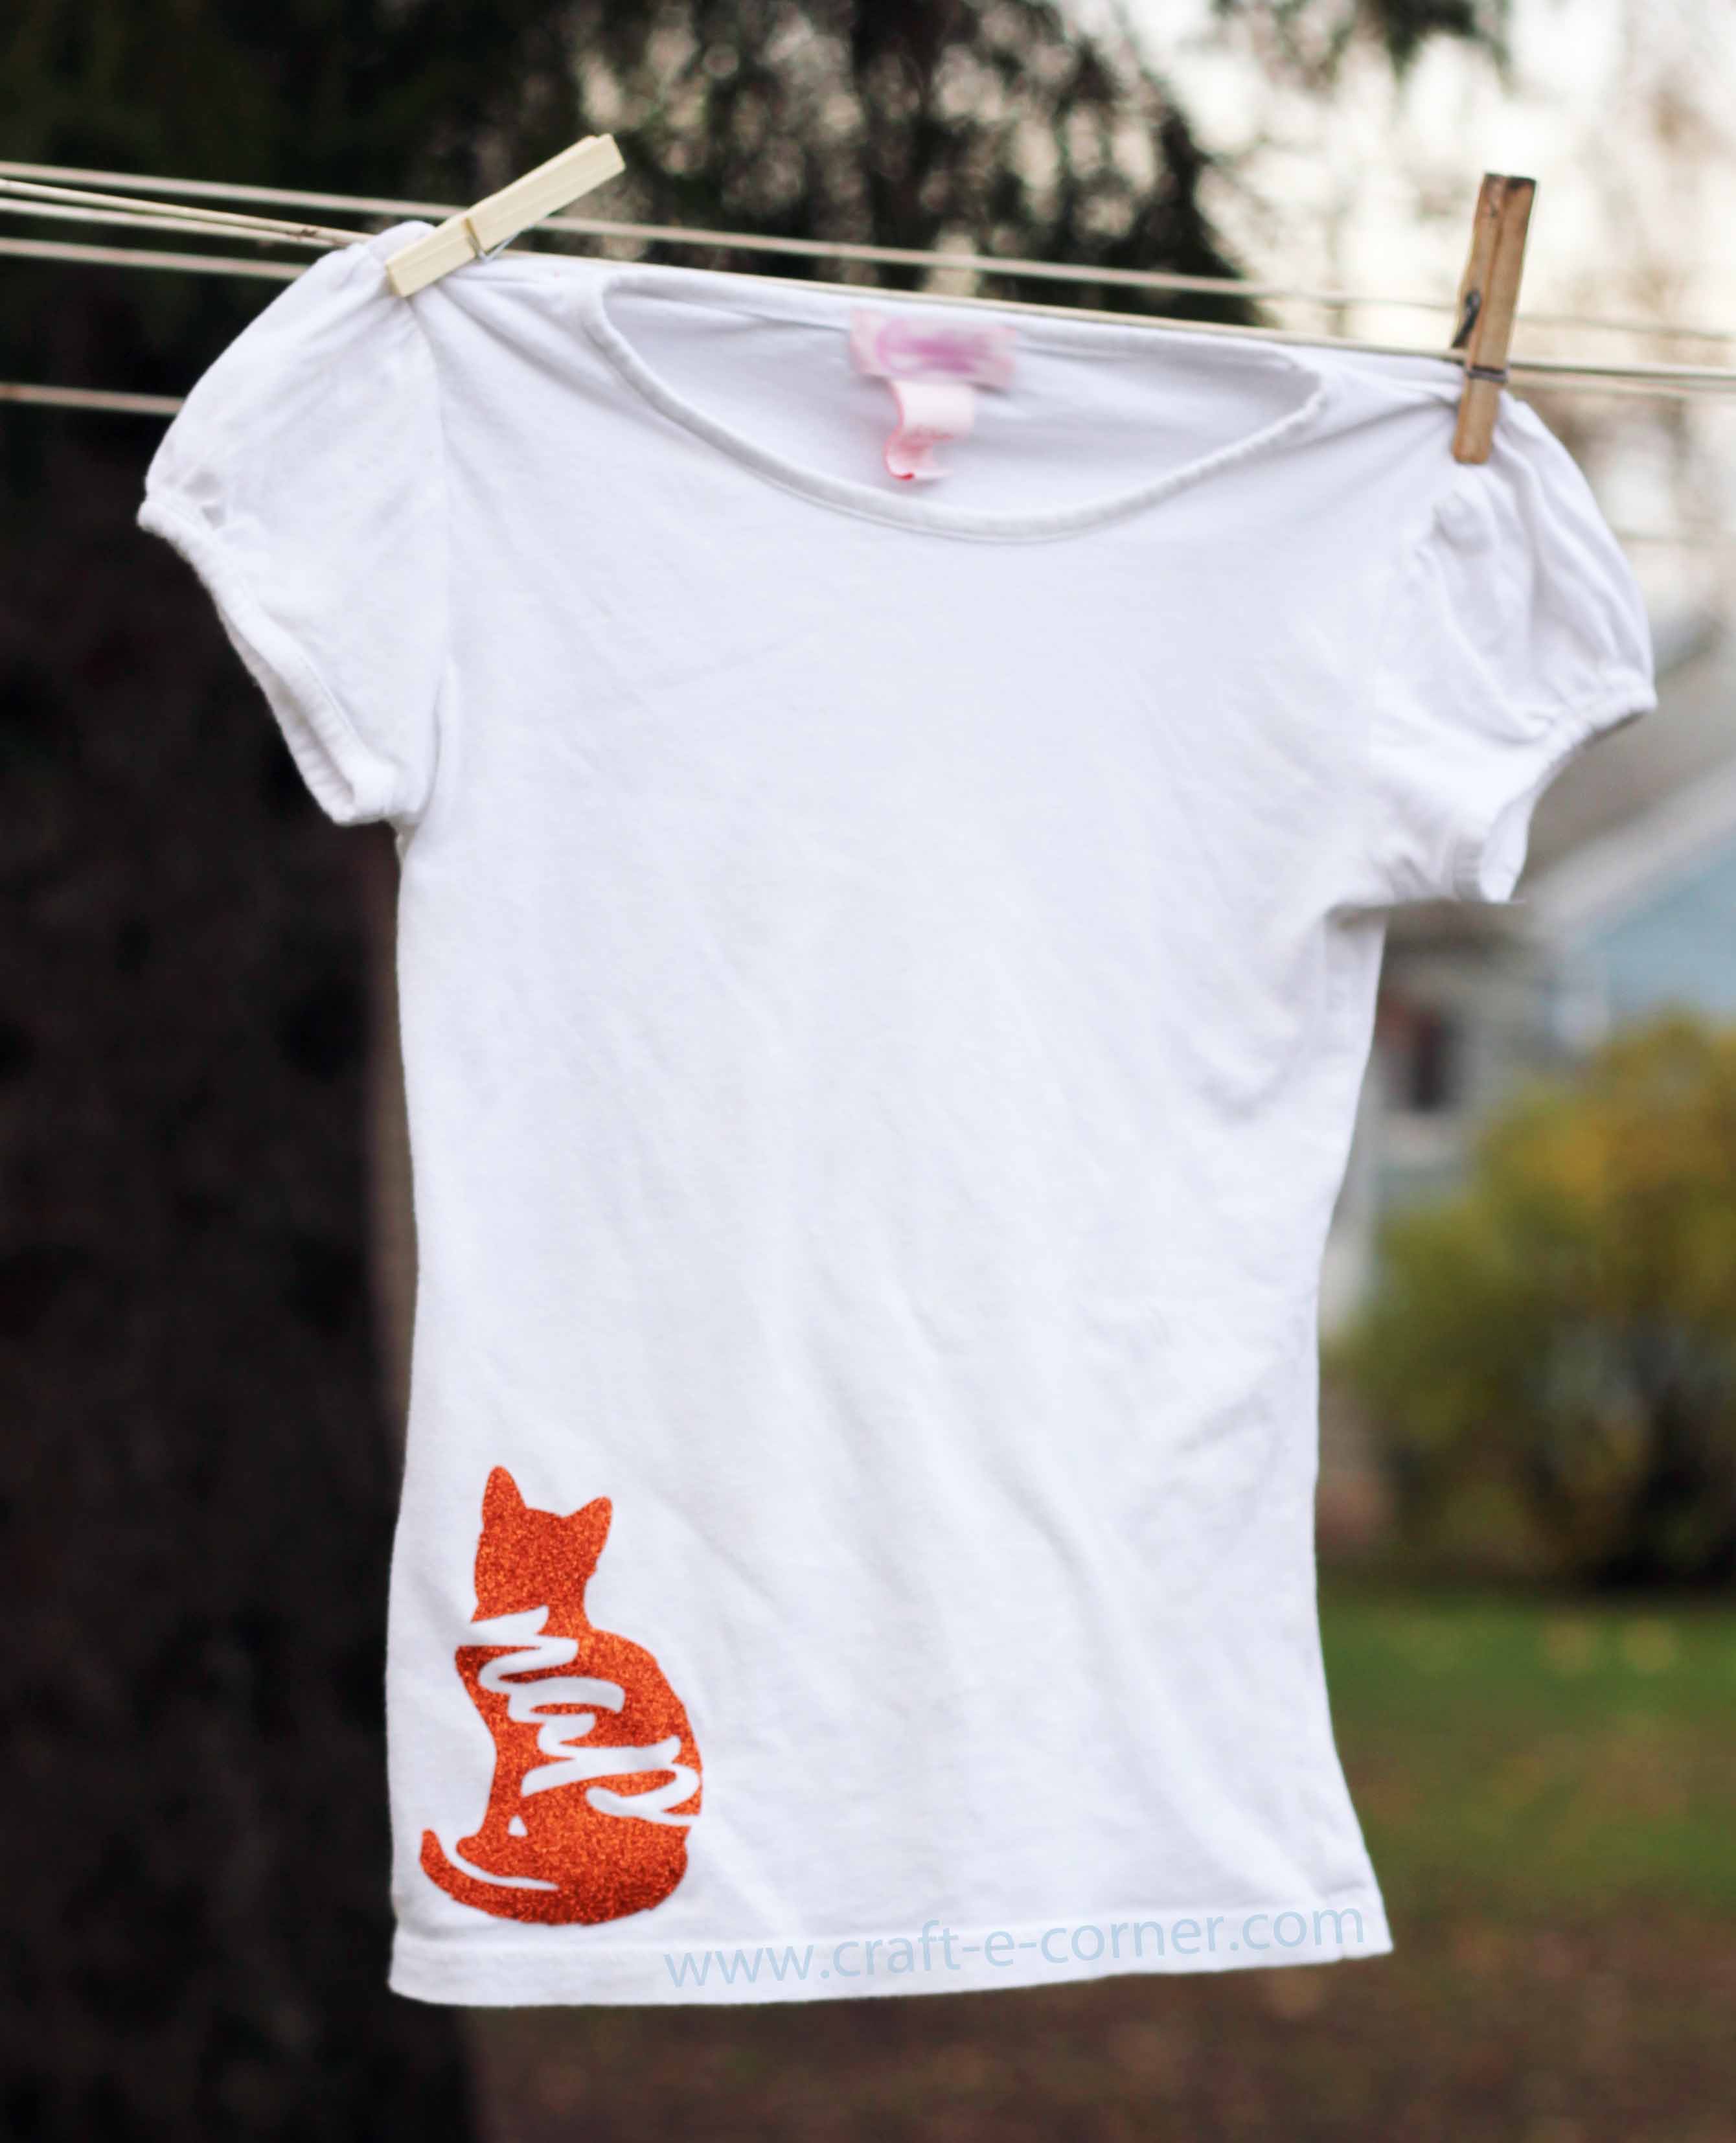
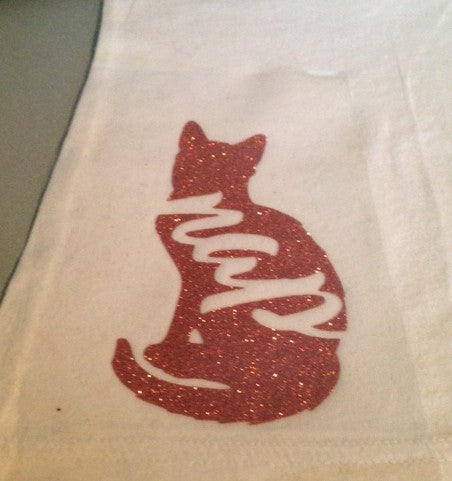
I got a small piece of orange glitter heat transfer vinyl from a trade show that was “garbage” because it didn’t have the backing sheet anymore. I thought it would be perfect to use on a shirt so I took it home and used it! Here’s a sneak peak at that finished shirt:
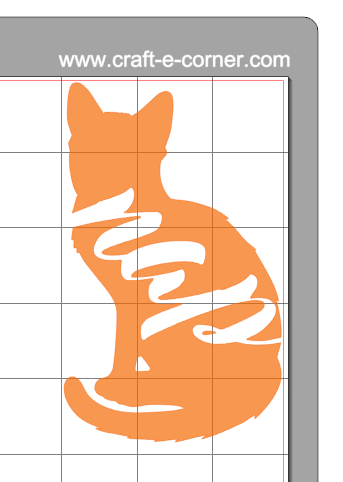
When working without a carrier sheet, you may have to more selective of the design that you cut. Once you cut the design, you’ll have pieces stuck to your cutting mat without any way to transfer those pieces as a group, so choose what you will cut with that in mind. The “cat nap” design I used on this shirt was perfect for using this backless HTV and is one of the our 12 exclusive Heat Transfer Designs. When you first open the file, you will see:

I love these designs. I had a lot of fun designing them and I hope you love punny designs too! I thought the dog tired or cat nap designs would be perfect for a new puppy or kitten’s bed! But I have no puppy or kitten to make a bed for, so let’s get to making the shirt…
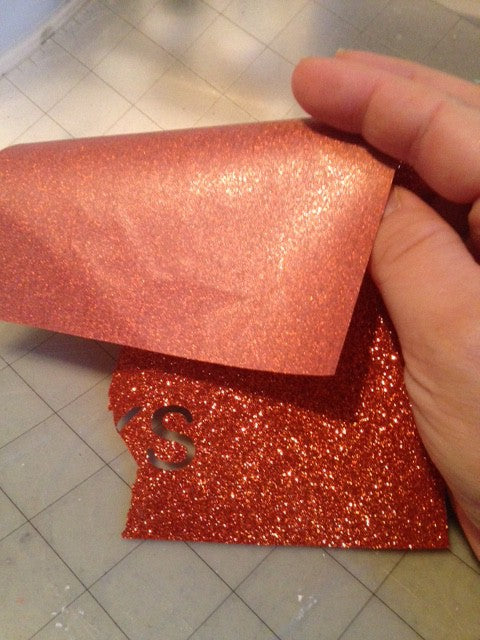
You’ll notice that a scrap of HTV without the backing sheet is much floppier than with the carrier sheet:
Cutting HTV without the backing sheet breaks all the typical HTV rules. Normally when cutting HTV you:
-cut shiny side down (the shiny side is the transfer sheet). Since we have no transfer sheet, we’re going to cut glitter side up.
-reverse the design before cutting (because the material is face down and if you don’t reverse the design, it would be backwards when you iron it on). When you don’t have a backing sheet on your HTV, cut material side up, so don’t reverse the design.
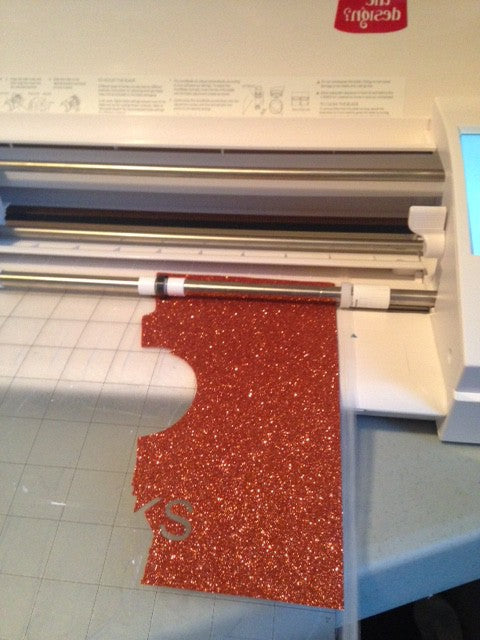
Let’s start by sticking the vinyl directly to the cutting mat, glitter side up:
Go back over to the Silhouette Cameo 3 software and size your design to fit. I had about 4 inches by 7 inches of glitter to work with, so I made my design up as big as I could:
TIP: I put the design in the upper right hand corner of the mat because it was quite sticky in that corner. If you change where you cut on your cutting mat, you will get more life out of it.
DO NOT MIRROR THE DESIGN. (resist!)
Let’s check out the cut settings:

When cutting glitter heat transfer material, you use blade 5, speed 5 and thickness 10. Since you normally do not cut through the backing sheet, you can keep the settings the same. I did check the double cut box, just to make sure it went all the way through. Now send the file to be cut. When the Cameo was done cutting, I had two pieces (because the word “nap) cuts the cat in half (poor kitty):
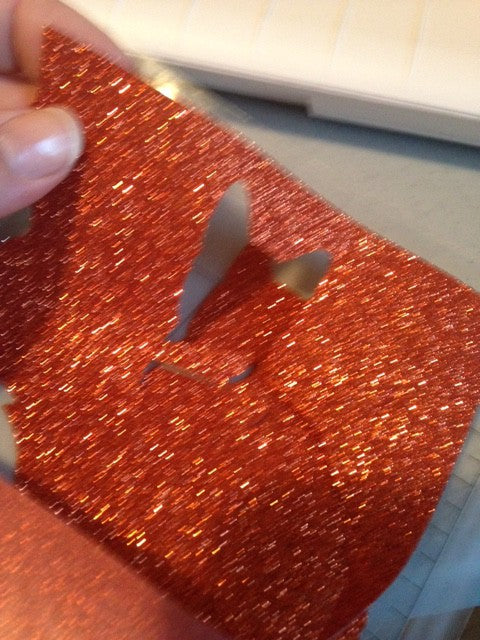
The picture is a little blurry, but you can see when you pull up the extra HTV, you’ll be left with your cut pieces stuck on your cutting mat. Ever so gently pick up those pieces, a spatula tool is helpful to work it off the cutting mat. I moved the top then the bottom piece to my shirt and aligned them:
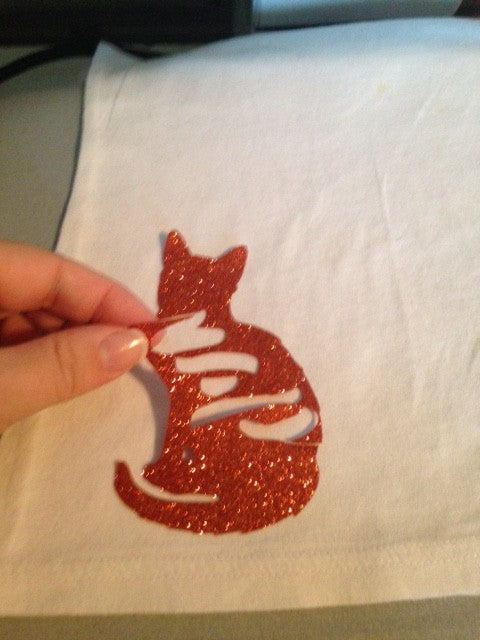
They aren’t sticky at all, so you’ll want to align them where you will iron or press them in place. If you have a scrap of HTV backing sheet, you can stick that over the top to hold it in place:
The HTV backing sheet I put over the design is hard to see in the photo above because it’s clear- but whenever I have a larger project with heat transfer vinyl, I save the backing sheet and use them when I need a piece to hold things in place. When I made these autograph puppies– the scrap backing helped hold the little pieces in place while I ironed it on.
If you don’t have a scrap of backing sheet, no worries, press the top layer for a quick second (just to tack it in place), then put the bottom piece in place and then do a full press over the whole design. Make sure to cover your vinyl before pressing!
I almost never throw away glitter HTV scraps. Big or small! Adding a little bit of glitter to a project can make such a difference, so I hoard those scraps! I hope you’ll hang on to your “garbage” too, now that you know how to cut without the backing sheet!

FEATURED SALES