
How to Distress Iron-On HTV (Without Tedious Weeding)
Distressed fonts and shapes are so on trend. While you can always buy pre-created distressed fonts and shapes, learning how to make your own will give you artistic freedom (and it’s easier than you think).

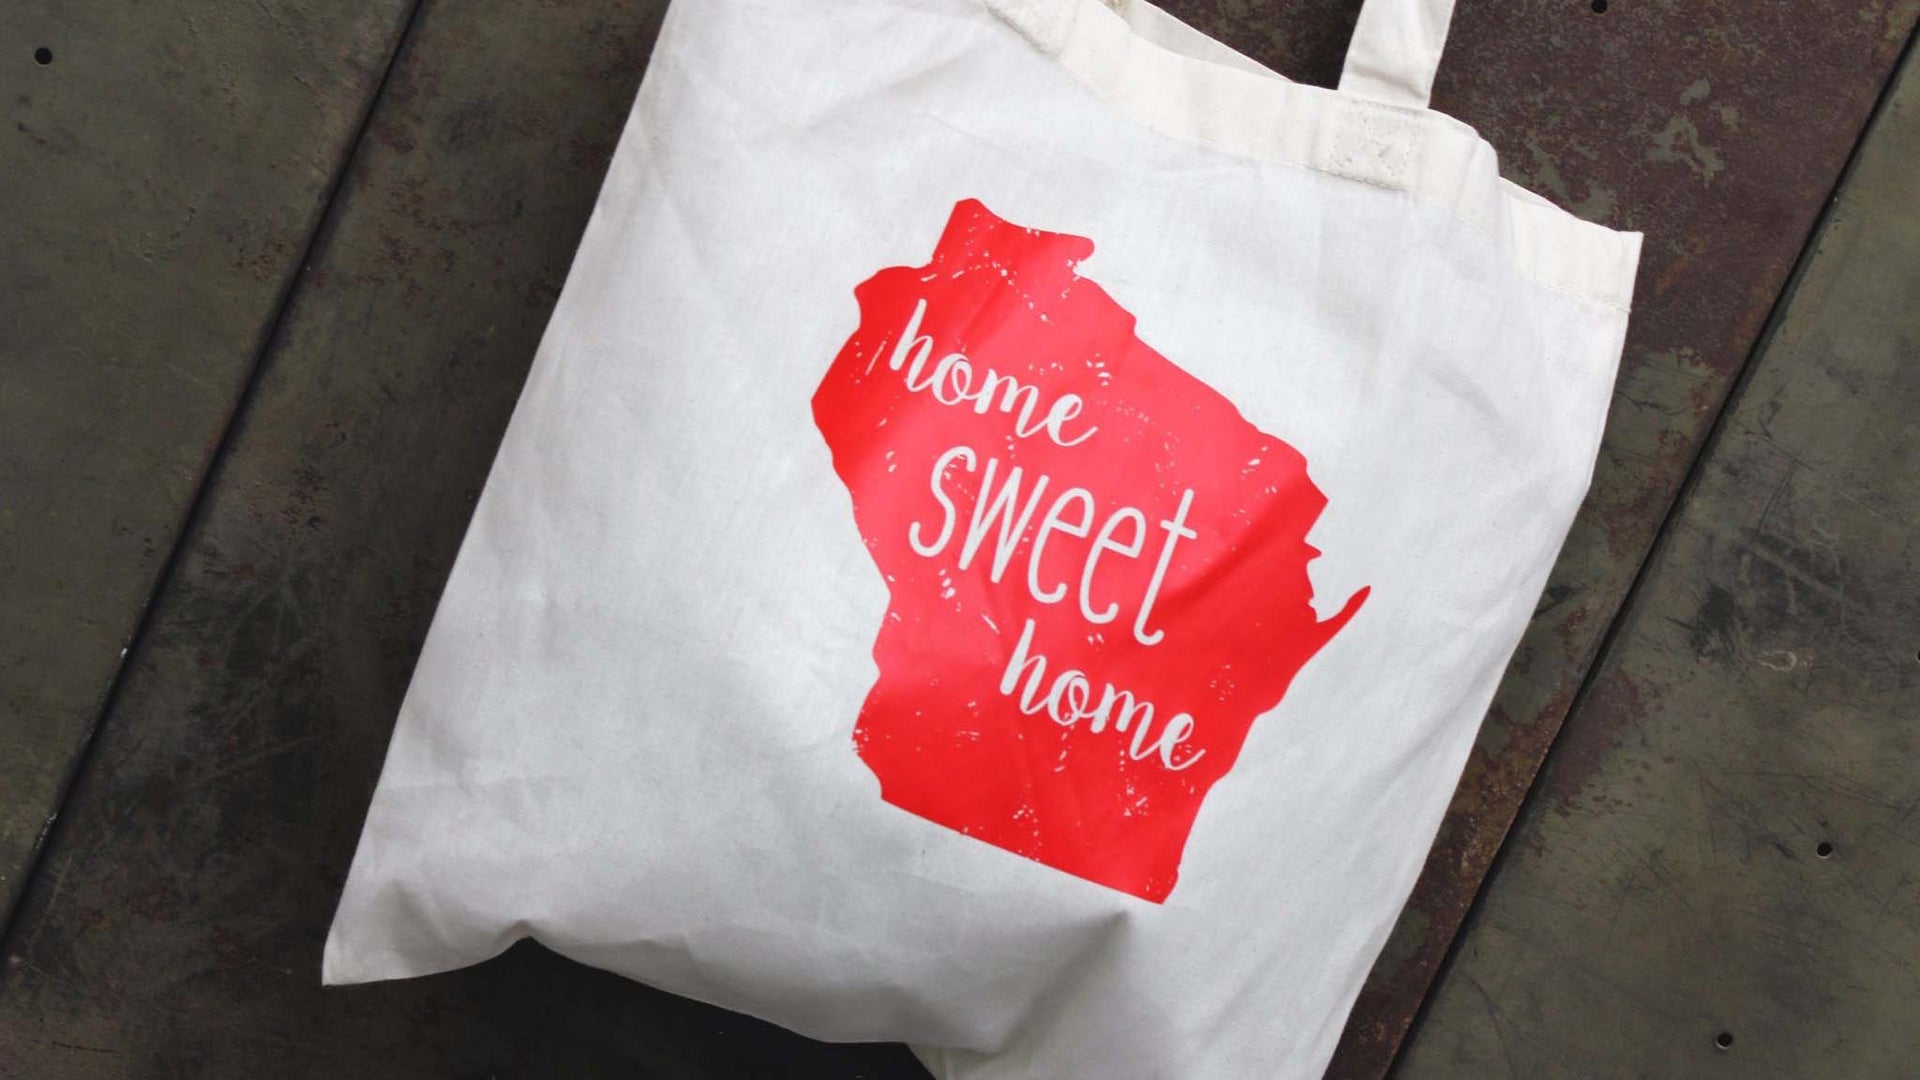
I wanted to create a distressed design for my newest reusable shopping bag. It was just a plain bag and it needed something on it! Here’s a peak at the finished project.

Before cutting my design, I considered my options to achieve the distressed look I wanted. There are several ways you can distress iron-on heat transfer vinyl.
Option #1:
You can use a distressed style font or pre-distressed shape, but I don’t like to rely on what is already out there. I like making whatever I want.
Option #2:
Build the distressed pattern into your design for your machine to cut. I think this technique would work, but it would take forever for the machine to cut all those little details and then there would be tedious weeding afterwards. Plus, it’s too predictable if you wanted to make more than one of the same project. I like that distressing is random!
Option #3:
I decided on this option - distressing the vinyl manually after the machine cuts the undistressed design. I had my Cricut cut the design and then before I weeded anything, I used a PedEgg (a pedicure tool) to take random chunks out of the heat transfer vinyl. I use this PedEgg for this purpose only.

Test the technique out before you go full tilt into it and make sure you are achieving the results you like. I found that holding the vinyl over the edge of the table made it easier for the file to take small pieces of the heat transfer vinyl.
Note: This is red heat transfer vinyl, but the backing of it (which is facing up in the photo below) is white. Most HTV has the same color on both sides, one is usually shiny and the other dull, but that is not always the case.
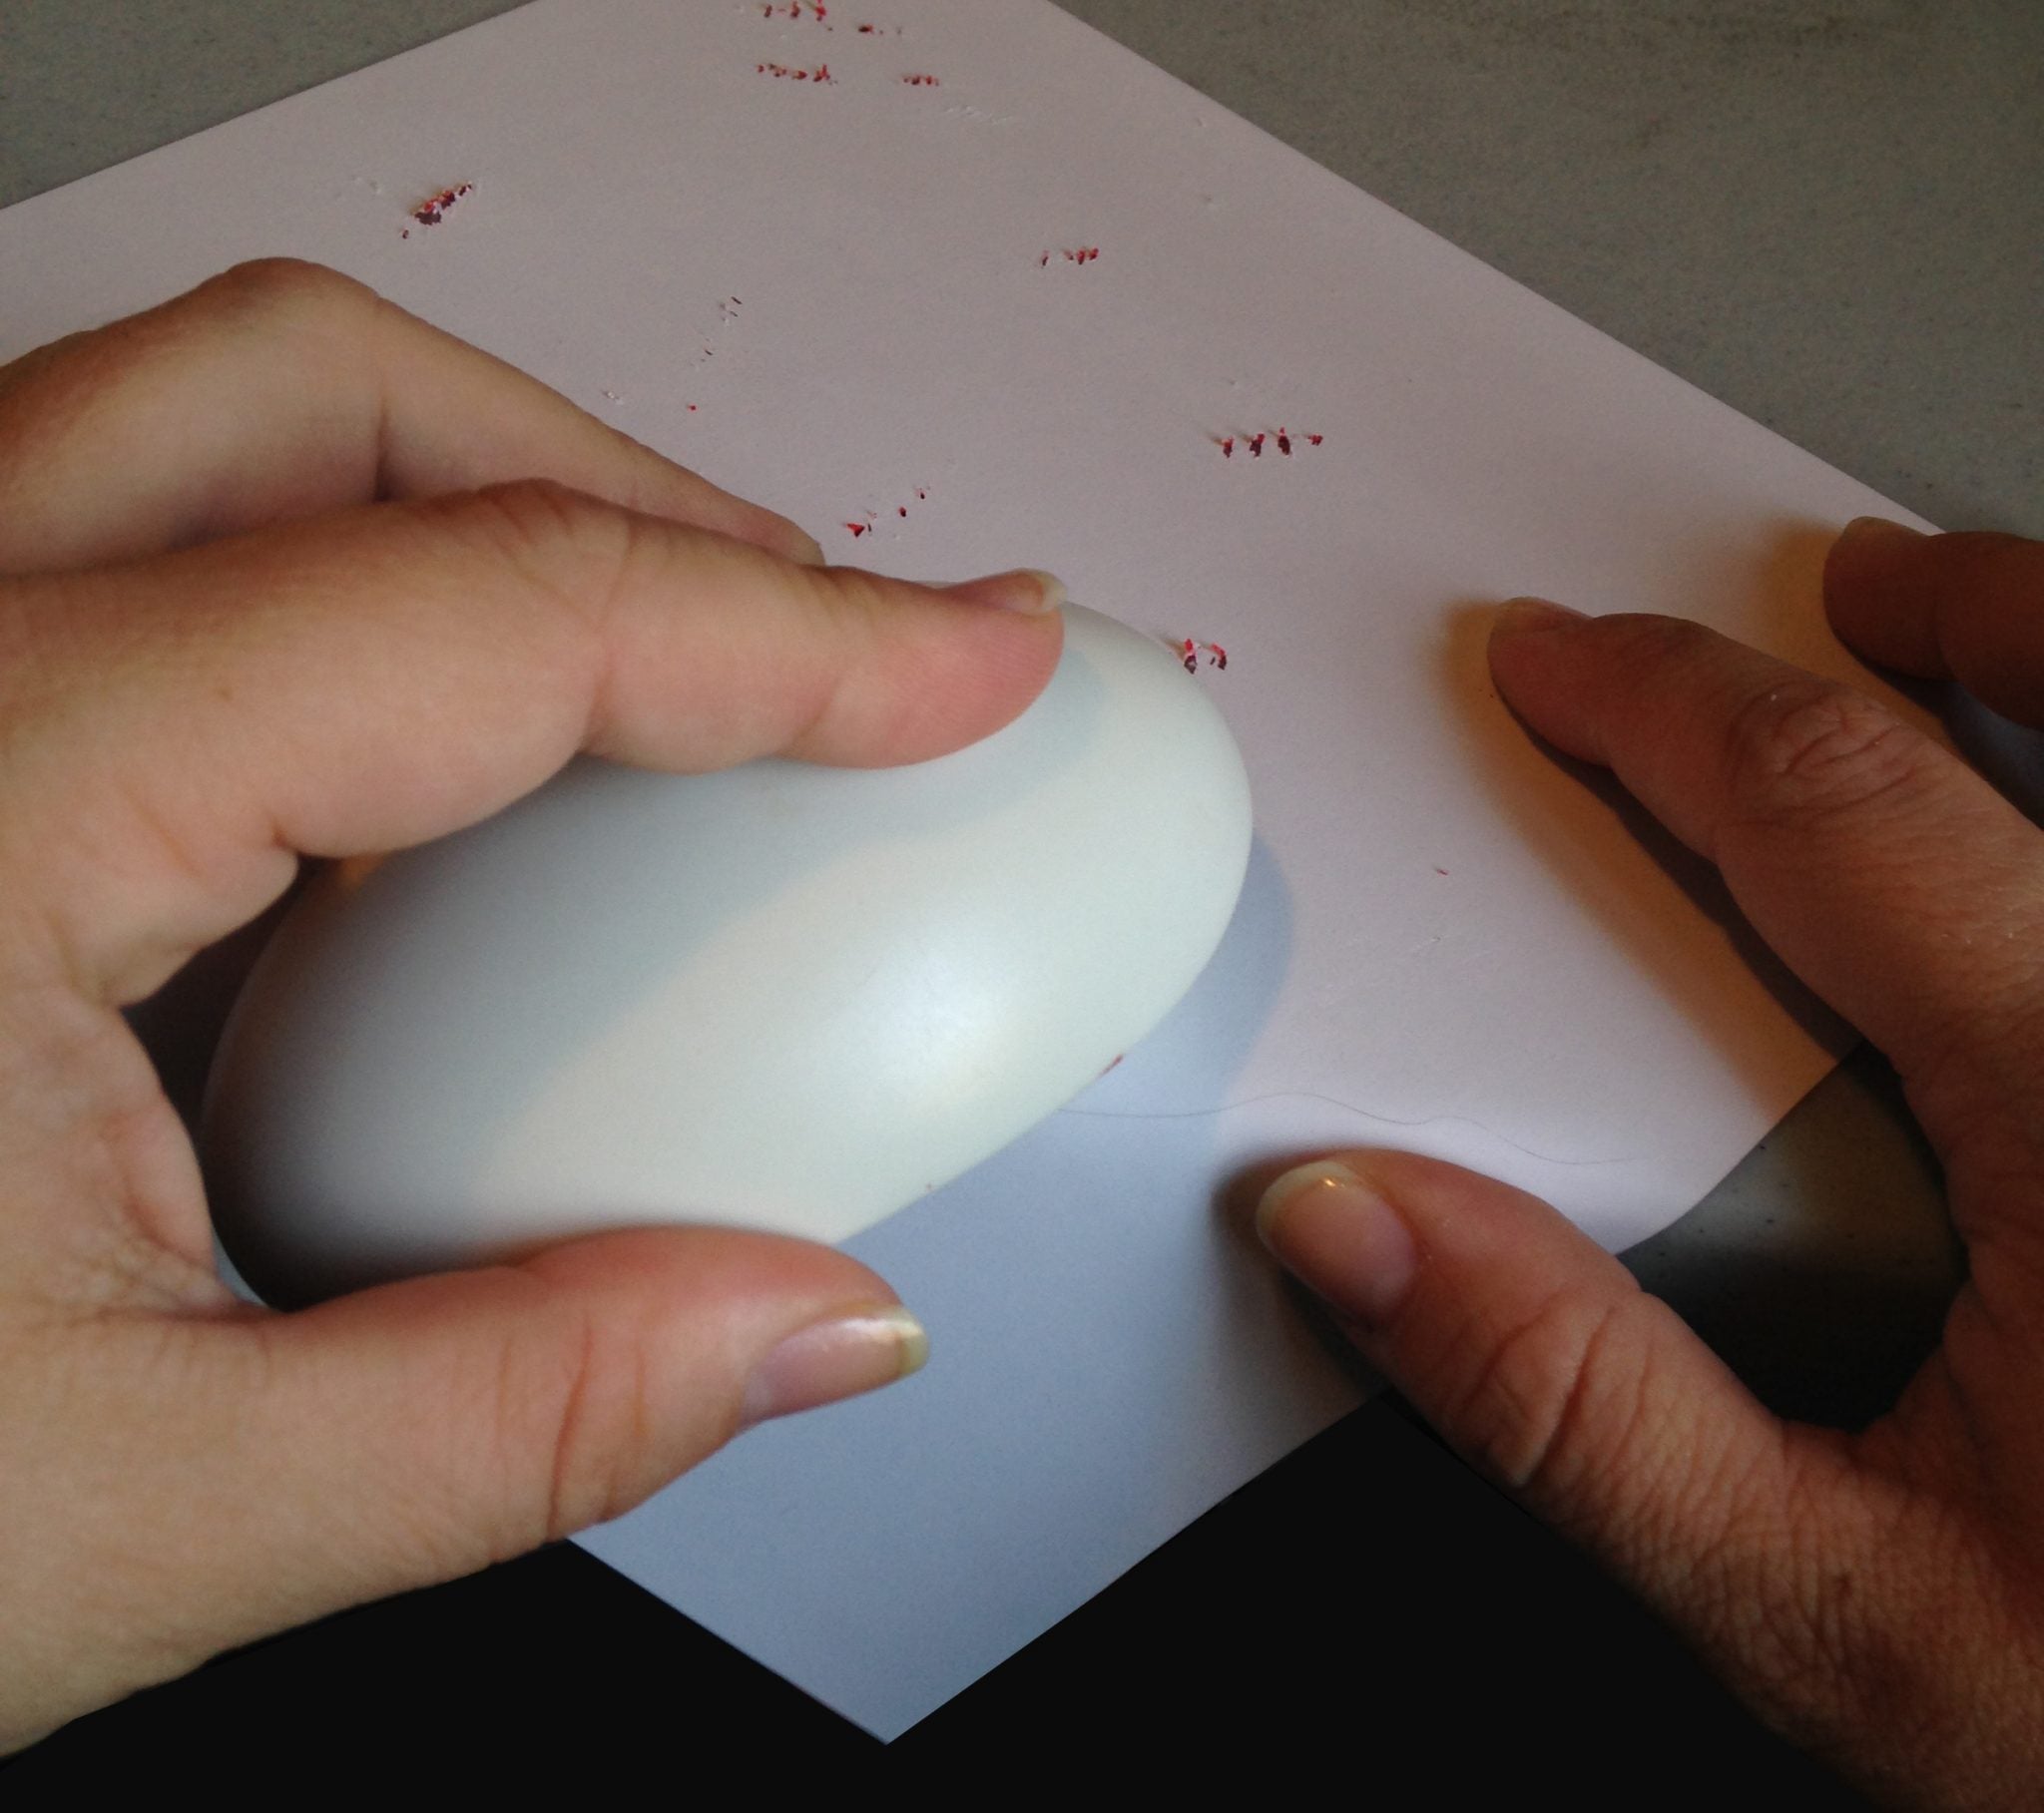
Make sure you go all the way through the iron-on to the sticky clear carrier sheet. If all you do is scuff the back of the heat transfer vinyl, it will not give you a distressed look.
Once I felt like I had enough random chunks taken out of the iron-on, I weeded the design. You could weed the design and then distress it, but the carrier sheet is sticky and all those little bits you are removing will stick to the carrier sheet. I didn’t want extra little pieces on the inside of my letters or around my state, so I waited to weed until I was done distressing to keep all those little bits from becoming part of my final project.
Once I fully weeded the design, I applied the iron-on like normal and the project was complete.

Check out that distressing.

Don’t have a PedEgg? No problem - you can use other “distressing” tools. All you need is something with “teeth” to scrap pieces of the vinyl off. A cheese grater would be a good alternative. You could probably find all sorts of tools to use for this purpose - experiment on a scrap piece of iron-on HTV to see what gives you the look you like most!
Do you think you’ll give this technique a try? Have fun experimenting and Happy Crafting! - Kala
FEATURED SALES


2 comments
Can’t wait to try it today.
Your project looks great and I love the technique and can’t wait to try.