
Free Shipping
On Orders $49+
On Orders $49+

I love pink flamingos! Don’t you? When I was a kid, I remember stopping to see the pink flamingos every time we went to the zoo with my Grandma. There’s something about giant pink birds on stilt-like legs that you just have to love.
And plastic yard pink flamingos? No yard is complete without one! They’re so gaudy that I can’t help but love them too!
 I used vinyl as a stencil to paint this hand made tray, let me give you some pointers on making your own.
This is design #7 in a series of 12 Exclusive Vinyl designs. >>CLICK HERE TO BUY ALL 12 VINYL DESIGNS<<
I decided to design this fun plastic pink flamingo cut file:
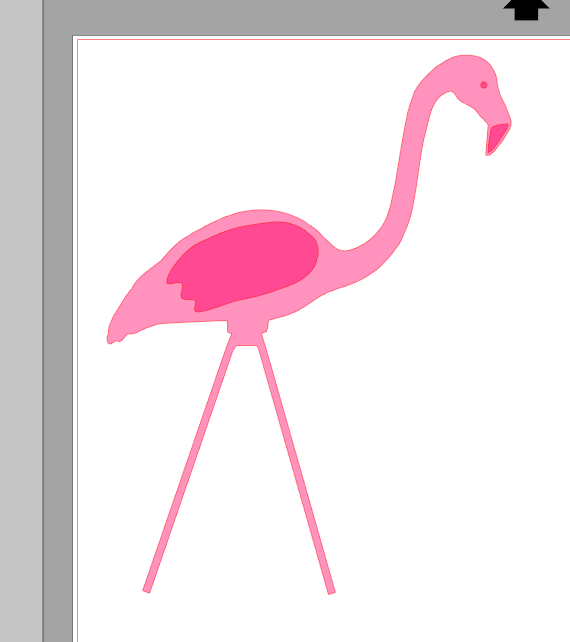
It’s on the simple side, but sometimes I think simple is best.
I started out this project by building this simple tray using some scrap wood and pallet boards:

I painted everything white and then added in some turquoise on the outside and a nice sky blue color on the inside. I sanded everything down to make it shabby chic.
To add in the flamingos, I measured my tray and made a box in Silhouette studio the same size as the bottom of my tray (use the scale window to get a quick and easy box the exact size you need it). Next, I opened the pink flamingo design and ungrouped it (right click->ungroup). Once the image is ungrouped, you can click on each piece (the bill, eye and wing) and move them around. For this project, I wanted a simple silhouette of the flamingo, so I deleted all the extra details.
Next, I duplicated the flamingo design and lined them all up in the middle of my box. I rotated the design so it would fit on my 9″ vinyl:

Next, I sent the file to my Silhouette and cut the design. The color of vinyl really does not matter as I’m using the vinyl as a stencil, but you could always use the actual flamingos for another project, so keep that in mind when selecting the color of your vinyl.
Once I had cut my design, I removed the flamingos creating a stencil. Next, I moved the design from the vinyl backing sheet to my tray using transfer paper:

Once the design was centered, a burnished the vinyl onto the track and then removed the transfer paper leaving behind my stencil:

I used a round foam stencil brush to stencil in my flamingos:

I decided to go with an ombre look and can’t help but chuckle a little at the fuzzy looking flamingos:

I let the paint dry and then removed the vinyl stencil:

The paint lines are so crisp! The key to crisp paint lines is to use a sponge dauber and “pounce” the sponge around the edges of the design. This will help keep the paint from bleeding under your vinyl stencil.
To finish the tray, I wanted to add a special touch. My Grandma passed away a few years ago, so I pulled out a card with her signature on it and snapped a photo:

I brought this photo into Silhouette studio and traced it:
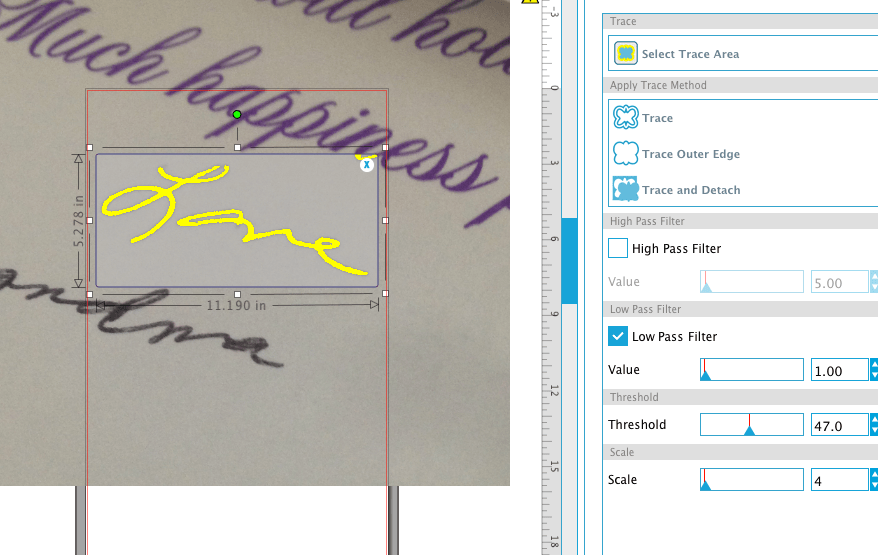
I made the image rather large to make it easier to trace. I played with the settings in the trace window until I got as clean of a trace as I could from the signature. Tracing handwriting can be a little tricky, but I have found that unchecking the high pass filter and taking the scale down as low as you can, will give you the best traces. Once my word was all yellow, I clicked “Trace” and then deleted the original image. Here’s another tutorial on How To Trace In Silhouette Studio. The final result was a cut file of my Grandma’s signature:

I cut this out with gold vinyl and added it to the bottom corner of my tray.
I love the way this turned out! This has to be one of my all time favorite things I have ever made. I love how simple it is and it holds a lot of meaning and memories.
 What reminds you of your grandparents that you could incorporate into a project? How would you personalize it with their hand writing?
See more about my 12 Exclusive Craft-e-Corner Vinyl Designs here. >>CLICK HERE TO BUY ALL 12 VINYL DESIGNS<<


Leave a comment