
How to Subtract Words From a Shape in Silhouette Studio
Knowing how to cut one design out of another will save you a headache or two. Learning how to use the Silhouette Studio Subtract Tool will do just that!

There are some important things to note when using the subtract tool, read on for a full lesson!
For this project I used the “U.S. Map” design which is part of the 12 Exclusive Heat Transfer Designs I created for Craft-e-Corner. When you first open this file, you’ll see the entire U.S. Map:

I designed this US map so it can be taken apart, state by state! There are a lot of projects you can do with this design, but today we are going to cut words out of a shape using the whole map!
I started by typing out my text and arranged the phrase over the map:

Note: The text above is filled with white to make it easier to see.
Once I had my text situated, I select both the map and the words then went to Object > Modify > Subtract:

When you hit subtract, Silhouette Studio will pause and think for a while. What it is doing is cutting the words out of all state shapes. It takes a little bit because it’s making a bunch of pieces! Once it finished, I had this:

What subtracting in Silhouette Studio has done is actually cut the words out of the state shapes. Here is the end result:

I added a pink background so you can see that the words are cut out of the states, not just filled in with white like before. When I move California away from the rest of the map, you’ll see that the letters come with the state. They are now part of the state shape. If you do not subtract the words from the design, the file will look like this instead:

Why does all this matter? Why can’t you just put the text over the states and cut it out like in my other state project? Let’s look at the design without the shapes and text being filled in with color so we can see the cut lines better:

Silhouette Studio will cut everywhere that there is a red line above. While you could still achieve the same results without subtracting, it will be a lot harder to weed with all those extra cut lines in there. You also might have a harder time getting a good cut as the blade will have to go over the same areas several times depending on your design. When you subtract, Silhouette Studio removes of all those inside lines which will save your sanity when you go to weed all the pieces that you don’t want in your design:

If you do not have a bunch of cut lines like you do on this file, the process is simpler. Check out this tutorial for another bag I created using this same file.
Now that the words are cut out of my shape, before I clicked on anything else, I pressed CTRL and G. This grouped all the pieces together as one so I can move everything all at once:

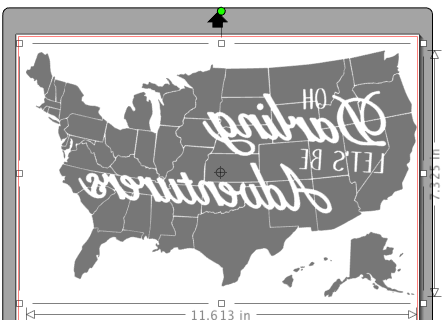
Now that the design is set, don’t forget to flip the design before cutting:
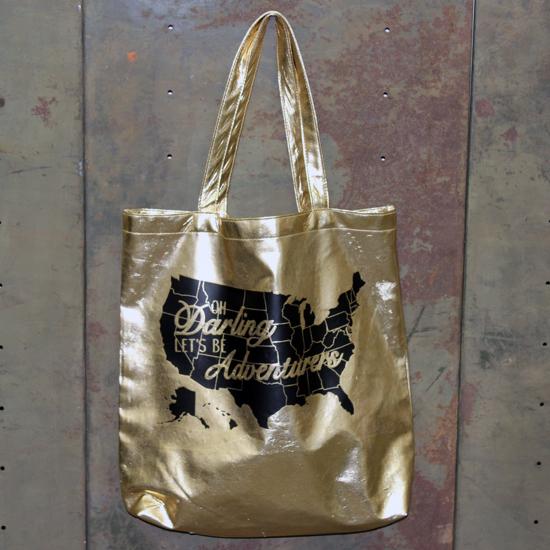
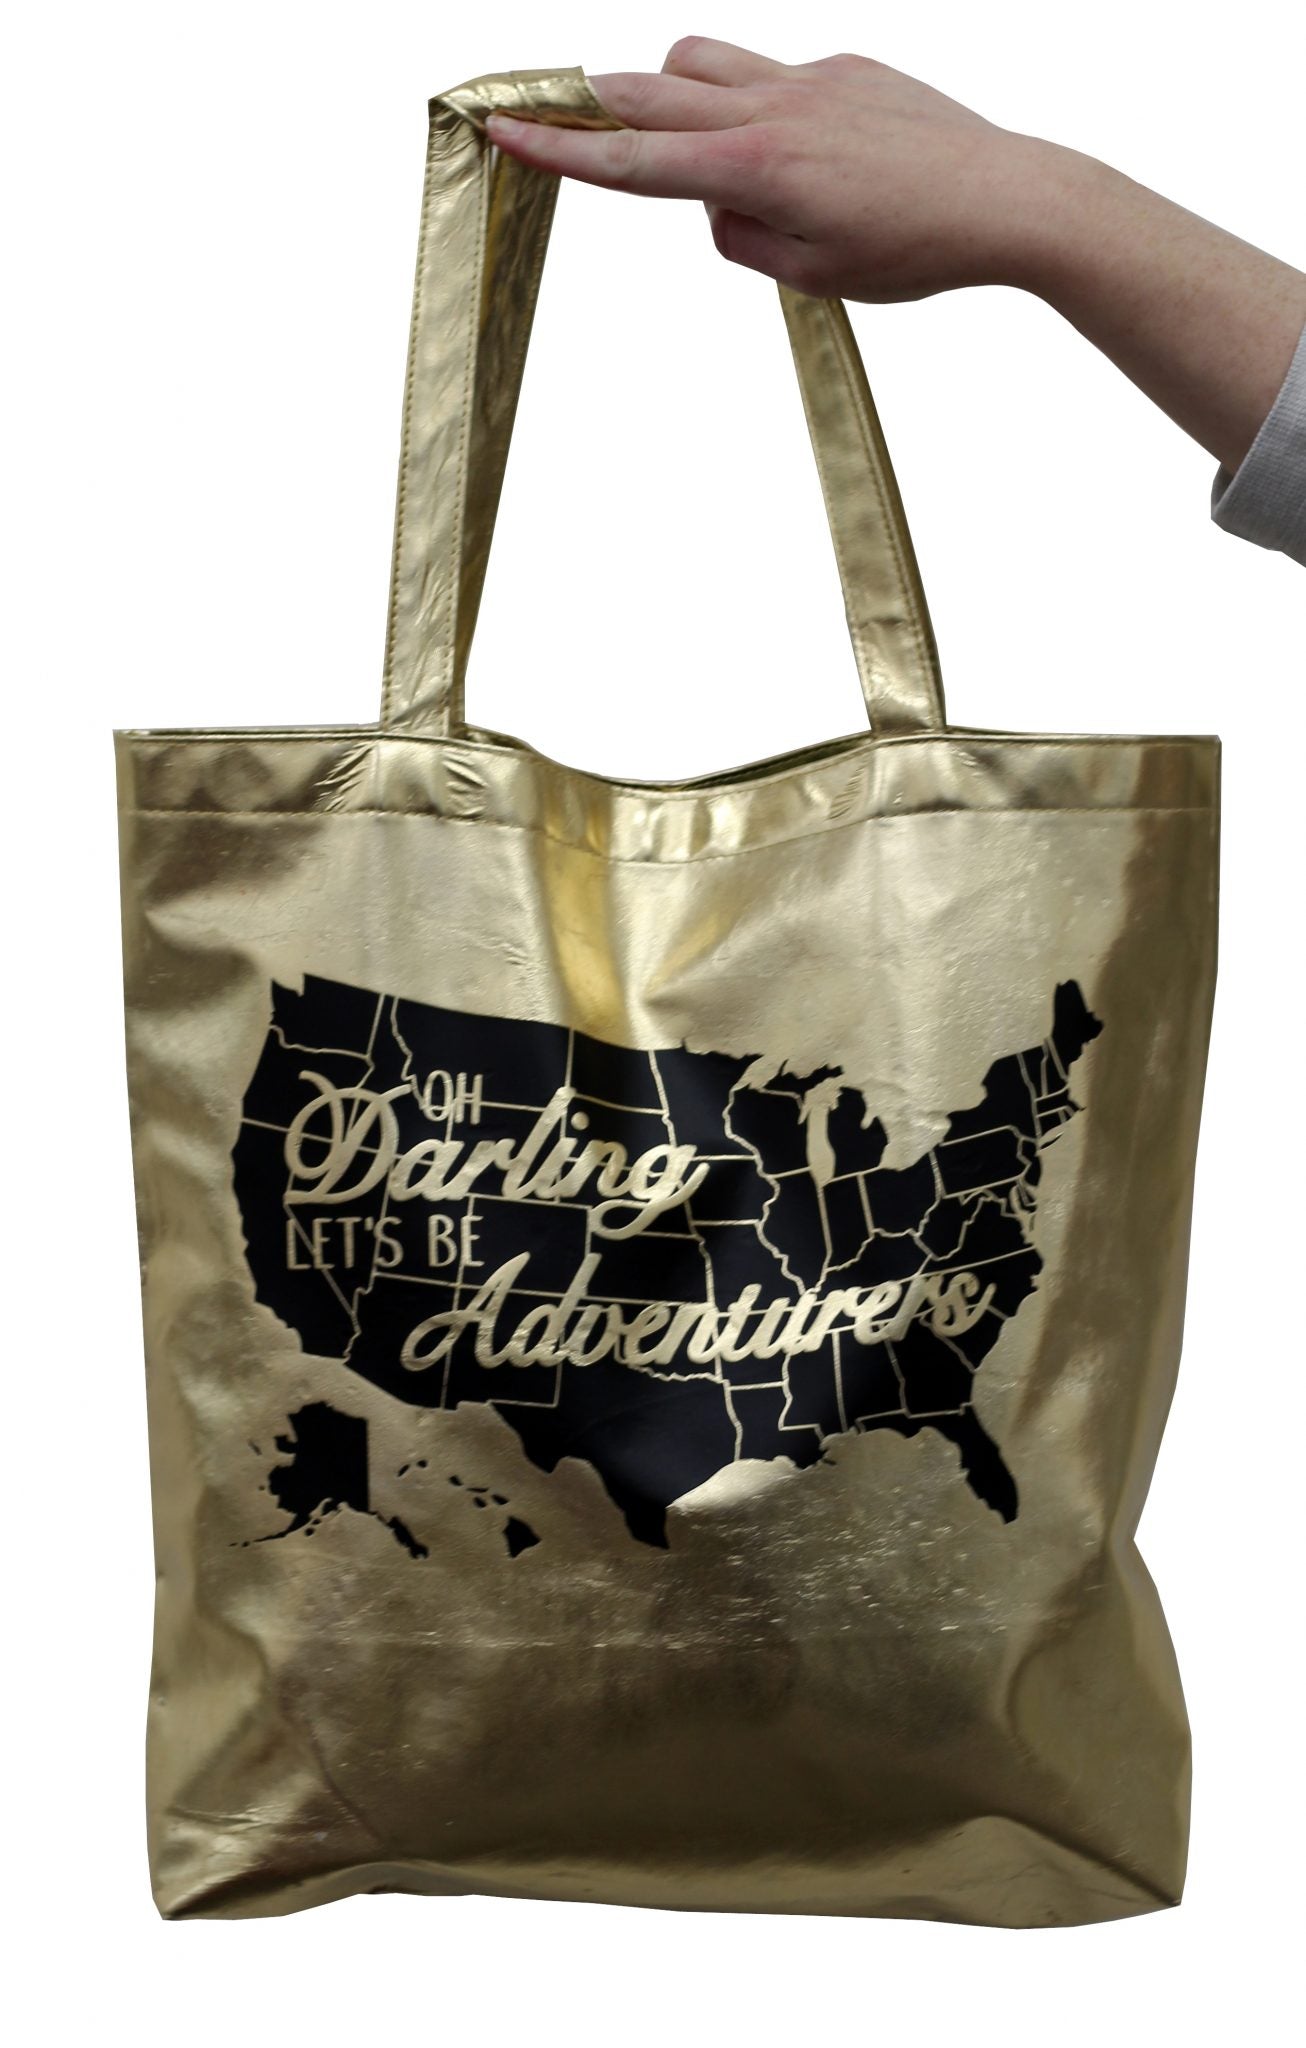
I cut the design out of black heat transfer vinyl. To finish up the project, I weeded the design and then pressed it onto my project, in this case, a pretty gold bag:

It is important to note that when you subtract something, you need to have full coverage behind the object you are subtracting. Silhouette Studio will delete the part that overhangs your shape, so you need to have something behind the words so you don’t loose your shape. For example:

Anything that is not covered in the back will be lost. It works on shapes too:

The blue circle is just include above to show that the heart was cut out of the square shape. Note: You must put the smaller of the two shapes on top. If you were to put the heart behind the square and then subtract, Silhouette Studio will delete both the shapes.
You may also like this tutorial using the same design file:


FEATURED SALES


