

How to Heat Press HTV to A Hat With No Attachment
I don’t make many hats, but wanted to create a custom one for Hat Day at school, without investing in anything more than iron-on heat transfer vinyl and the hat. No fancy attachments, no special tape… I didn’t have to pick up anything special for this project, but it turned out great. If you want to skip buying extra attachments or specialty equipment too, follow on!

Adding iron-on heat transfer vinyl to a hat is completely doable with a regular flat heat press or household iron, you just have to find a way to support your project so you can get enough pressure on the iron-on. I don’t plan on making a lot of hats, so buying a special heat press just for hats was totally out of the question for me. I also didn’t have time to buy special heat press tape - Hat Day was tomorrow and this project couldn’t wait! I winged it without anything other than the glitter heat transfer vinyl that I already had on hand and a hat we picked up on clearance.
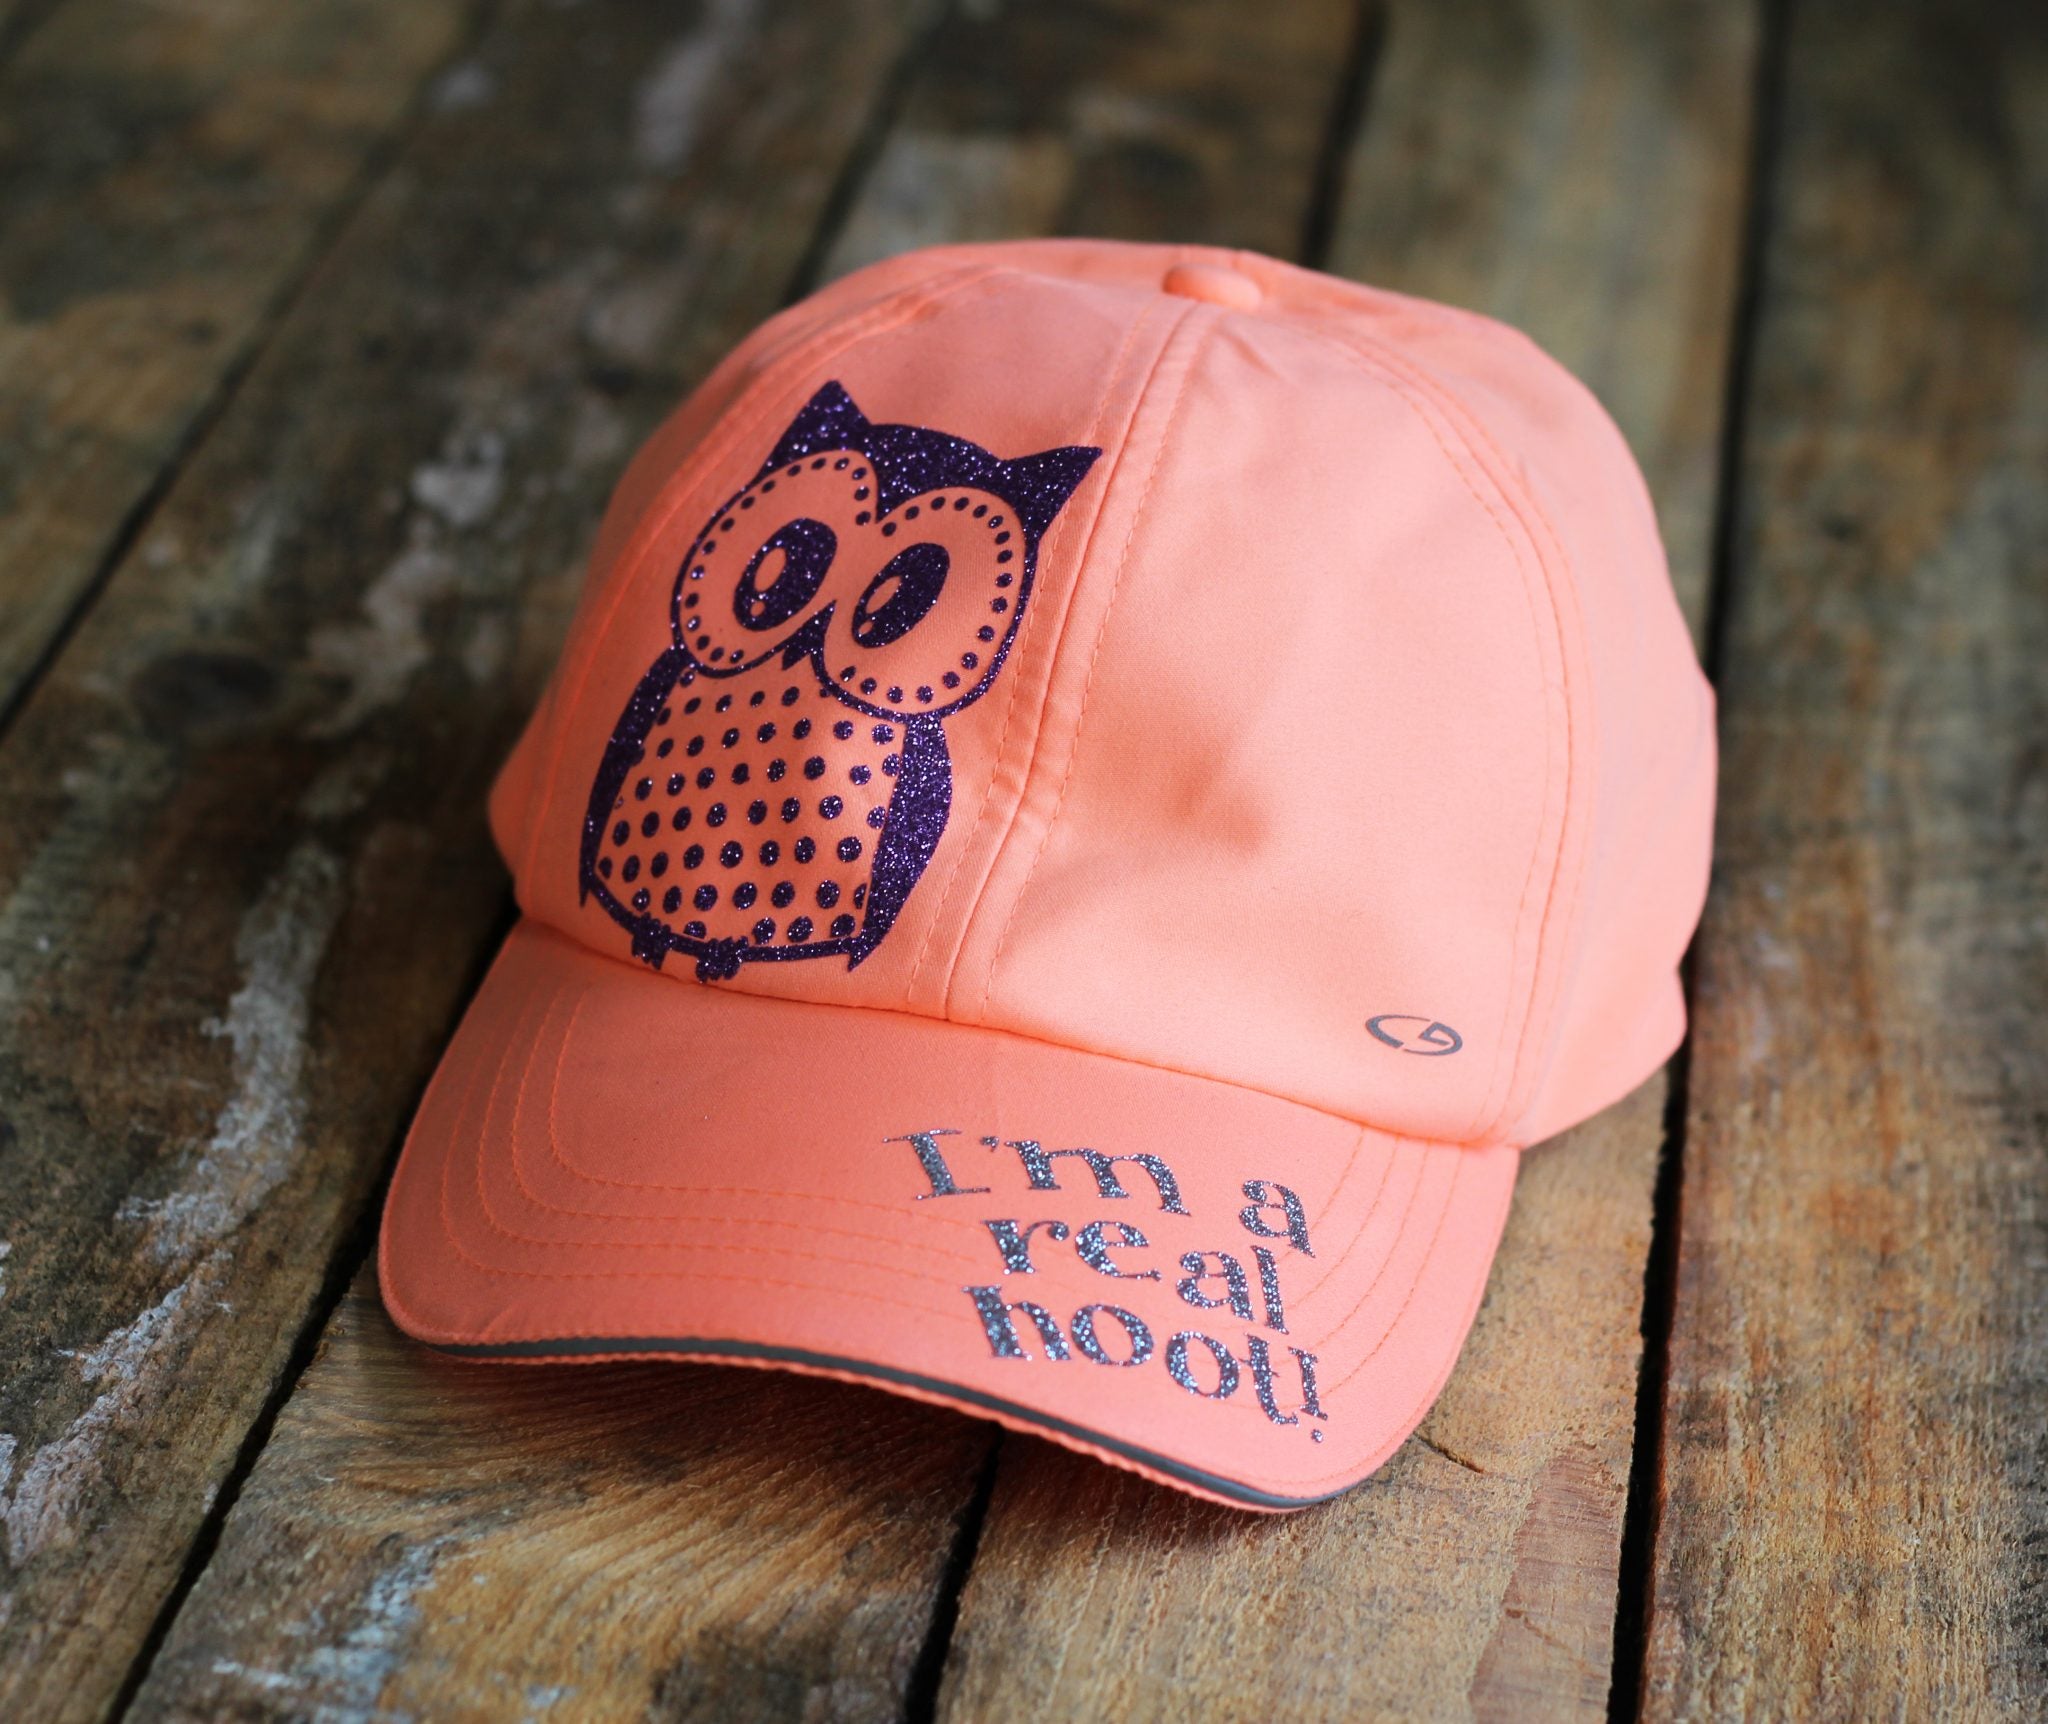
This project highlights the owl design that is part of the 12 Exclusive Heat Transfer Vinyl Designs that I created for Craft-e-Corner. When you open the file, you’ll see this cute little owl.

I measured my hat and sized the owl to fit. Next, I mirrored the design and set the material to glitter iron-on heat transfer vinyl. Then I made the cut.
Note: For hats, I recommend glitter iron-on or flocked heat transfer vinyl. I didn’t go over any seams with this project (just because the size of the owl fit within the seams), but if you did go over seams, glitter or flock heat transfer would hide the seam better than smooth iron-on HTV.
Once the owl was cut, I used my weeder tool to remove the excess iron-on from around my cut design. (For more tips and tricks for working with glitter heat transfer vinyl, check out my post, Glitter Heat Transfer Vinyl Made Easy.)

I heated up my heat press and grabbed a towel. The type of towel does not really matter - I grabbed this beach towel because it was colorful (truth). Fold the towel in half once or twice length wise and then roll it up towards the middle. I opted to roll it from both ends, but you can do whatever works best for you.

I put the hat on the towel and and lined up my design.

Since I did not have any specialty tape to hold the design in place, I held one edge of the design while I pressed the other end. I pressed the hat right to the plate of my heat press and pushed up on the towel to get enough pressure to transfer the design.
I slightly rolled the design while heating it. If you do not have a heat press, you can use a regular iron with a similar technique.
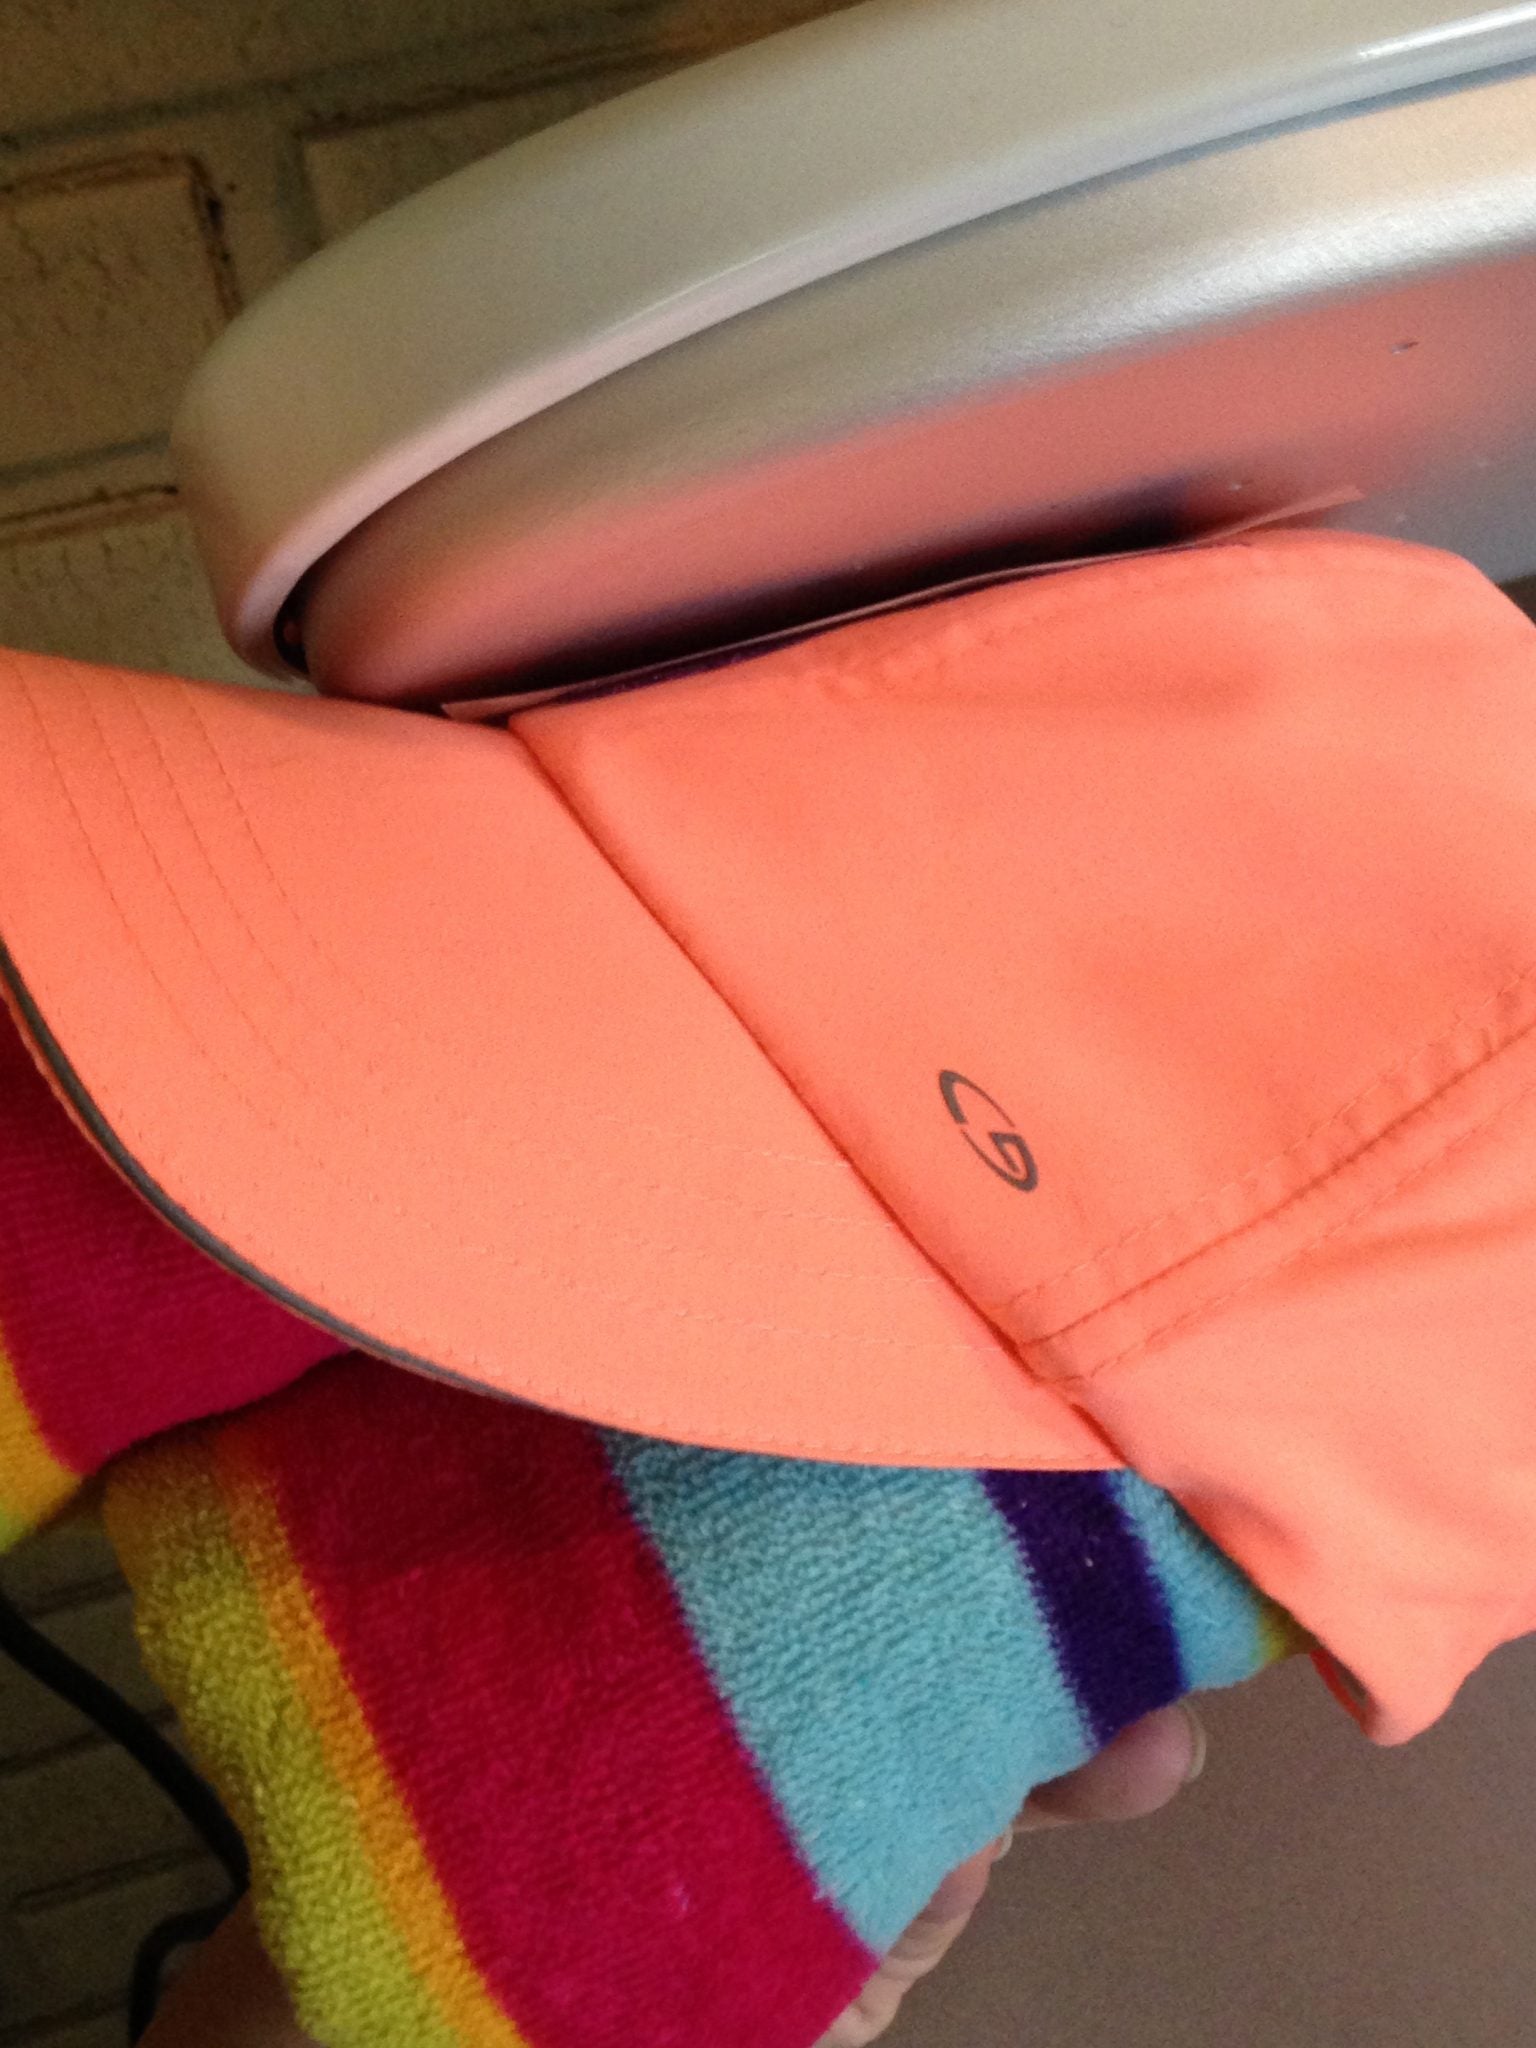
Next, I wanted to add “I’m a real hoot!” to the bill of the hat. I lined up the design and relied on the sticky carrier sheet to hold it in place while I pressed. I used the towel to press it against the plate of my press again. Easy peasy lemon squeezy, as my daughter would say!
You can use this technique to apply heat transfer vinyl to just about any awkward item. The important thing is to keep your hand protected. Heat presses get over 300 degrees F, but so long as you protect your hand, you can hold just about anything to the plate of your heat press, apply pressure, and transfer the design.
While this technique worked perfectly for my impromptu project, if you want to add iron-on to hats or shoes on a regular basis, you might want to invest in some dedicated supplies. In that case, I recommend the Cricut EasyPress Mini paired with Cricut Heat Resistant Tape. The EasyPress Mini was specially developed to make applying iron-on to tricky surfaces safe and easy. This innovative product gets between buttons and squeezes into seams. Use it for hats, shoes, stuffed animals - any small or curved surfaces!

FEATURED SALES


3 comments
thank you so much for your detailed instructions it was extremely helpful when making a Mothers Day gift for a friend.
Thank you Kala.
This was very helpful and your design is adorable. I do not have any heat press pillows yet so the rolled towel is an awesome idea.
Thank you for sharing