
Free Shipping
On Orders $49+
On Orders $49+

Did you know that glitter iron-on heat transfer vinyl is magic? When you cut it, the cut lines magically disappear! I’ve learned a few tricks to help reveal the lines to make weeding easier, and you might be surprised. Read on below for some ways to make glitter HTV easier to handle.

If you’ve ever worked with smooth iron-on heat transfer vinyl, you have probably relied on the lines that your blade leaves behind as a guide on where to weed. When you work with glitter heat transfer vinyl, those lines are quite hard to see. It’s like magic - they just disappear! Here are some suggestions I’ve tried to try to make them reappear (thus making glitter heat transfer easier to manage).
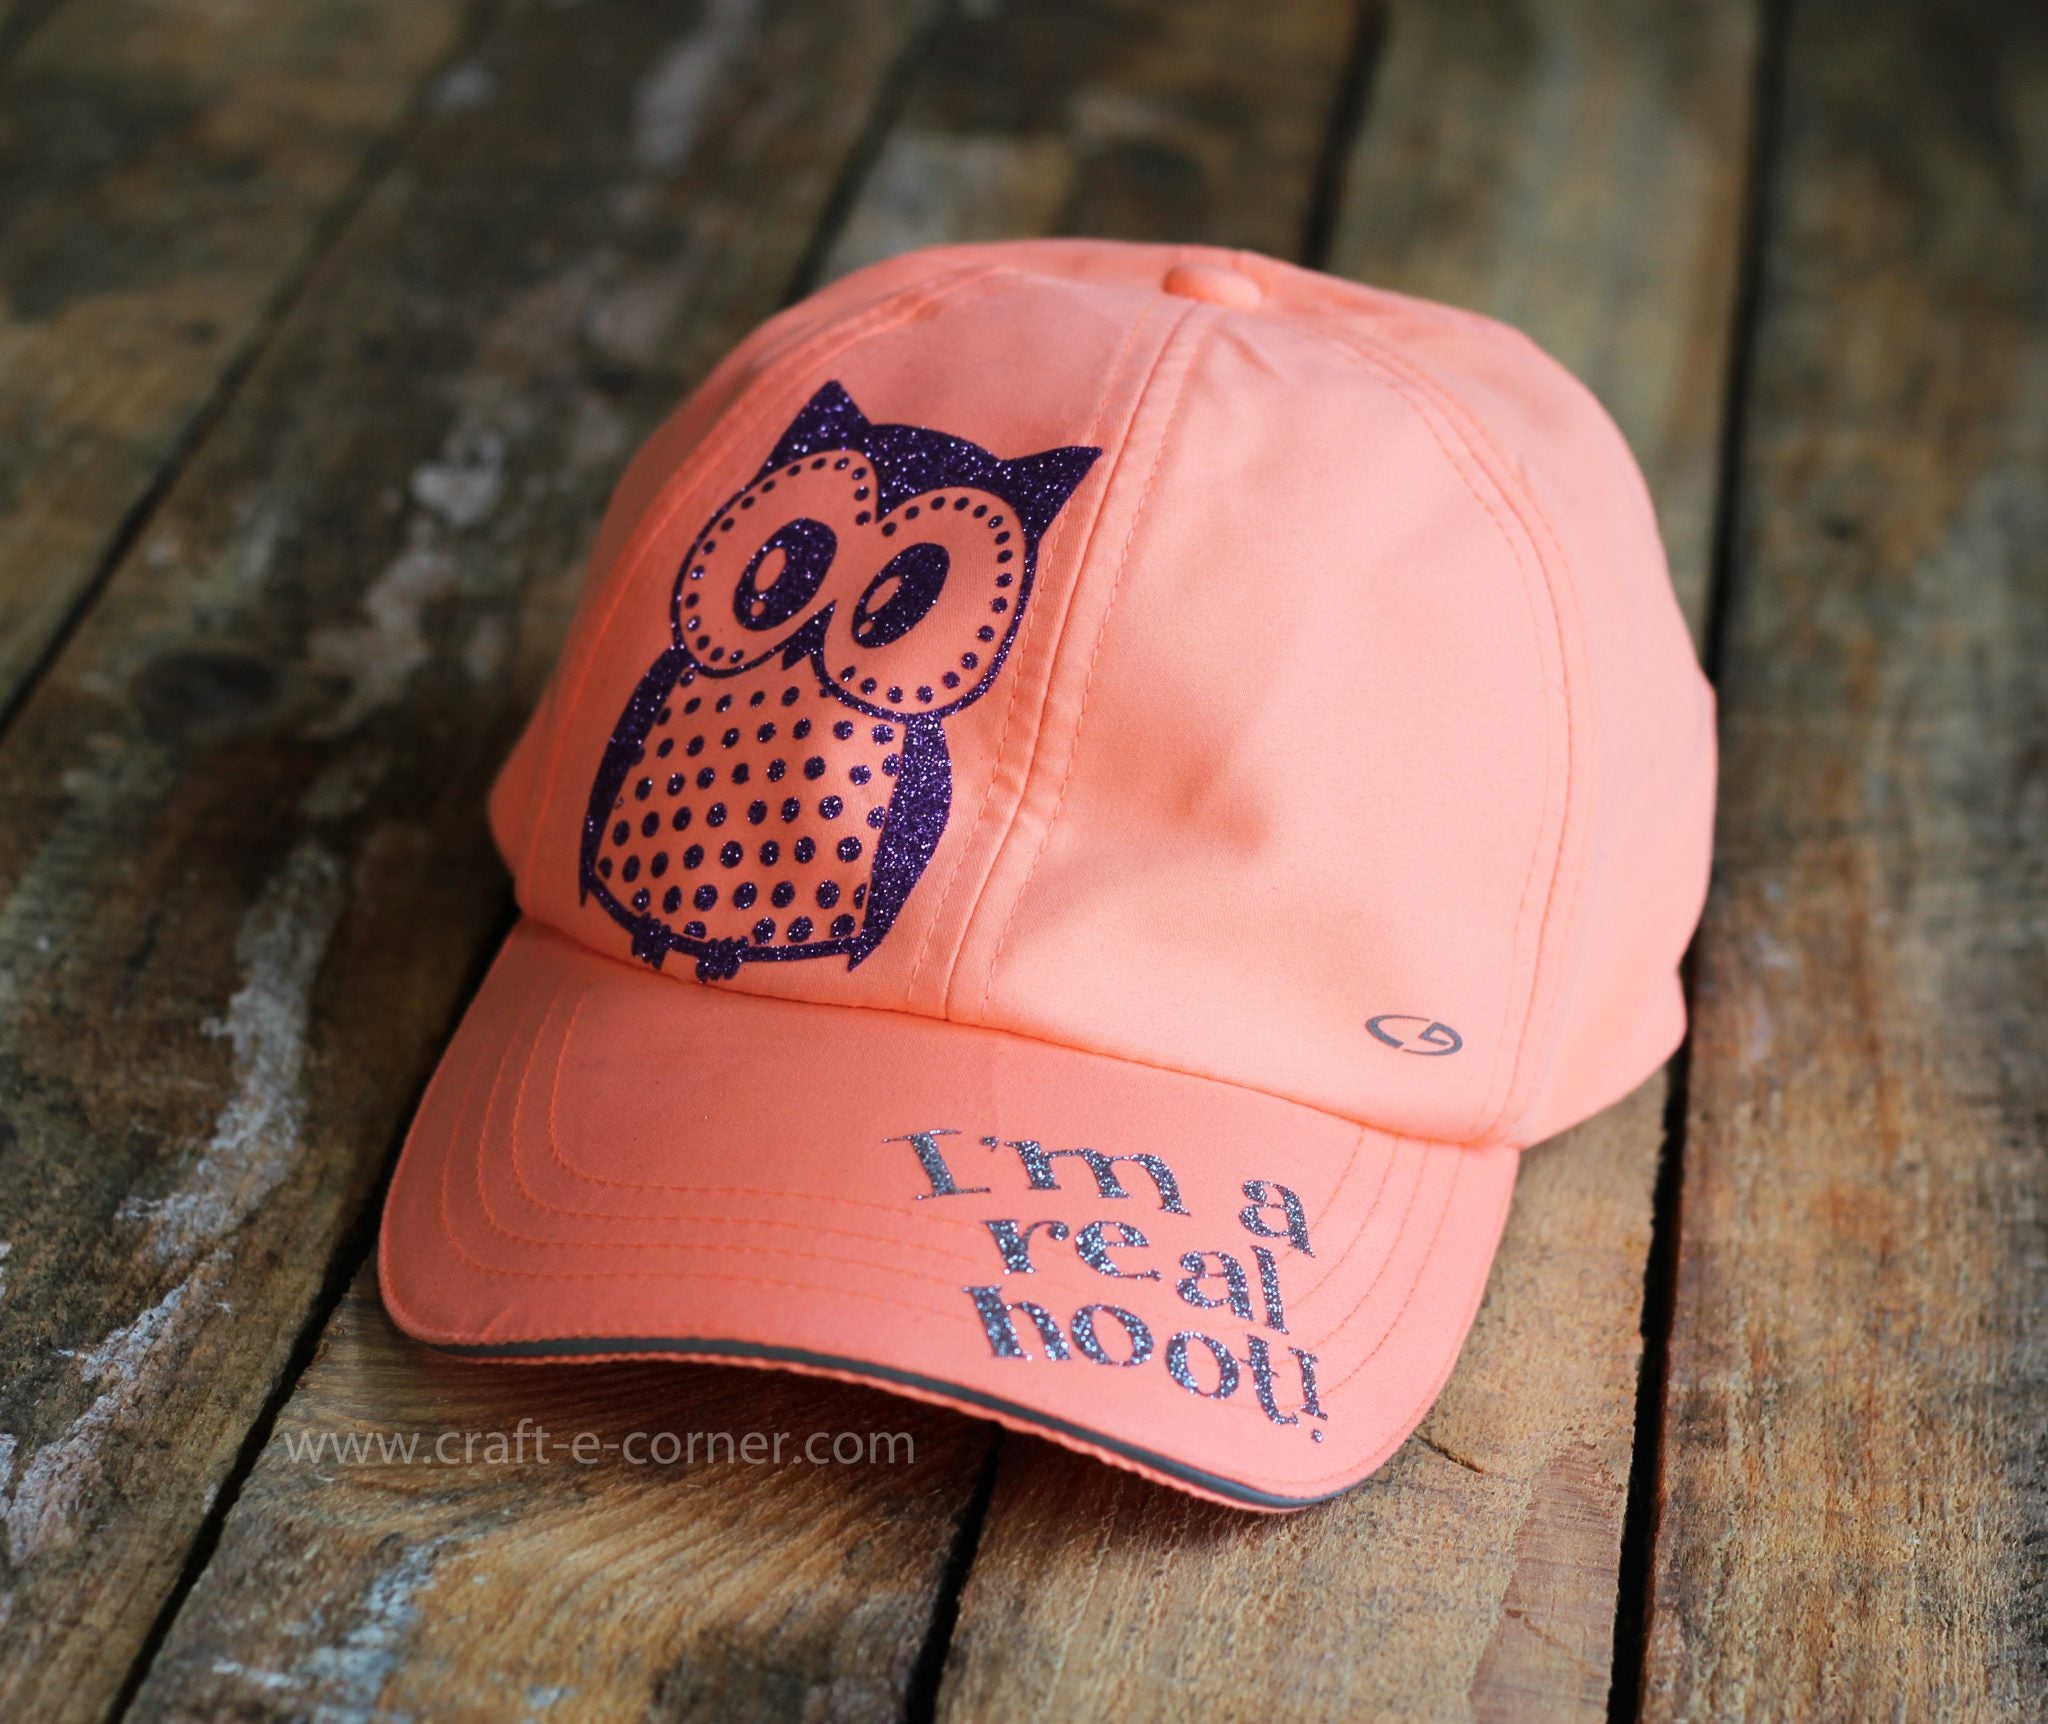
I created this adorable owl hat using glitter heat transfer. (You can read more about this hat project on my post, How to Heat Press HTV to a Hat.)
When I cut the design, I got ready to weed and noticed there were no lines in sight! The machine had cut the material, but there were no cut lines to help me weed the interior parts of the design.
I did some research and pulled together these recommendations for how to uncover the weed lines once again. Here are my conclusions.

Methodology: If you put a glitter heat transfer design on a light box or light table, you may be able to see the light shine though where the design was cut.
My results: I don’t have a light table, so I tried holding the design up to a brightly lit window. It actually helped a little, but wasn’t project friendly. If you’re doing a lot of glitter heat transfer, it’s totally worth the investment to get a light table. Helpful, but not helpful today.
Verdict: Plausible.

Methodology: Throw your cut design in the freezer for a bit. Vinyl shrinks when it freezes which should pull the design pieces away from each other, creating a larger gap that is easier to see with glitter heat transfer.
My results: I tried it out, it didn’t work that well. The design warmed up to room temperature (which did not take long), and then I was right back a square one.
Verdict: Fail.

Methodology: Before unloading your design from your machine, swap the blade for a sketch pen and have the machine draw the design with a sketch pen. This will leave you with a visible outline that you can then use to weed.
My results: I did not attempt this. I was putting my design on a light-colored hat and did not have another hat, nor more heat transfer vinyl to do it all over again should the pen bleed through the vinyl or show on the inside of the hat. I’d give this a go with dark iron-on and dark fabric, but probably not otherwise.
Verdict: Plausible.

Methodology: Cut the design and dust with baby powder.
My results: This sounded harmless and easy enough, so I gave it a whirl.

Verdict: Perfection!

Give a (very) light dusting of baby powder, rub it around on the design and it magically highlights all the cut lines making it easy to see where you need to weed. The baby powder did not seem to have any effect on the vinyl. The vinyl stayed stuck to the carrier sheet without any problem and transferred to the hat easily as well.
Have you used one of these techniques with success? What works for you? If not, give one a try and let me know how it goes!
Happy Crafting! - Kala

Comments
Leave a comment