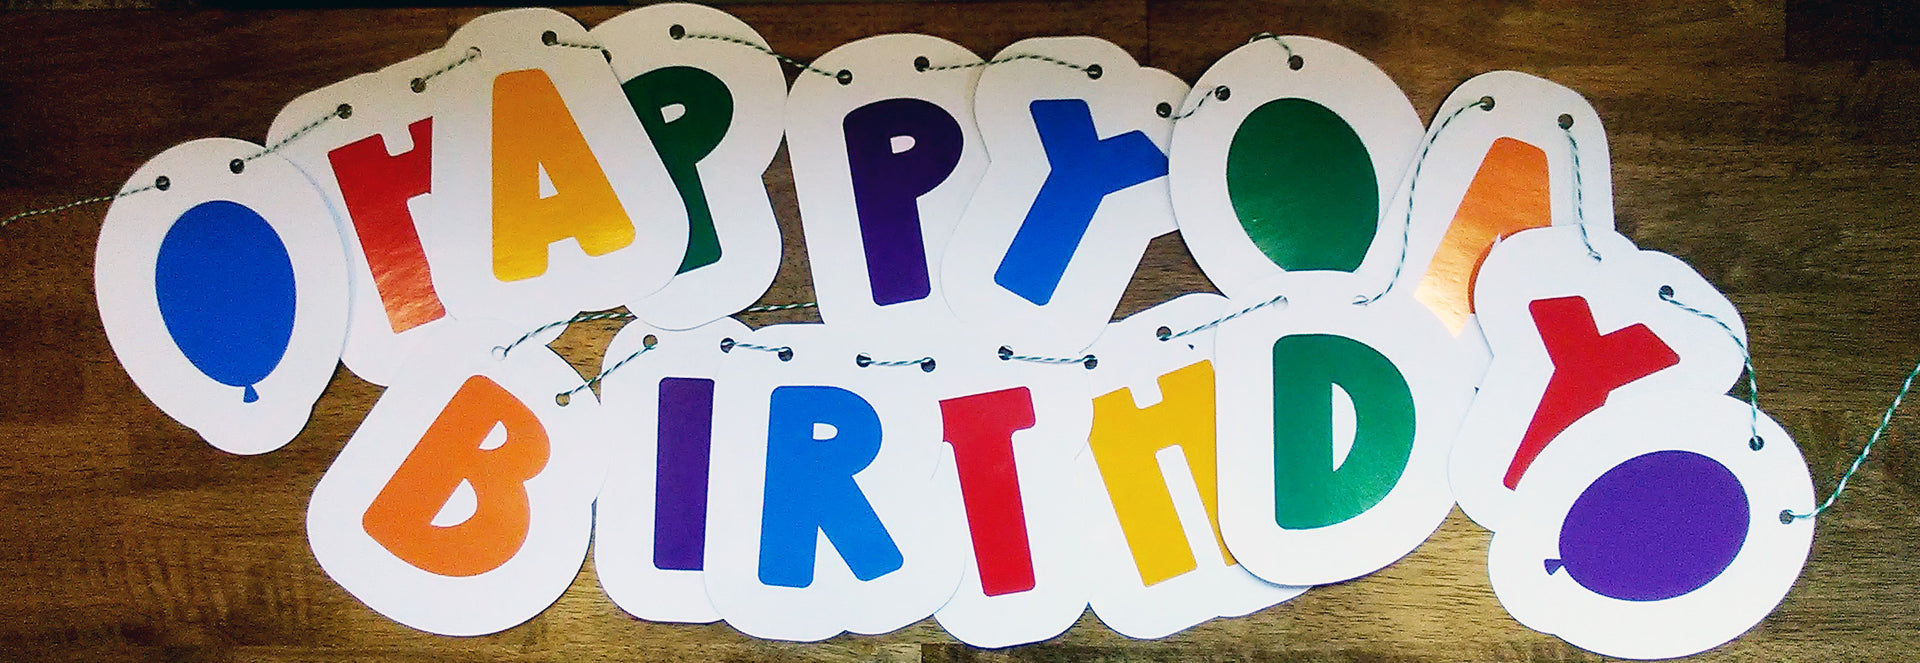
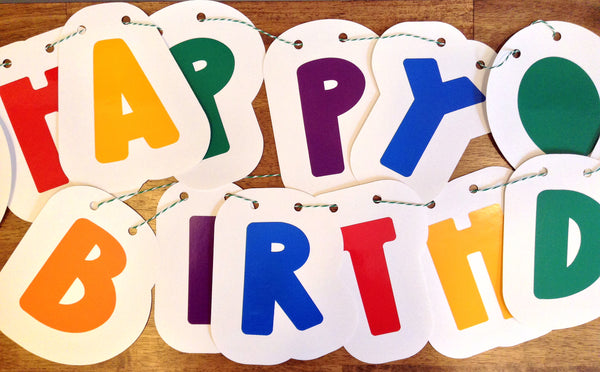
Rainbow Colors Happy Birthday Party Banner and Outdoor Vinyl Sign
Spice up your next birthday celebration with a vibrant DIY duo: a cheerful "Happy Birthday" banner and a welcoming outdoor sign, both bursting with rainbow colors thanks to the magic of Cricut vinyl! Whether you're throwing a bash for a playful kiddo or a fun-loving adult, this project promises easy customization and a dose of DIY delight. So, grab your Cricut, unleash your creativity, and get ready to transform your party space into a colorful wonderland!
Materials:
- Posterboard, white
- String or yarn (for hanging banner)
- Craft foam, 2mm white, self-adhesive or plain
- Heavy double-sided tape (like carpet tape) or glue that will adhere to craft foam if not using self-adhesive foam
- Stake, wood dowel, paint stick, or similar to stake your outdoor letters in the yard
- Transfer tape
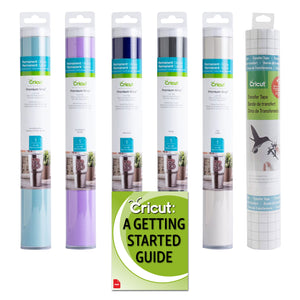
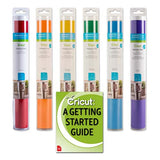
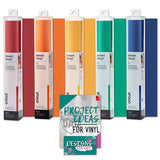
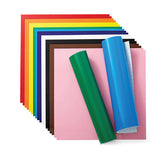
- Your favorite rainbow-colored Cricut Permanent Vinyl Bundle - check out these 4 colorful options from our store!
Cricut Premium Permanent Vinyl Rainbow Colors Bundle
Cricut Joy Smart Permanent Adhesive Vinyl Rolls, Rainbow Color Bundle

Cricut Smart Permanent Vinyl 3ft Rainbow Bundle
Cricut Permanent Vinyl, Rainbow Sampler (20 ct)
Directions:
Create your cut design in Cricut Design Space or go directly to this project. I'm using the following cut designs included with Cricut Access:
- BFC Jelly Shoes Font
- Balloon #M7D77057
- Pattern #M4AFB7A36
- Pattern #M4ADF6F42

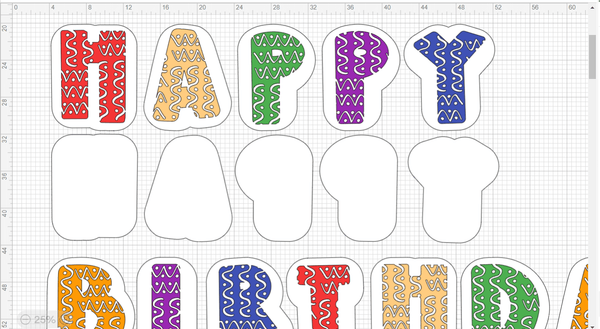
I've used the offset feature in Cricut Design Space to create the bubble-like background for my birthday letters. If you're new to offset, learn how to use this Design Space function in our post, How to Use Offset in Design Space.

Make the project:
- Cut the banner offset shapes from white posterboard.
- Cut the yard sign offset shapes from white craft foam using a Strong Grip Mat and deep point blade. (Note that there are 2 offset shapes for each yard sign letter - one in the original front-facing orientation and the other in a flipped orientation.)
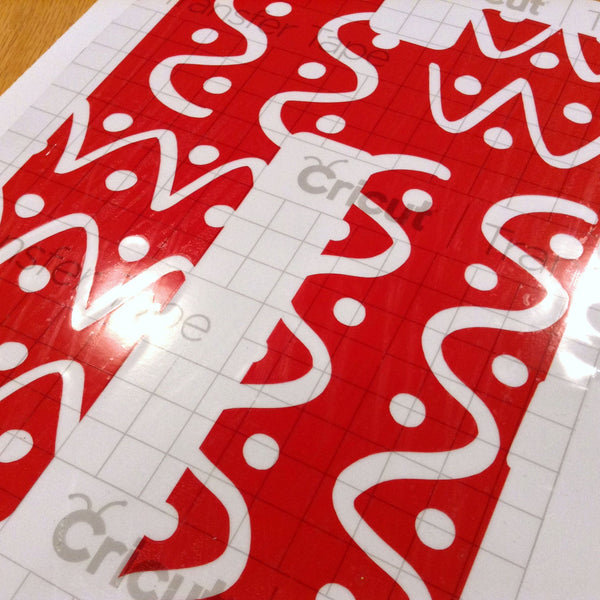
- Cut the letters from Cricut vinyl in your choice of rainbow colors.
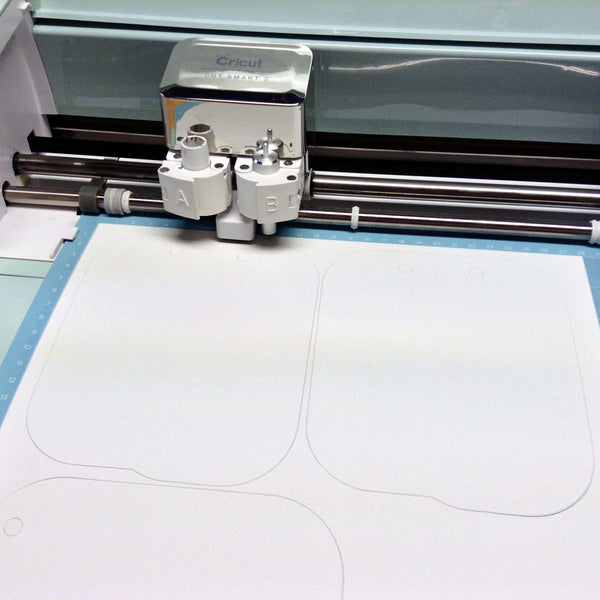
TIPS FOR CUTTING CRAFT FOAM
- Move the star wheels off to one side (or each side) to prevent making star wheel marks in the craft foam.
- While preparing for the cut, position your cut image away from the edge of your material as much as you can. You'll still have star wheels at the far right and/or left edges of the cutting mat - but if you can position your cut image away from these edges, you can keep star wheel marks off the craft foam.
- Use a sticky Strong Grip Mat and your deep point cutting blade.
- Cut the craft foam to approximately 12x12 inches and tape it to the mat along all 4 edges. This material likes to stretch and taping will help to keep the craft foam secured to your cutting mat. Positoning the image to cut from the center of the foam sheet as noted above, also helps to reduce material stretching compared to cutting right along an edge of the craft foam.
- Choose Craft Foam in the materials list. Expect your machine to take 4 or more passes to cut through the material.
- Steer clear of the 5mm thick craft foam sheets. They are too thick to cut with your Cricut machine.
Weed the vinyl using your favorite weeder tool. Transfer each colorful banner letter to its corresponding white posterboard offset. You can use transfer tape if you prefer, or just place the letters using your hands.
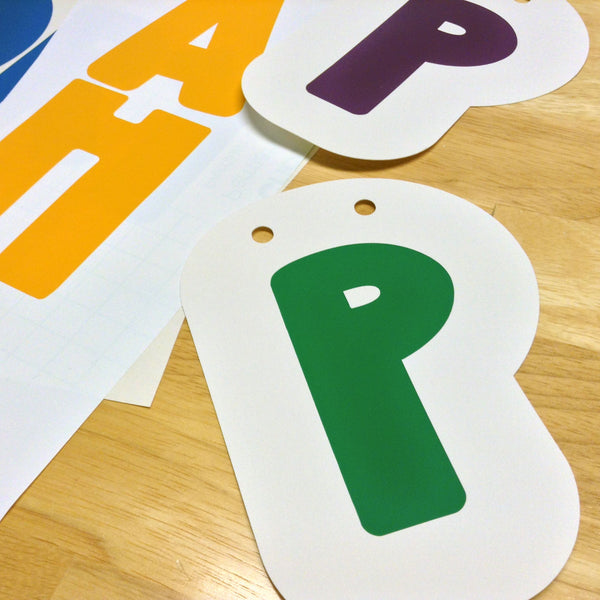
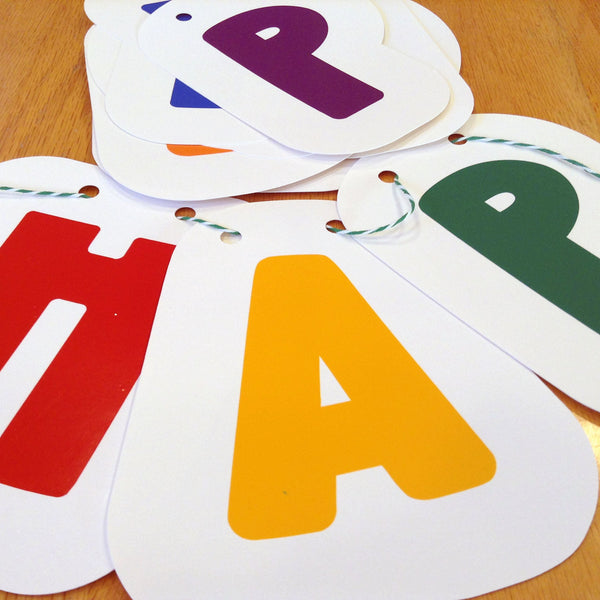
Thread string or yarn through the posterboard letters to suspend the banner, spelling out "Happy Birthday."
Transfer each letter of the outdoor sign to its corresponding front-facing white craft foam offset using transfer tape.
Glue or tape the matching flipped white craft foam offset to the back of each letter, sandwiching between the layers a stake, paint stick, dowel, or something similar to stake each letter into the ground outside.

Now, stand back and admire your handiwork! Your homemade banner and outdoor sign will add a personalized touch and a burst of joyful color to your birthday celebration. Remember, you can easily customize this project by choosing different fonts, colors, and embellishments to match your party theme. So get creative, have fun, and most importantly, celebrate in style!
Bonus tip:
- Take photos of your happy faces enjoying the party with your DIY decorations in the background – those memories will last a lifetime!
- Add the name of the birthday guy or gal to your banner or yard signs. Personalization - after all, that's why we have our Cricut machines!
Keep the Rainbow Cheer Flowing: More Creative Inspiration for Your Party!
Looking to extend the vibrant fun beyond your DIY banner and sign? We've got your back with rainbow-themed projects to make your celebration unforgettable. Let's keep the party spirit bright and your creativity flowing!
Colorful DIY Birthday Cards Using Cricut Watercolor Markers
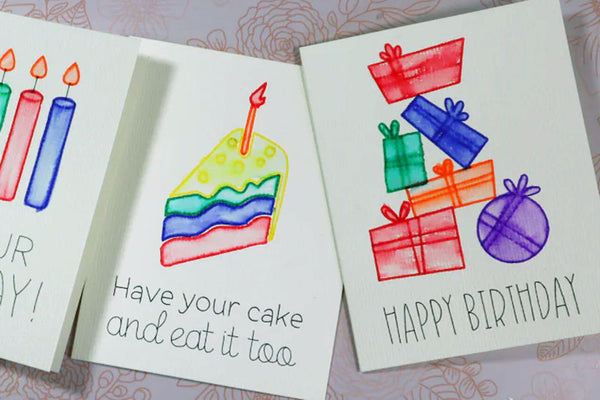
Cricut's Watercolor Cards and Markers let you create unique cards with hand-painted effects! Draw designs with the markers, then use the water brush for a beautiful watercolor look. Options for all Cricut cutting machines. See the video for details!
Rainbow Colors Kids Birthday T-Shirt Using Cricut Infusible Ink
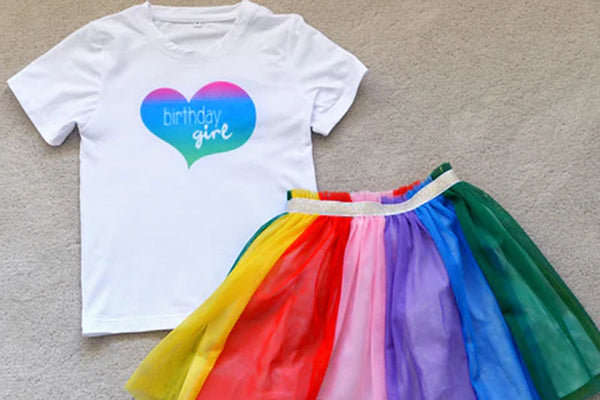
Want to create a unique, vibrant birthday shirt for your little one? Look no further! We used Cricut Infusible Ink to make a stunning rainbow kids shirt paired with a skirt. Follow along and discover how you can too!
Pom Pom Party Garland in Rainbow Colors

This easy-to-make pom-pom and paper bead garland is perfect for any celebration! This project lets you personalize with vibrant yarns and colorful papers. With just a few materials and simple steps, you'll create a stunning garland that brightens any room. It's a party project adults and kids will love!
FEATURED SALES