
Free Shipping
On Orders $49+
On Orders $49+

Have you tried using the Print and Cut feature with your Silhouette machine yet? If not, what are you waiting for?? This is SUCH a cool feature that you’ll wonder why you waited so long to give it a try.
There are two ways to use the Print and Cut function with your Silhouette machine.
This post will cover how to work with files that you make from scratch (and I promise, it’s super easy!)
If you’re interested in using premade files, you will want to check out this tutorial: Silhouette 101: How to Print & Cut Designs with your Silhouette Cameo. Even if you are making the file from scratch, I would recommend reviewing this post as there are more details in this post involving the Print & Cut digital mat and more!
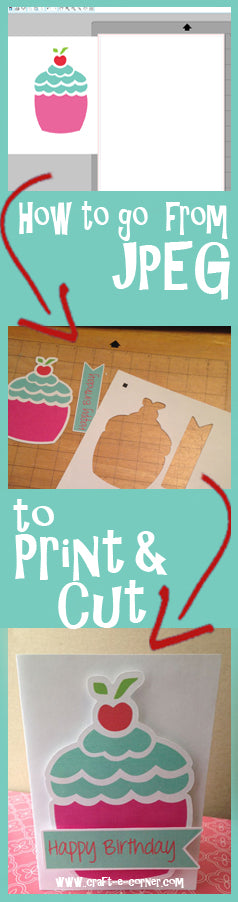
Have you ever tried to bring a JPEG into Silhouette Studio and print it? The printer “prints” but the page is blank? If you don’t follow the steps below, Silhouette Studio will not recognize the image and it won’t know what to do with the information on the screen (so it won’t do anything at all). Below is all the information you need to make Silhouette recognize your images:
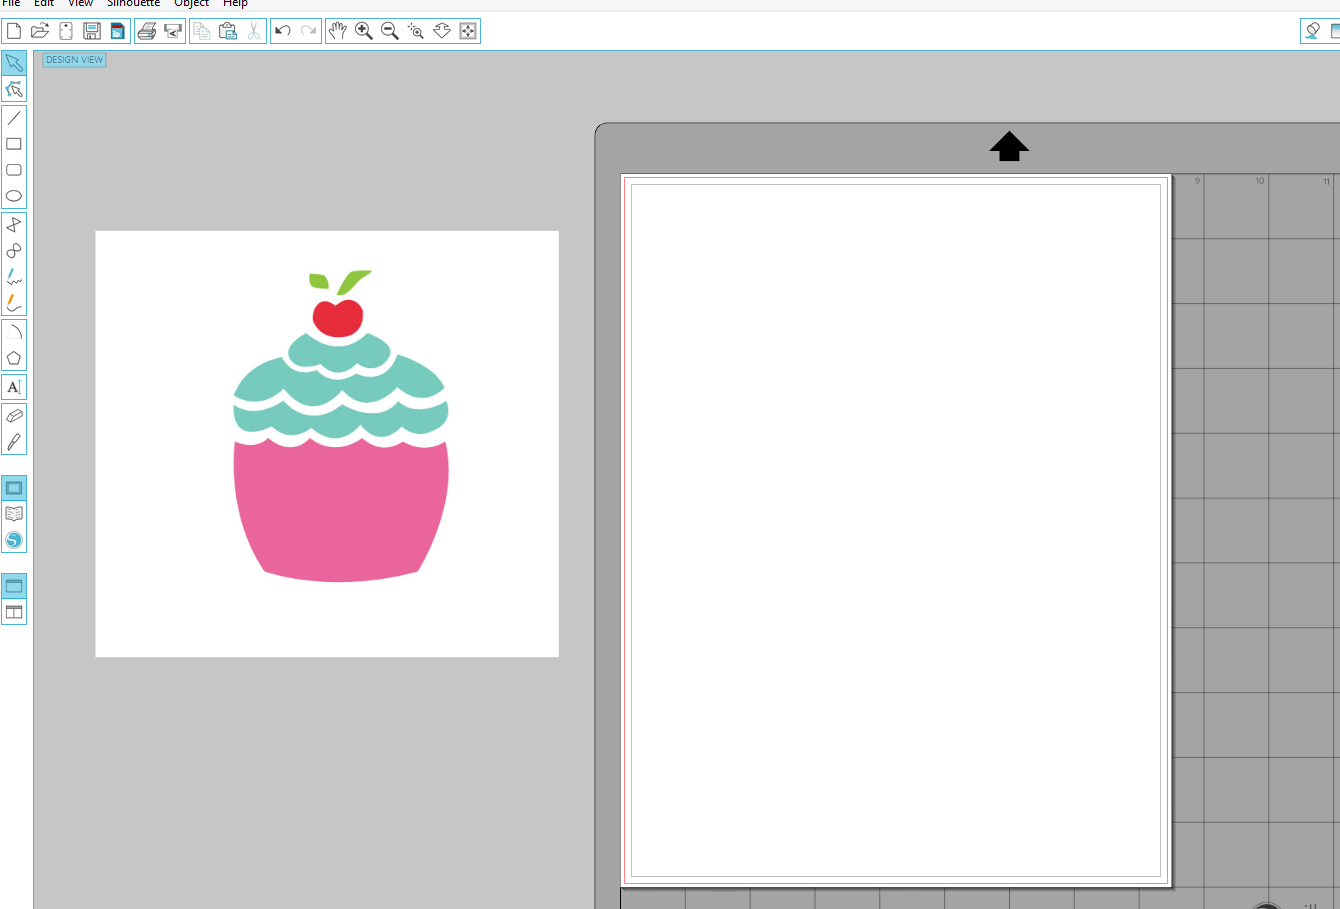
To make your own print and cut files, you must first find a JPEG image that you want to work with. Save the file to your computer and then open it up in Silhouette Studio.
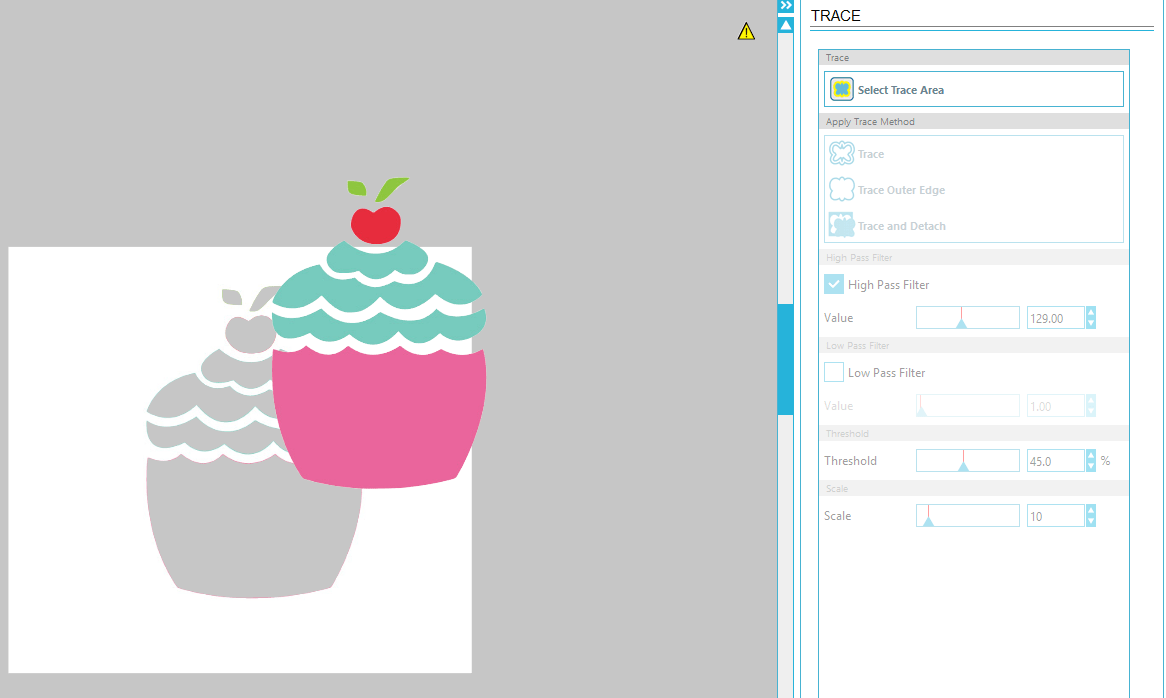
Next, trace your object. Click on the Trace window and drag the trace box around the image you would like to change into a Print and Cut file. Adjust the High Pass Filter (or Low Pass Filter) and the threshold until the whole image is yellow:

Click “Trace and Detach.” This will cut the image out from the image backing:
This now makes the Silhouette software recognize your image. Each piece of the cupcake (for example), is now independently able to be moved around, in case you want to resize or change anything:

If you just want to print your image, you can stop right here. If you want to add a small white border around your image, you need to add an offset.
Select all of your pieces, then click the offset button at the bottom (it looks like a little bulls eye).
Tip: To select more than one piece, you can click on each piece while holding shift or you can left click with your mouse and drag a box around the whole image at once.

This will draw an outline around every piece. Adjust your “Distance” on the right hand side to make a larger or thinner border. Make sure your borders overlap each other then click “Apply.”
Once you click “Apply” it should then weld everything together that is touching.
Next, select the outside border and the image and group them.
You can Group by selecting all your pieces and:
Make sure you select all the pieces at once and then group them together:

Now you have an image ready to be a Print and Cut file!
To turn this file into a card, I first sized it down to fit on a card base. I drew in a few lines to make a box the same size as a card front, this helped me make sure my pieces would fit on the card base (you can completely skip this step if you’re not as visual as I am):

Once I was happy that my image was the right size, I opened the Registration Mark window and picked my mat size under style:

Next, I moved my cupcake and pennant out of the cross hatch area and made sure they were within the red cut border.

I selected “Send to printer” and my printer printed off the design on a sheet of white cardstock. I stuck the printed sheet to the upper left hand corner of my Silhouette Cameo cutting mat:

Next, I fed the cutting mat into the Cameo machine and clicked the “Send to Silhouette” button. The Cameo then read the registration marks (the black square and lines that are printed on the sheet with the images) and cut the images out:
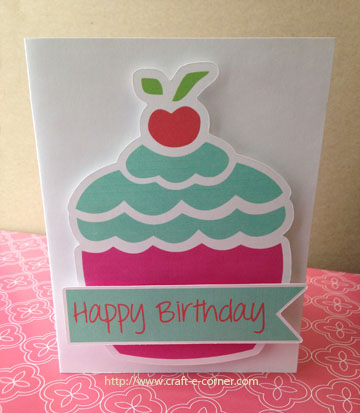
To turn this into a card, I cut a piece of white cardstock for the card base. I added some foam adhesive squares to the backs of my cupcake and banner and stacked them up to give some dimension to the card:
Learning how to make your own Print and Cut files will open up new Silhouette possibilities for you! Imagine being able to turn any JPG you want into your own printed embellishments! You can even import your own images (think: Kids drawings, handwriting, photos and more).


Comments
Leave a comment