
Free Shipping
On Orders $49+
On Orders $49+

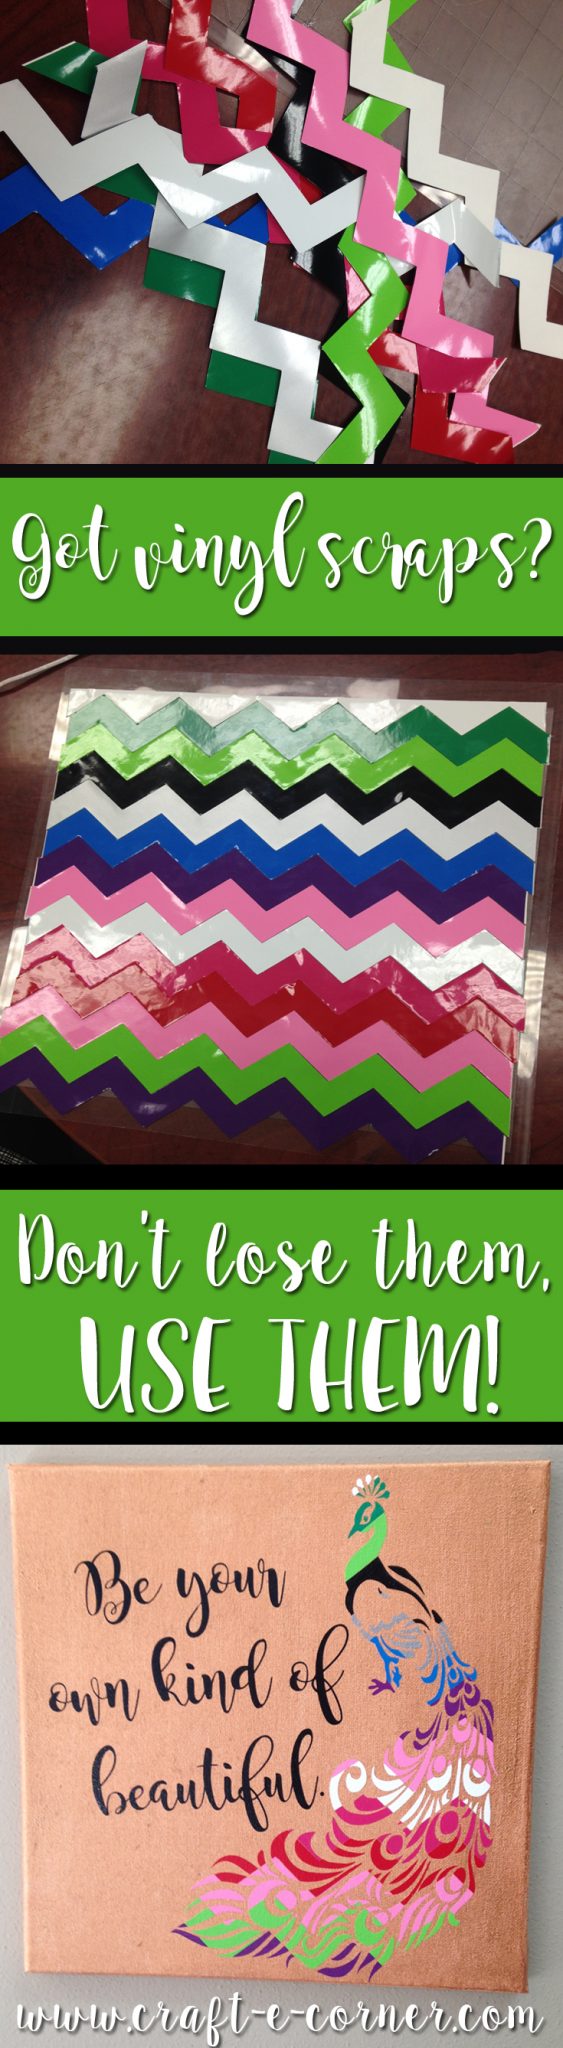
Do you have vinyl scraps? I know, silly question, who doesn’t have vinyl scraps?! You can’t vinyl all the things without ending up with a few scraps. I have a growing pile of scraps and always have a problem trying to decide how small is too small to keep. I always feel like I’m wasting vinyl if I throw “perfectly good scraps” away. So I decided to make something with them. I apologize in advance, if you struggled with destashing before, this just might make the problem worse…

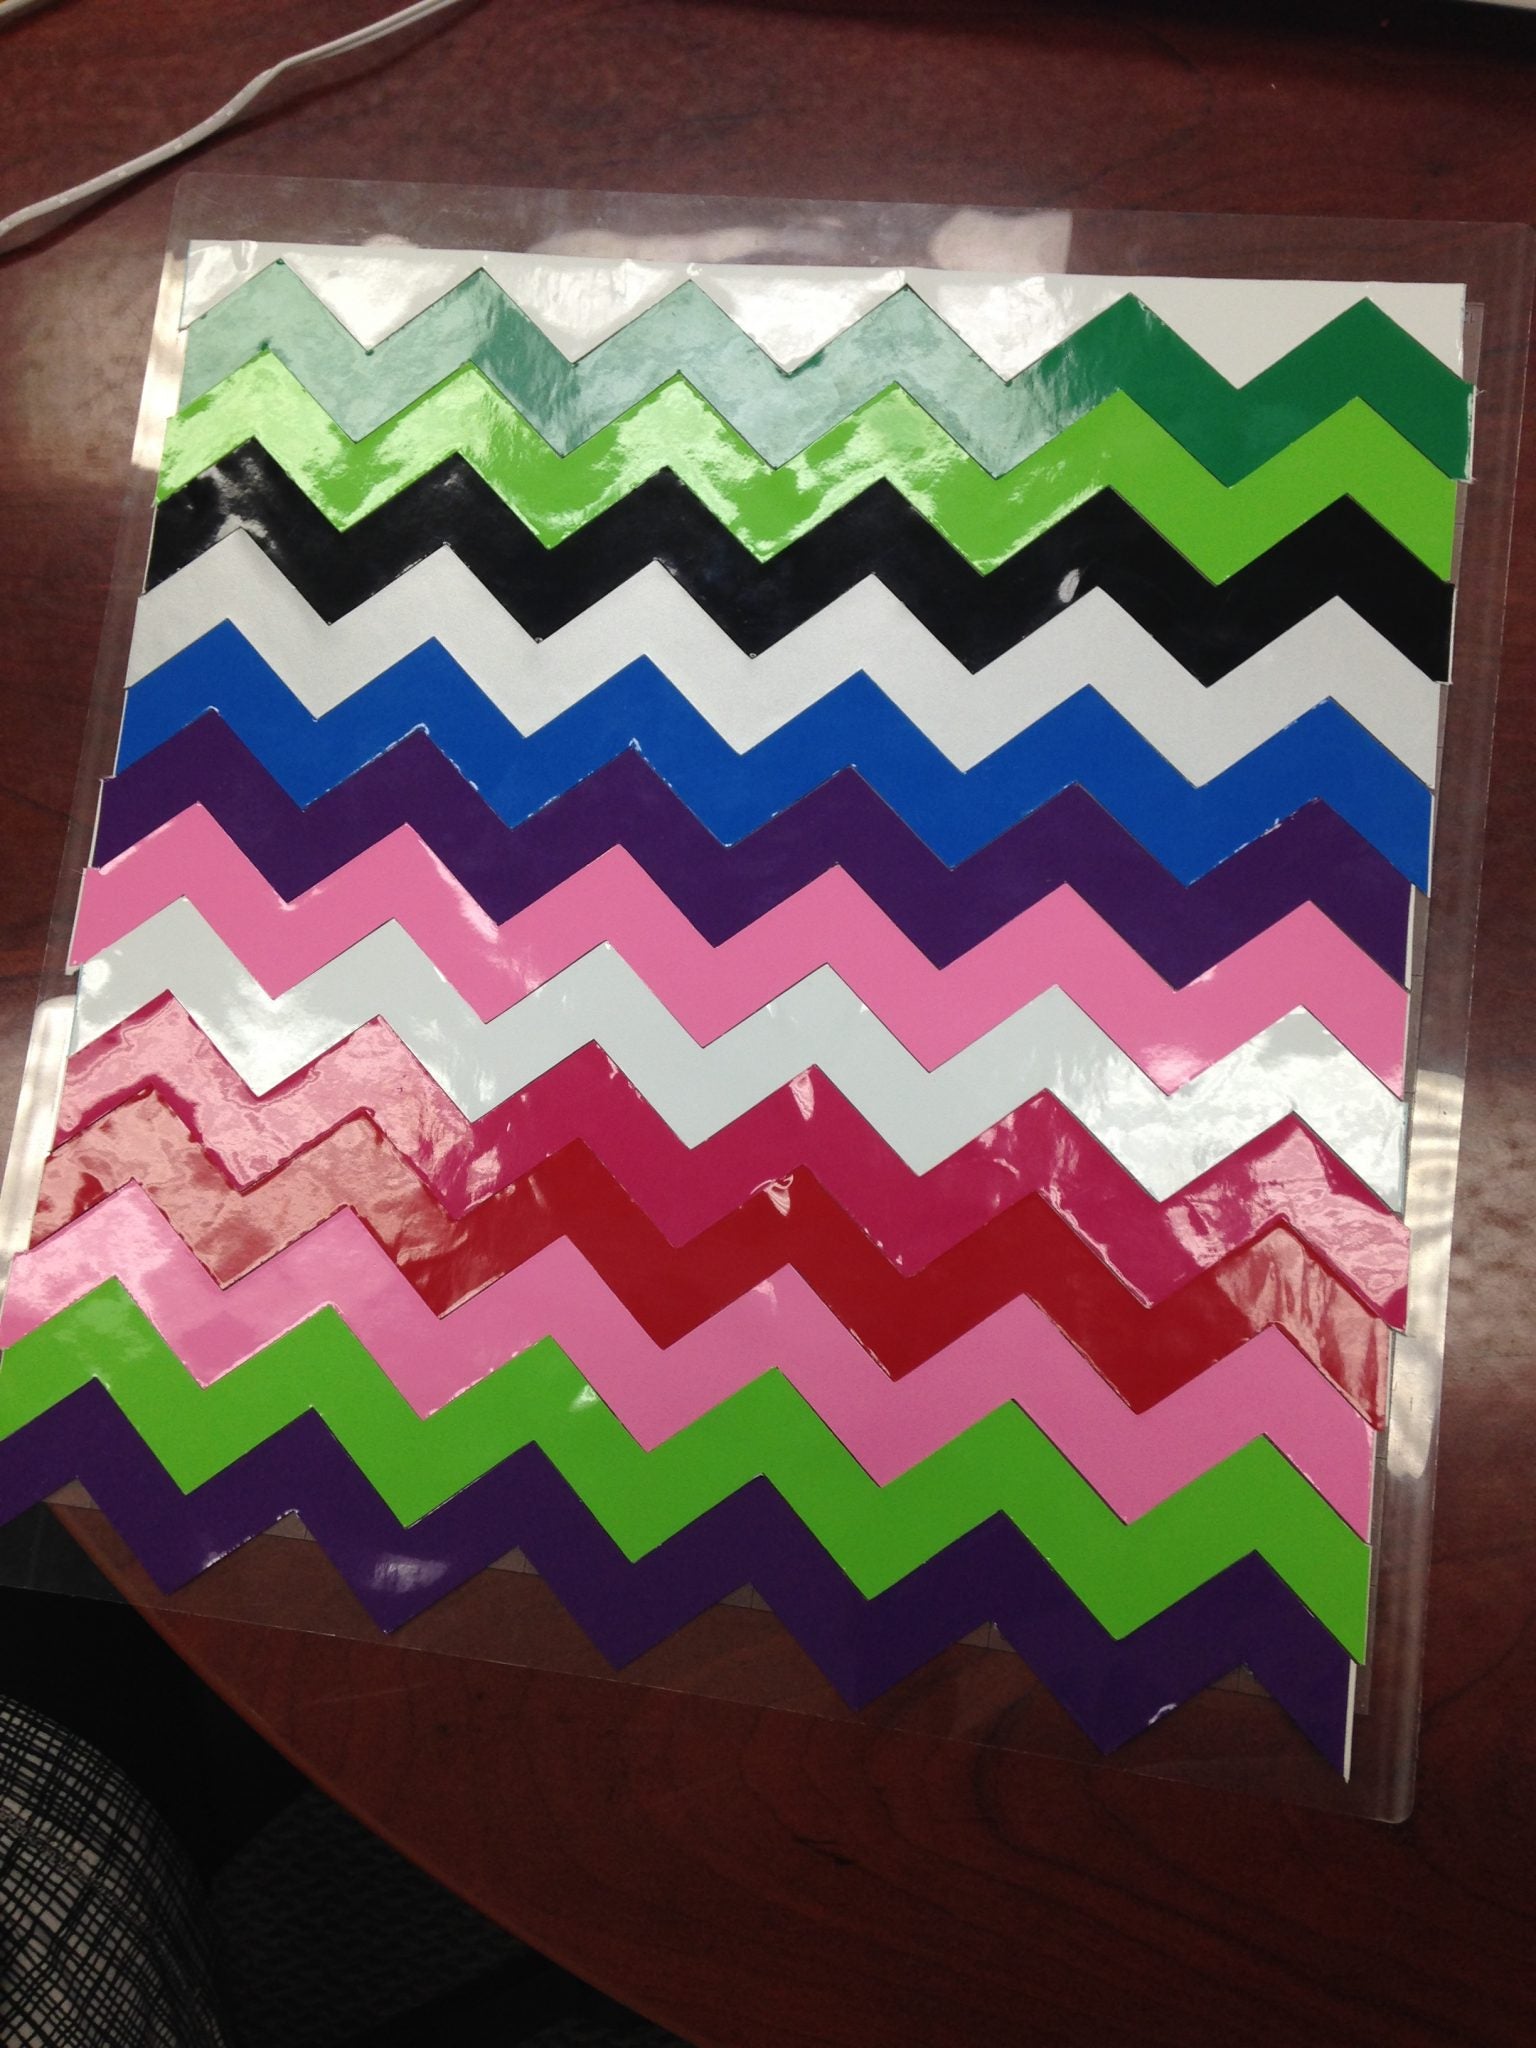
This project breaks many conventional rules of using vinyl. When working with vinyl, you normally you do not want to cut through the vinyl backing sheet, but for this project, I set my Cameo and blade to cut as though it was cutting heavy card stock (I used the machine recommended settings). I chose a chevron design for this project and used all the little scraps of vinyl I had to make strips:

You’ll want to use a cutting mat when cutting the vinyl since you are cutting through the backing sheet and you don’t want to cut into your cutting strip on your machine. Once I had a pile of multicolored chevron strips, I lined them up on my cutting mat, sticking them to the cutting mat as I went:
 The vinyl still has the backing sheet on the back of each strip. Pick the stickiest mat that you can find to do this step, you don’t want your vinyl going anywhere. Make sure you line up the edges as close as possible. Do not overlap.
Use your finger to go over the seems between the vinyl strips to ensure that the edges are as flat and in line with each other as possible. I lined my whole mat with chevron (so pretty!):
Next, I crammed as many designs as I could fit onto a 12×12 inch cutting mat with my Silhouette software (I didn’t want all these scraps to go to waste!). I chose a pineapple, pink flamingo and a peacock:
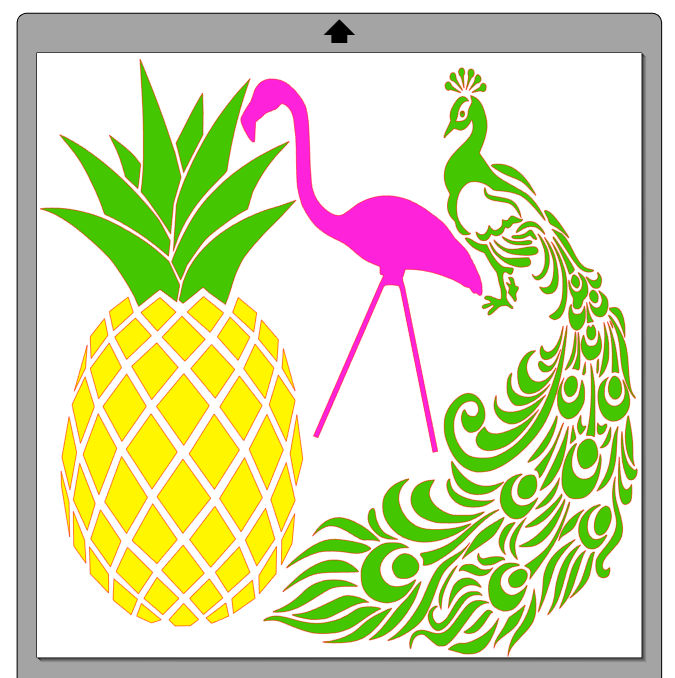
Next, I adjusted my cut settings in the software and adjusted my blade length back to vinyl settings. Load the cutting mat and kiss cut the vinyl, you do NOT want to cut through the backing sheet this time. I cut my designs and then weeded them right on the cutting mat:

Once I had it all weeded:

I added transfer paper to all three designs at once (still stuck to the cutting mat):

Then removed the designs from the backing sheet:

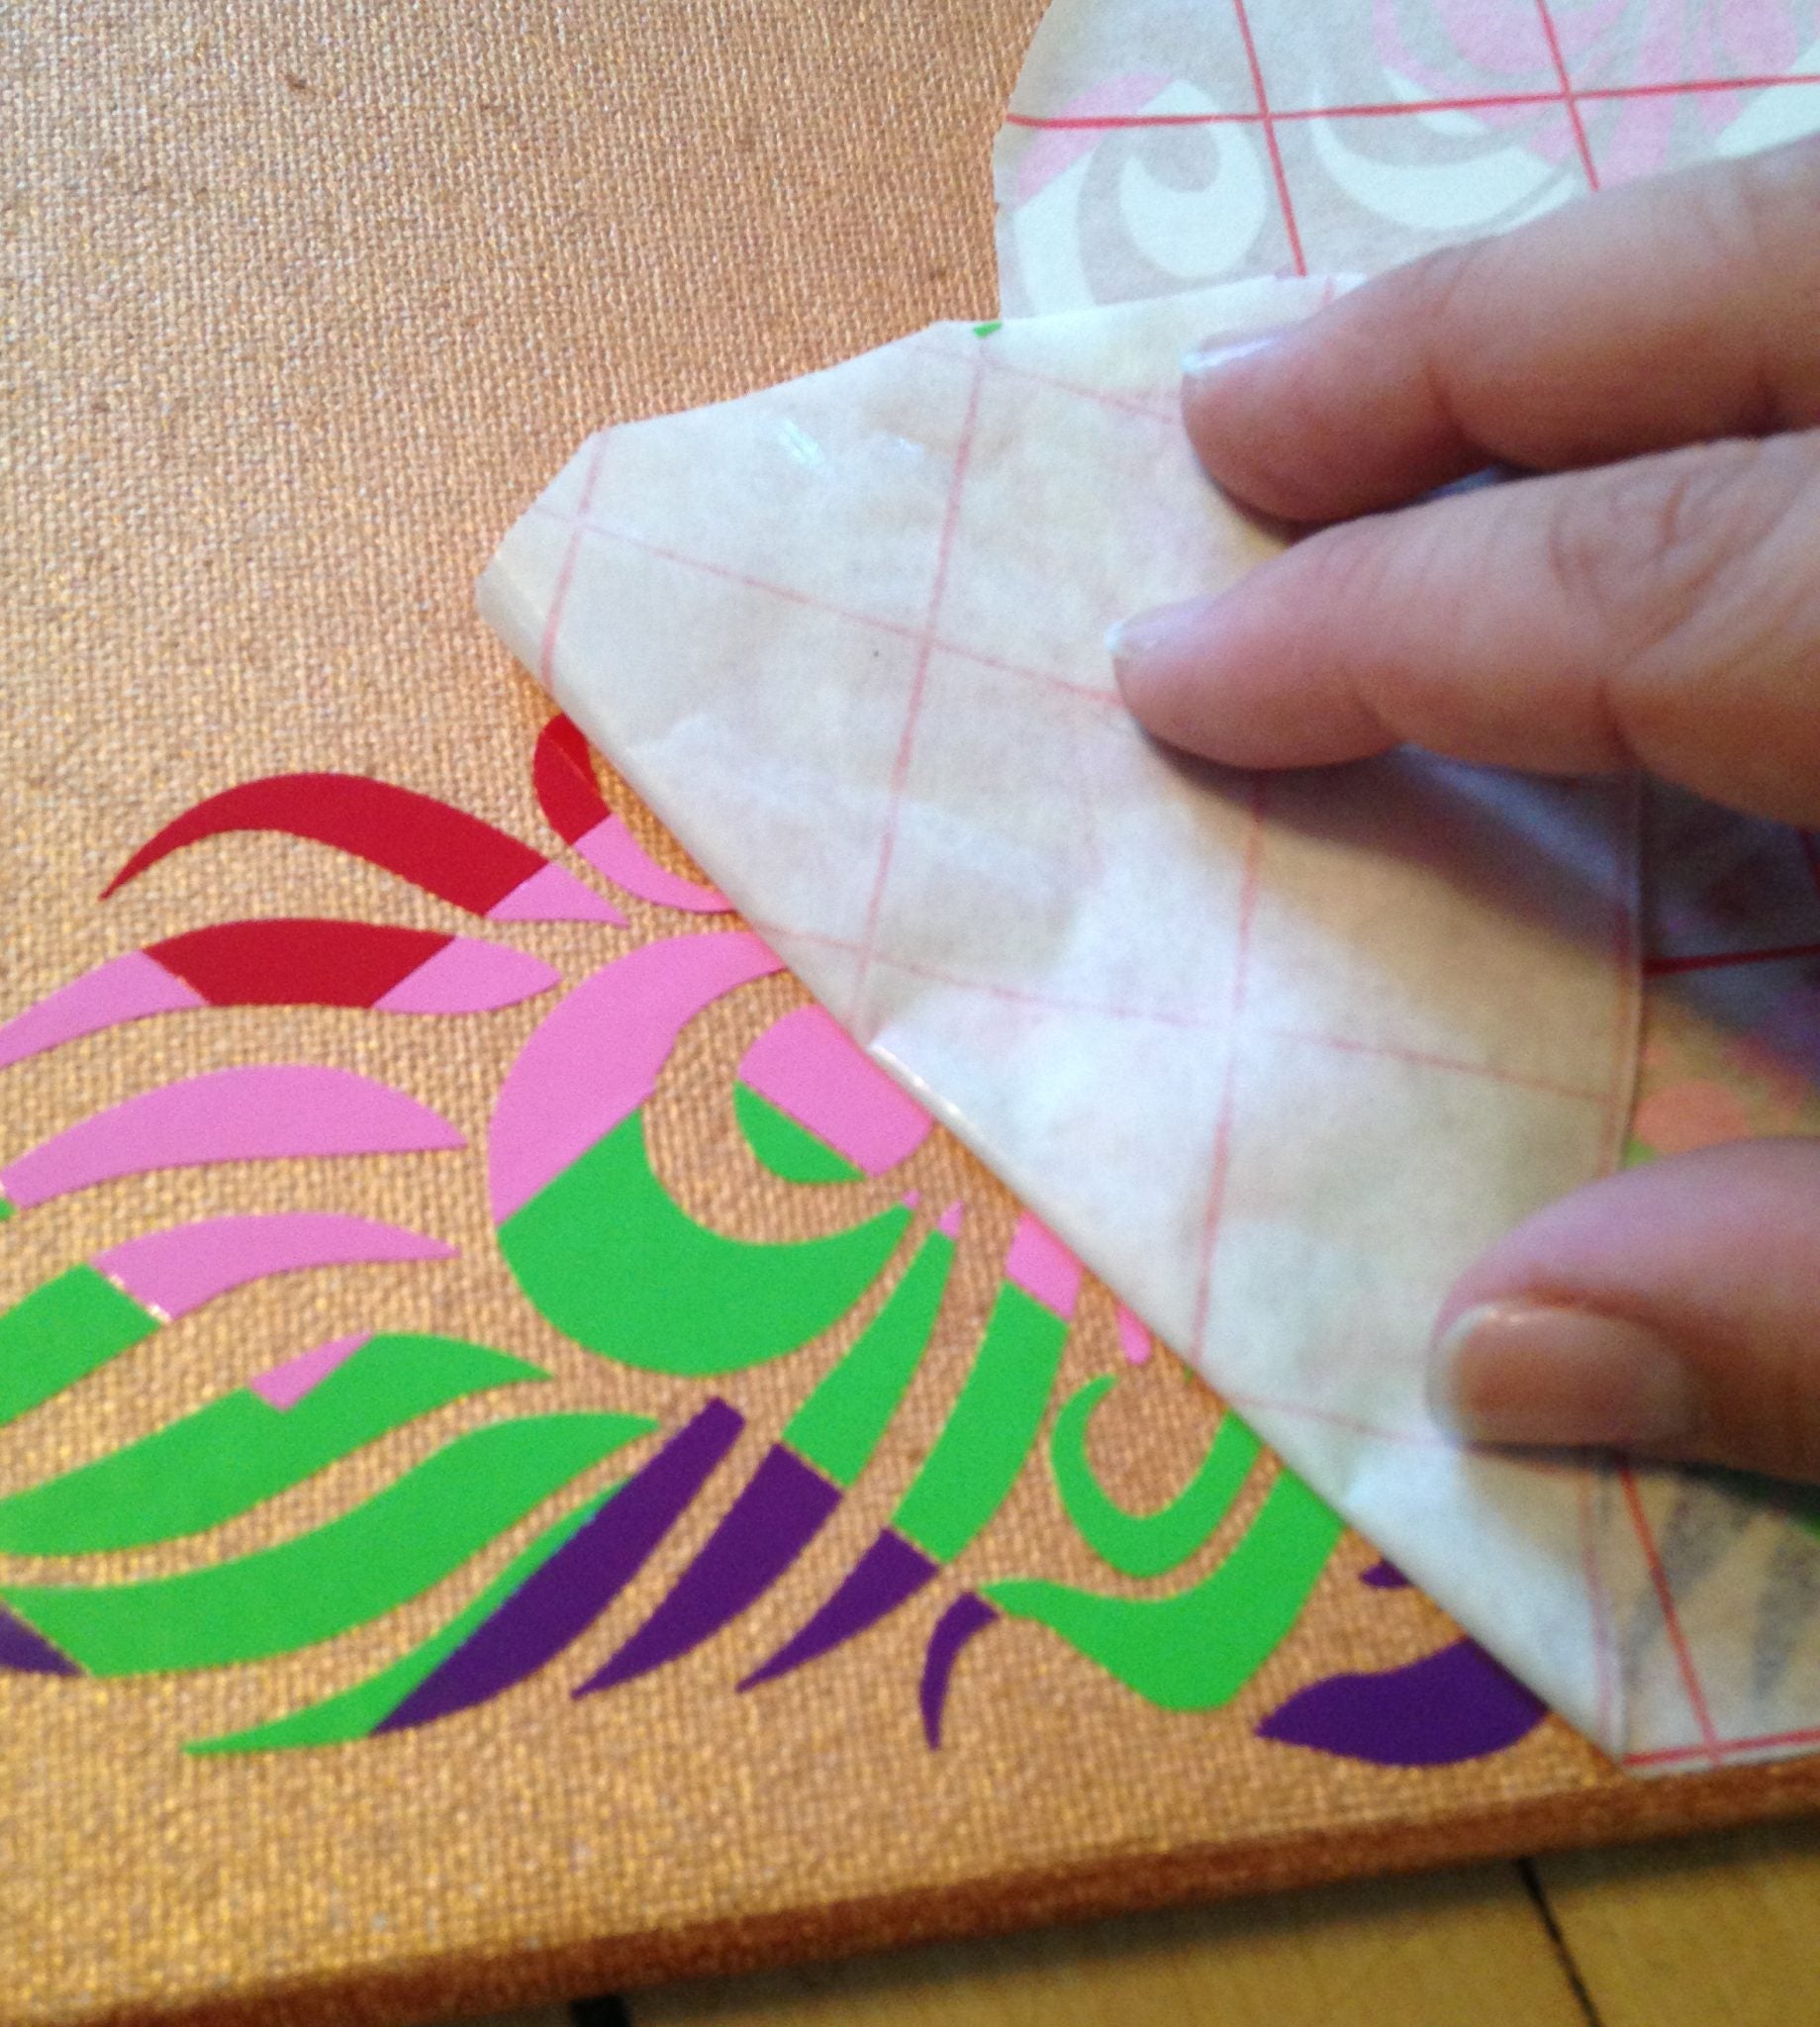
Next I used some scissors to cut out just the peacock, a little tricky as the designs were really close together and the vinyl is sticky side up and the transfer paper is sticky, but I managed! I transferred my peacock to a regular canvas I painted with bronze paint:

Next, I removed my transfer paper. Having a piece of wood under the canvas really helped give my canvas a hard backing so I could press down to remove the vinyl. Folding the transfer paper over on itself helped the vinyl stick to the canvas as well:
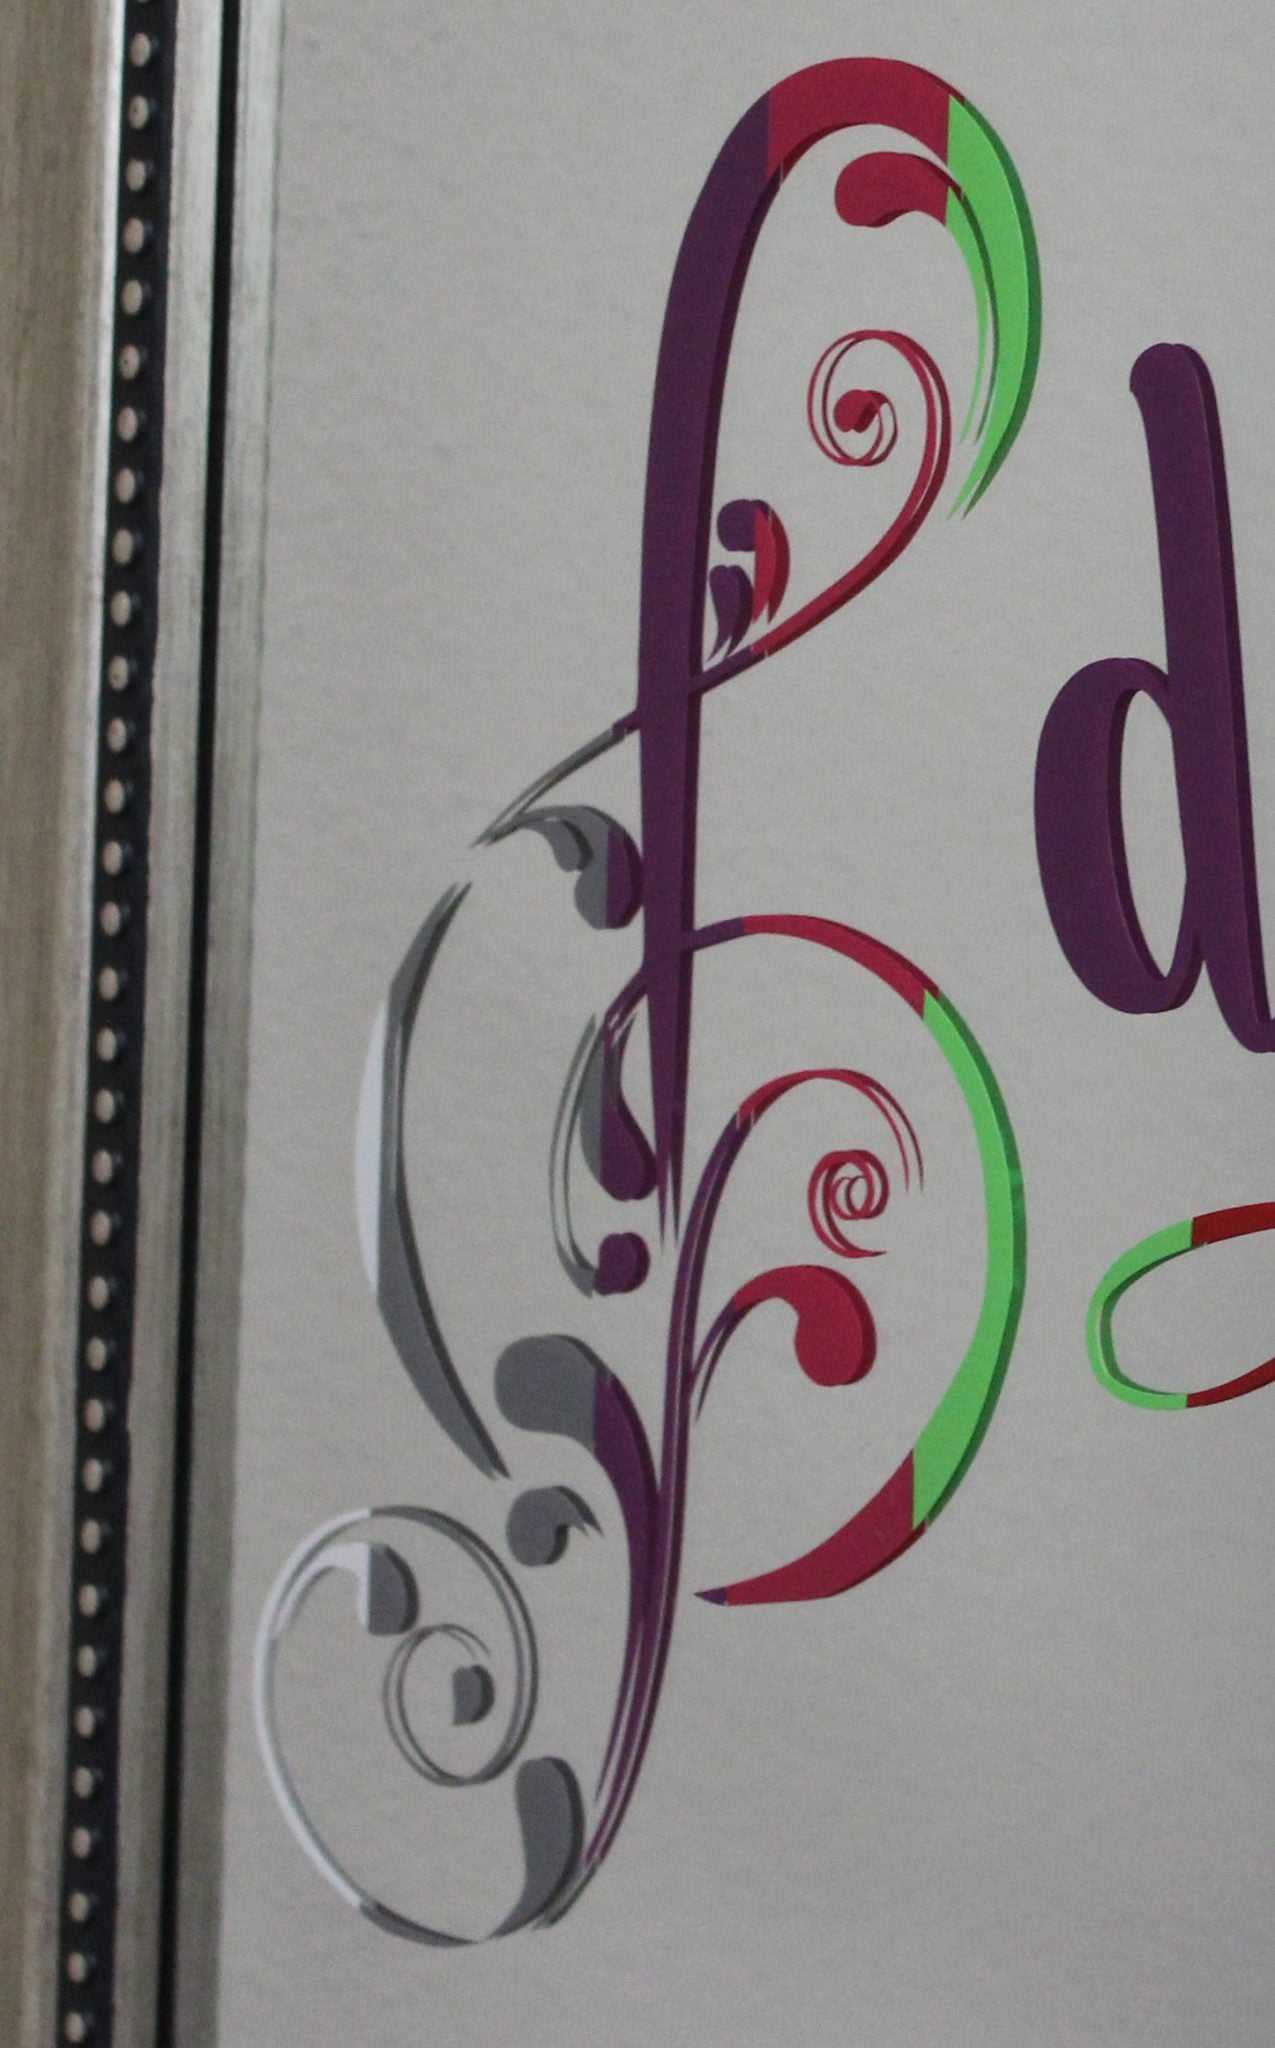
Once I had the peacock transferred, I cut my words out and added them to the canvas as well:
To finish my project, I used my embossing gun to lightly heat up the vinyl (a blow dryer would work as well). As I heated the design, I used my fingers to press the vinyl into the canvas. Heating the vinyl will melt it a little and make it stick even better. You should start to see the texture of the canvas show through the vinyl:

I hope you enjoyed this project! I have a few other project ideas for using up those vinyl scraps coming soon, here’s a sneak peak of one:
Side Note: Do you have heat transfer (HTV) scraps to use? I bet this technique can be used with those too, but you will have to consider that heat transfer vinyl shrinks a little when you press it. You also would have to cut everything then move it layer by layer since you can’t heat press your cutting mat. I say give it a try! You only have scraps to lose after all


Leave a comment