On Orders $49+
On Orders $49+


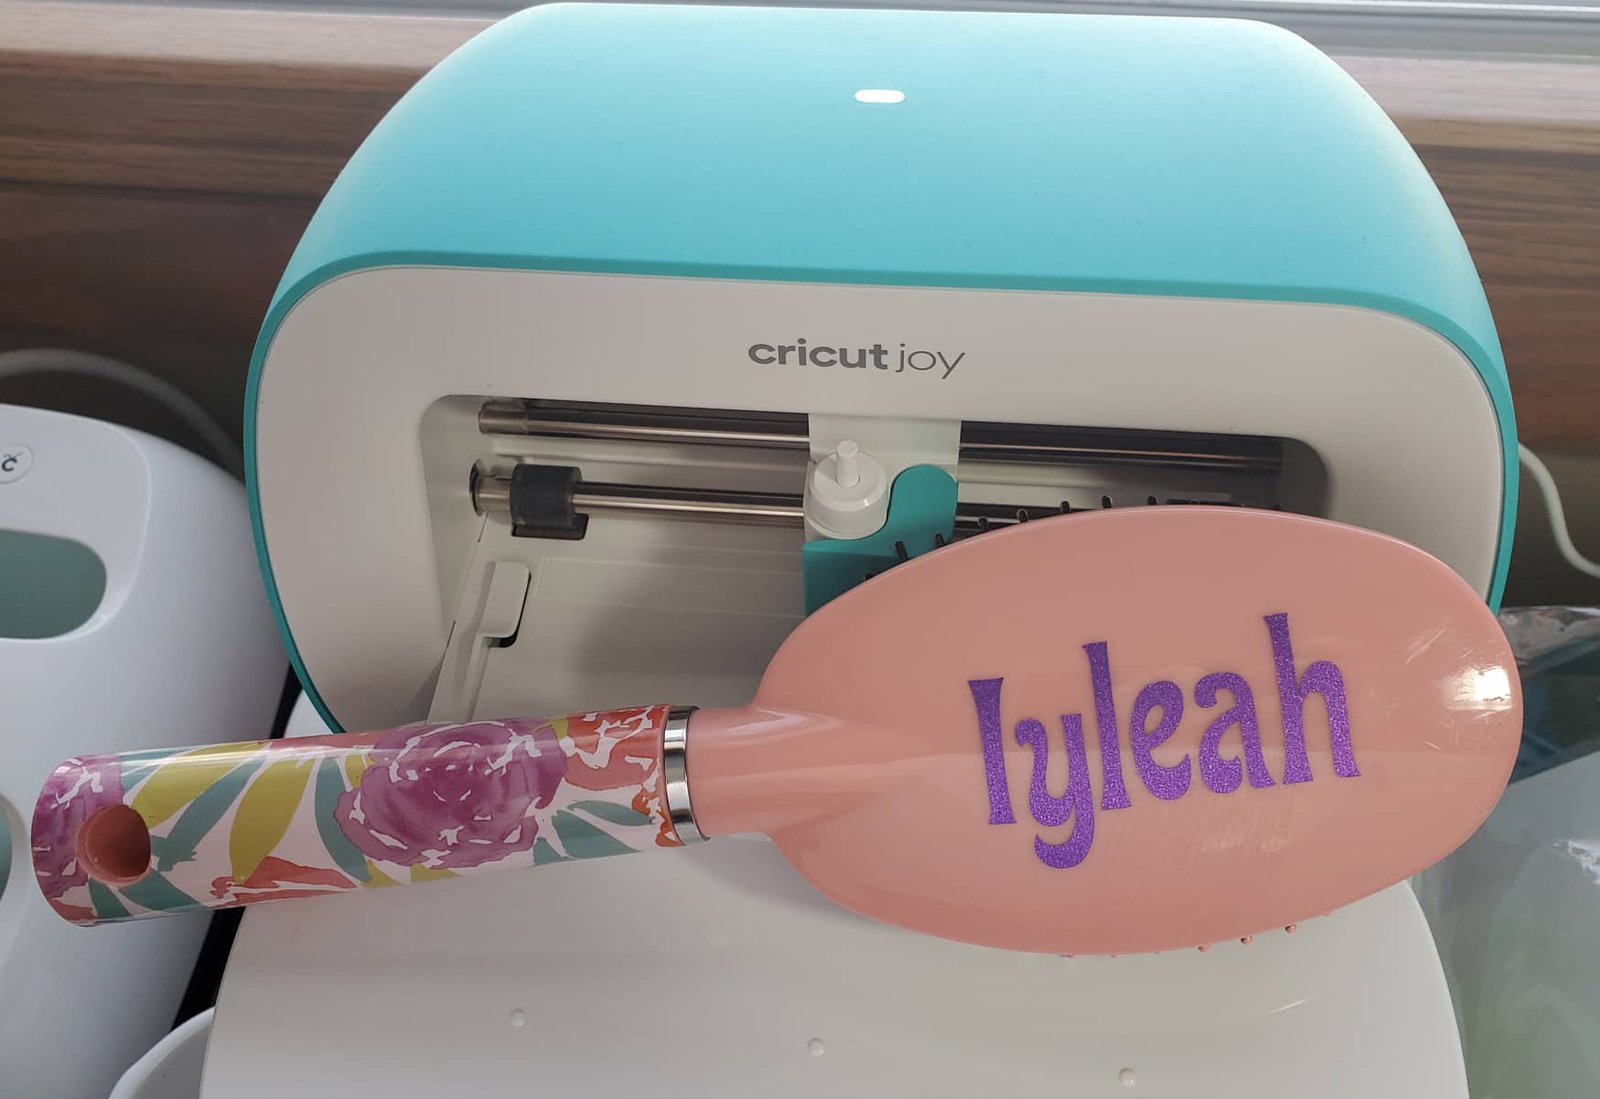
I just love being able to give a gift that is personalized. This was a gift that I gave to a very special friend’s daughter. The brush was already super cute but I loved the little extra touch this shimmer vinyl gave to it.
Materials:
Hair brush
Permanent Vinyl
Transfer Tape
Cricut Joy-Any Cricut will do!
Cricut tools

I started by measuring the back of the hairbrush and figuring out how big I wanted the name to be.

In Design Space I created an oval the size of my hair brush back. I then inserted text and typed the name. I sized the name so that it fit in my oval. I hid the oval so that only the name was showing on my canvas. I made sure to attach the letter together so that it cut the name out the way I have it on my canvas.

I am using my Joy so I made sure to select Joy as my machine and then clicked Make It. I am also using Smart Materials which means I do not need a mat. When prompted I selected No Mat. This project can be done on any machine. Just be sure to select the right material for your machine.


When it is done cutting I weeded it and I used transfer tape to put the name on the brush.

Such a simple project and perfect for beginner Cricut users. But I just loved how it turned out and was so excited to give it to my friend’s daughter. These would be adorable to put in an Easter basket or you could even sell them they are so cute.
*Money can not buy happiness.... but it buys me craft supplies and I'm just fine with that.
~Beth
How to Make a Vinyl Decal with Cricut Joy
Comments
Leave a comment