
Free Shipping
On Orders $49+
On Orders $49+

We posted this tutorial last year and it was so widely popular that we just had to bring it back this holiday season! Read on to see how to make your own sparkly ornaments in 6 easy steps. Plus see how my ornaments from last year held up after a year in storage and check out some ideas to take your ornaments to the next level!
Remove the ornament cap and squirt about a tablespoon of the Pledge into the ornament. Swirl the Pledge around and make sure you get a good even coat over the entire inside of the ornament. Pour any excess Pledge back into the bottle (or discard).
Insert your funnel into the top of your ornament and pour in glitter of your choice. I have found that fine glitter works best. You will need a few tablespoons and you can always add more if necessary.
Coat the inside of your ornament with the glitter. I found turning the ornament around helped to ensure good coverage, but you can shake the ornament too. Just make sure to cover the top of the ornament with a towel and your thumb so you don’t cause a glitter explosion!
Pour the excess glitter back into the container. Tap the sides of the ornament a little to get any loose glitter out. You don’t want to leave a clump of unstuck glitter in the bottom of your ornament.
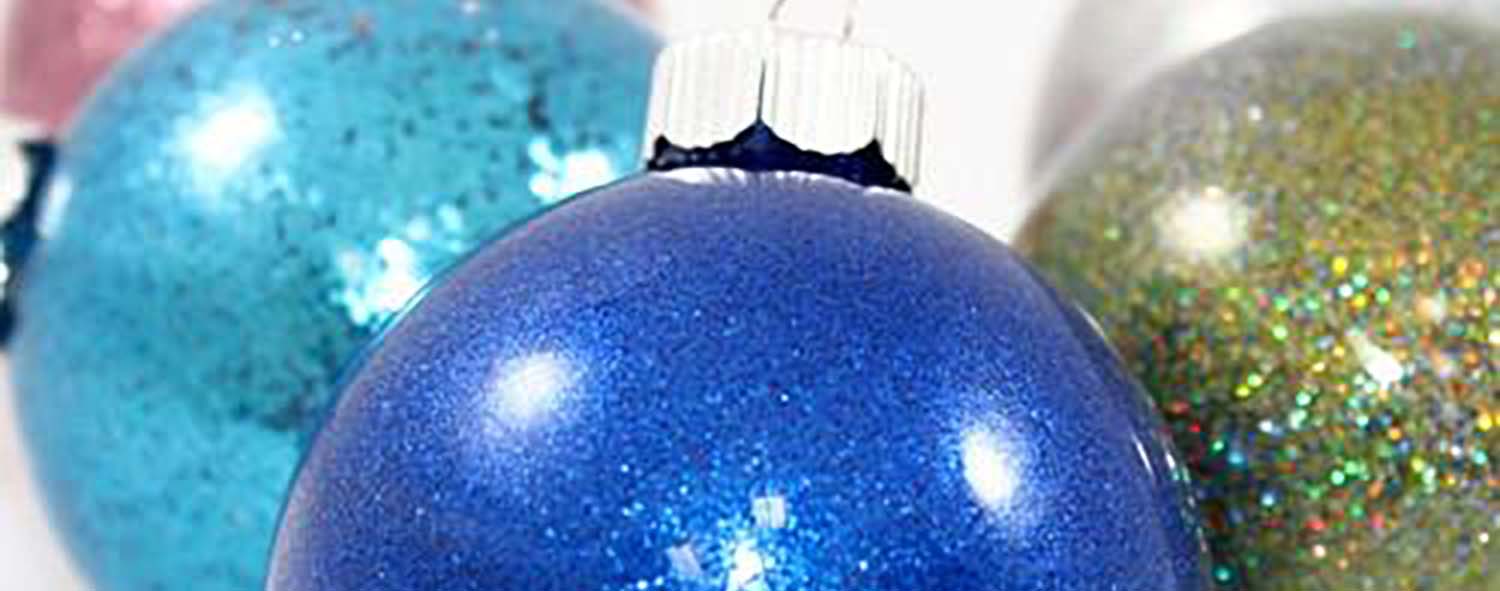
Pop the top back on your ornament! That’s all it takes!

I created sets of these last year as gifts for friends and family and everyone loved them! I saved some for myself (of course) and they were so sparkly on our Christmas tree. They really were so easy and FUN to make that I must resist the urge to make more this year! I pulled my box of ornaments out yesterday to see how these beauties survived being stored over the summer, and they are still just as glittery as they were last year! The Pledge dries on the inside and your glitter is stuck tight- no worries that it will not last. These will stay glittery year after year.

Want to take your ornaments to the next level (as if they weren’t beautiful enough on their own!)? You can monogram or personalize your ornament with Cricut Premium Permanent Vinyl. Nothing makes a gift more special than having it personalized and it’s so easy to do! Just cut any letter out and stick it right to the outside of your ornament. With the glitter on the inside, you don’t have to worry about the vinyl sticking properly!
You can also use paint to make a cute snowman, like I did with one of my ornaments from last year. With just a few dots of paint – the possibilities are endless!

I hope you will give this project a try if you didn't try it out last year when we first brought it to you! It really is fun, easy and FAST. I created two dozen ornaments in under and hour and they look so high end, people will never know how simple (and really inexpensive) they are to make!
Happy Crafting! - Kala

Comments
Leave a comment