
Free Shipping
On Orders $49+
On Orders $49+


Hey there, are you looking for a fun and easy way to add some personalized decor to your home or office? Well, you're in luck because pallet decor is all the rage right now! And with the help of Cricut vinyl, you can create a unique sign that's totally your style.
To make things even easier, all you need are some inexpensive canvas stretcher bars, offset canvas clips, and a few other supplies to create a custom frame that gives your sign a polished and finished look. Plus, you don't need to be a crafting pro to tackle this project. With our step-by-step guide, you'll be on your way to creating your own "Good Day Sunshine" pallet sign in no time.
Materials:
Directions:
Paint or stain the pallet if desired and allow to dry. Apply several coats of your varnish or sealer of choice to provide a smooth surface for applying the vinyl.

Create the design for cutting the vinyl in Cricut Design Space. I like to add rectangles to the canvas in the size of my pallet to help me visualize how the lettering and imagery will look on the actual pallet.
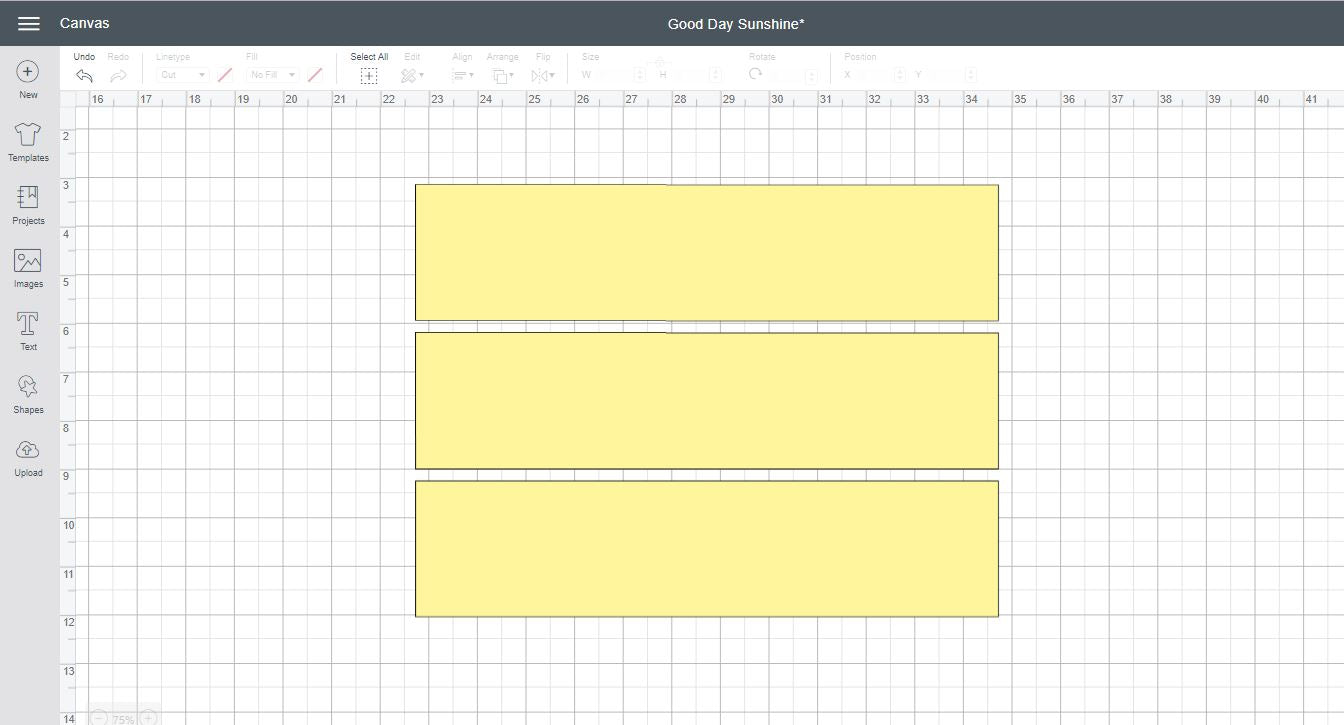

The sample project uses two system fonts – Century Gothic and Broadway. The image is a free image found on Pixabay and sliced in half on the Cricut canvas.

Attach the design elements in Cricut Design Space and make the project. After cutting, weed the vinyl to remove the excess vinyl (not part of your design). Using transfer paper, apply the vinyl to the pallet and burnish in place.

Assemble the stretcher bars to make an inexpensive frame for your pallet. Slide the end of one bar into the groove of the adjacent bar. You can add a bit of glue in the groove before assembling if you’d like. Use your hands or a mallet to fit the corners neatly together.

Repeat using all the bars until a rectangular frame has been created.
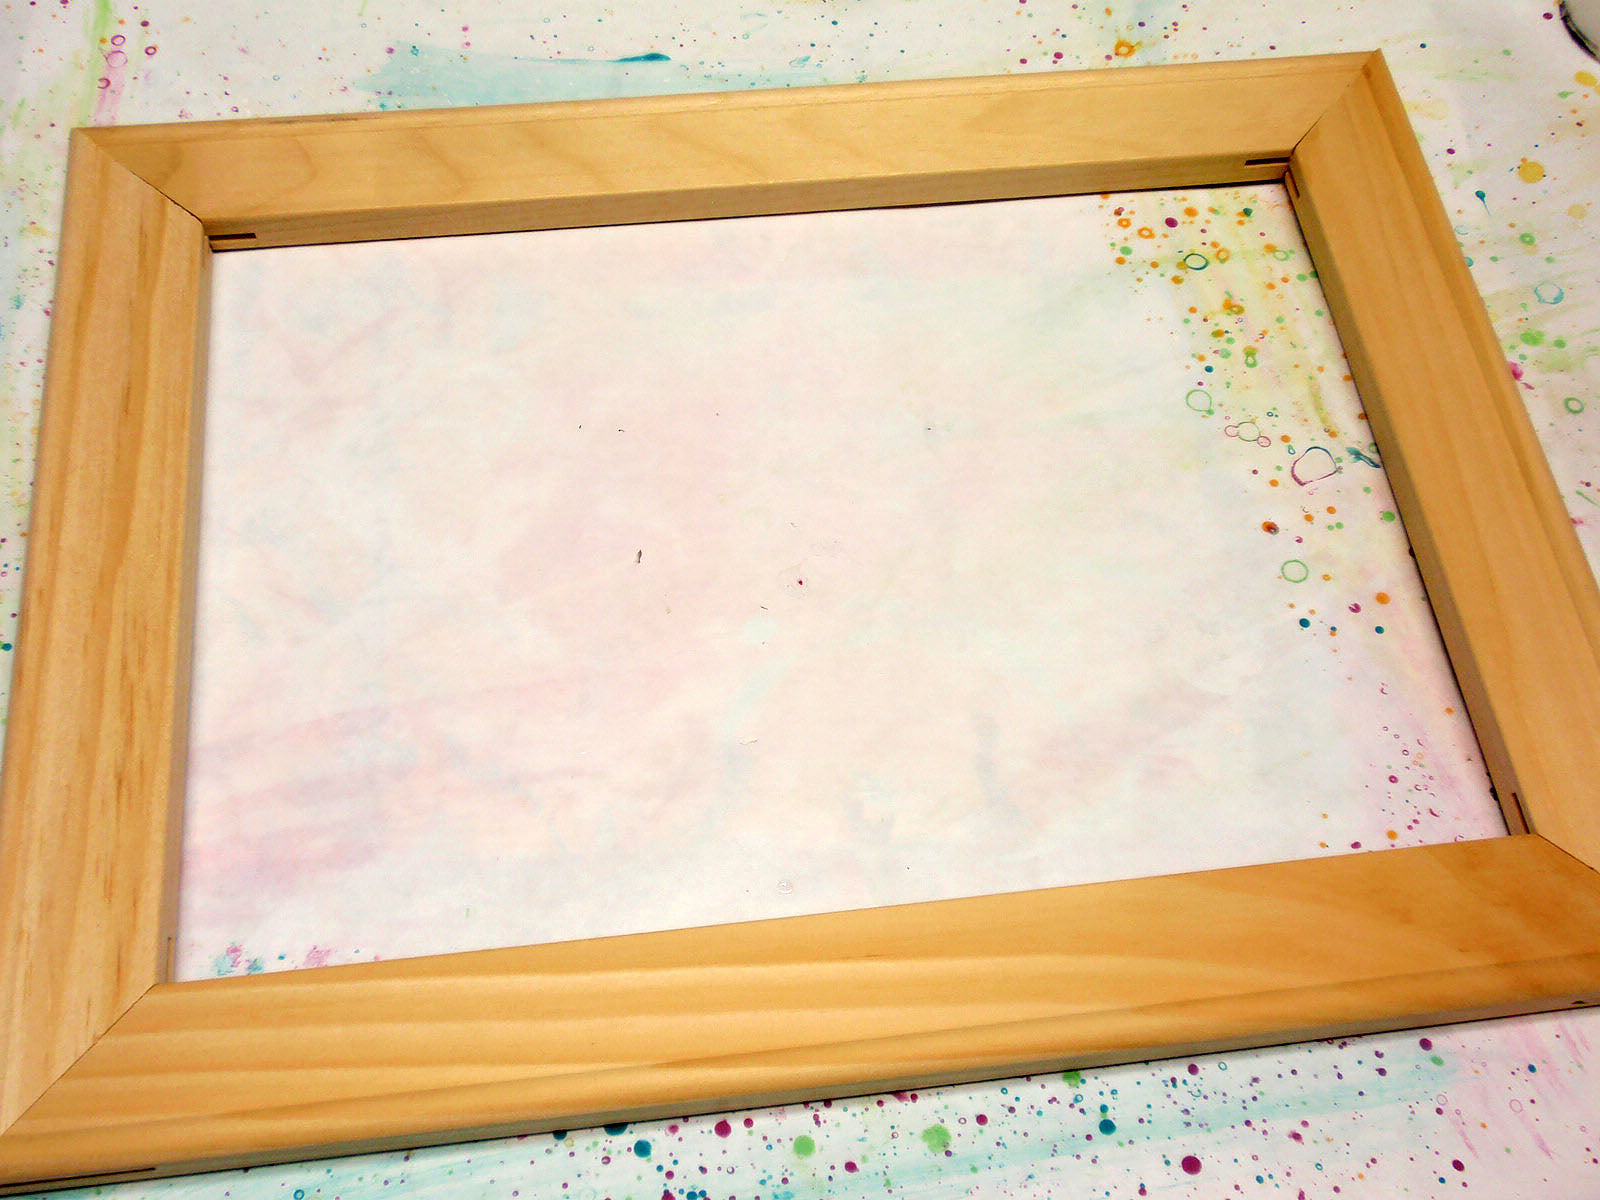
Paint or stain and varnish the frame as you’d like. Allow to dry.

Turn the frame over to the back and lay your pallet face down on top. Position one of the canvas clips near the end of the pallet and screw to the frame.

Repeat using additional canvas clips as shown.

Drill a hole in the upper right and upper left corners of the frame for hanging if desired. Drill near, but not directly on the corner seam.

If you’d like, glue heavy paper or fabric to the back of the frame.

Cut a piece from a wire coat hanger to use to hang your sign. Thread the wire from the front to the back through the hole and wrap the end around the hanger to secure. Or use a piece of string or ribbon to suspend the sign.

Add any other decorative embellishments that you’d like to further personalize the sign. Then hang and enjoy!

Cricut Christmas Pallet Project Inspiration

Leave a comment