
Free Shipping
On Orders $49+
On Orders $49+


A paint patina kit creates a rustic aged look on an inexpensive wooden frame. Yarn wrapped in Southwestern colors adds fun stripes and texture to completely transform the frame. Use it to accent your favorite photo or a small work of art.
Supplies:
Simple, flat wood frame
Yarn in your choice of colors
Metal effects patina paint kit
Matte varnish (optional)
Felt
Masking tape and white glue
Photo or small art work
Directions:
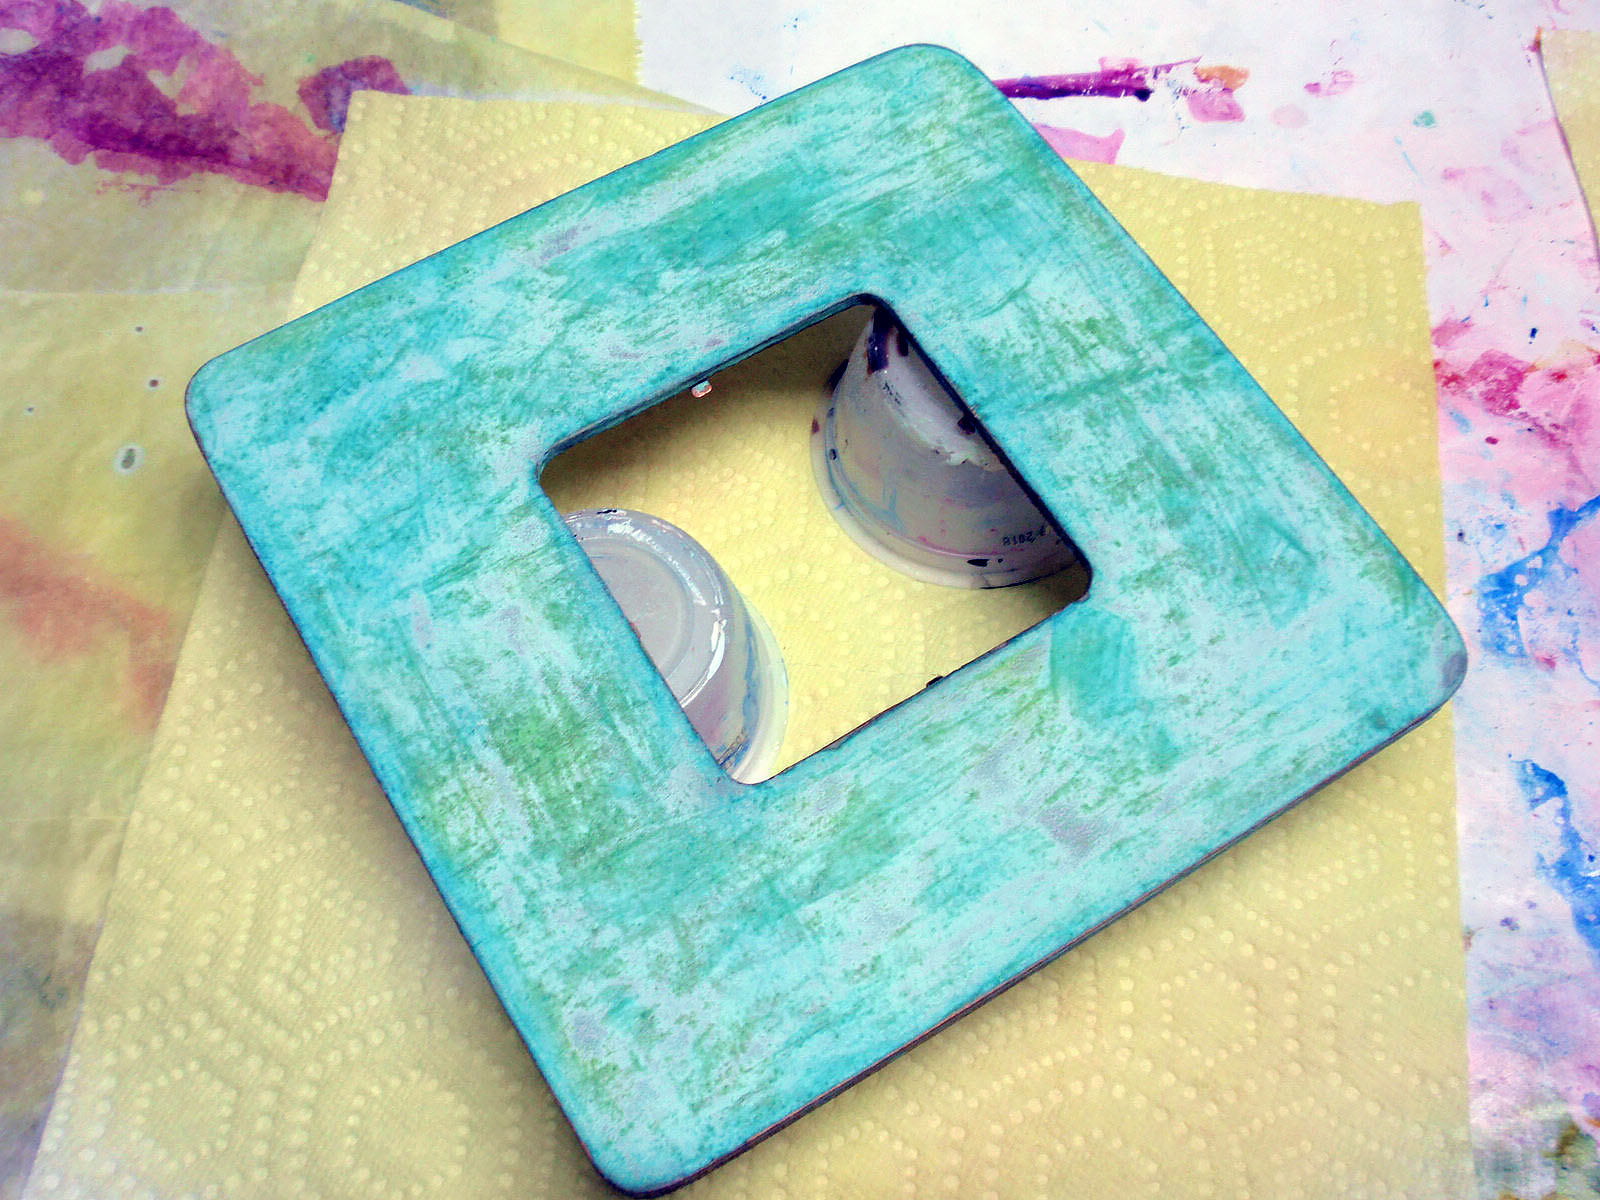
Apply 2 coats of primer and 2 coats of oxidizing copper paint to the wood frame following the directions in the patina kit.

While the second coat of metallic paint is still wet, spray the frame with the green patina aging solution.

The frame will turn a beautiful blue green color when dry. Apply a coat of matte varnish to protect the patina paint if desired.
Cut several yard lengths of yarn using your choice of colors. Wrap one piece of yarn around the frame and tie the ends in the back.

Continue to wrap the yarn around the frame until the color “stripe” create by the yarn is as wide as you’d like. Cut the yarn, leaving about 5-6 inches to tie the first piece of yarn to the next color.
Tie the 2 pieces of yarn together using an overhand knot, placing the knot so that it will fall to the back of the frame as you continue to wrap the second piece of yarn around the frame.

Repeat with additional colors of yarn until you have filled the space adjacent the opening in the frame. Make your stripes as wide or narrow and space them as evenly or unevenly as you’d like. Tie the last piece of yarn to one of the “tails” of yarn present on the back of the frame. Place a length of masking tape across the yarn to secure. Repeat along all four side of the frame.


Prepare your photo or whatever else you might like to showcase in your picture frame. I’m using a cute illustration of a tribal sloth by Etsy seller, BAINAIDesign. Place the photo in the frame opening and secure using the frame clips.


Cut a piece of felt the same size as your frame and glue it to the back using white glue.


Leave a comment