
Free Shipping
On Orders $49+
On Orders $49+

Cricut Iron-on or Heat Transfer Vinyl (HTV) is a fantastic way to add a creative touch to fabric surfaces. Whether you want to craft custom t-shirts, personalized bags, or unique shoes, if you can apply heat to it, you can adorn it with heat transfer vinyl. In this guide, I'll walk you through the process of creating a shirt using HTV. Let's dive into the world of iron-on heat transfer vinyl!
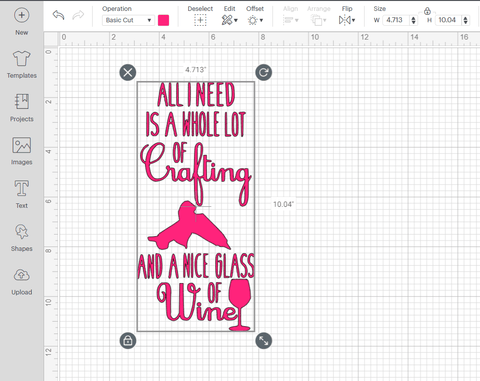
One of the most beginner-friendly projects for Heat Transfer Vinyl is designing a shirt. Today, we'll use one of the 12 Exclusive Heat Transfer Vinyl Designs I've created exclusively for Craft-e-Corner. For my shirt, I've chosen the catchy phrase, "All I need is a whole lot of crafting and a nice glass of wine." I'm sure many of you can relate to that sentiment!

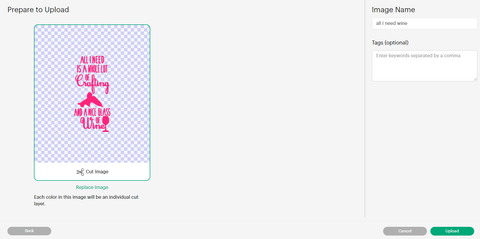
Begin by importing the SVG design into Cricut Design Space. Start a New Project and select "UPLOAD" from the left sidebar menu.

Next, choose "UPLOAD IMAGE" and then click "BROWSE" to locate the file on your computer where you've saved your cut design.


Once you're ready, provide the image with a name and some image tags. Then, select "UPLOAD" at the bottom right corner of the screen. Now your image is available in Design Space for this and future projects. Click the image and select "ADD TO CANVAS" using the button at the bottom right of the screen.

For my project, I wanted my design to be approximately 12 inches long. Depending on your preference, you may need to adjust the size of your design slightly. When you click on the design, a bounding box appears around it. You can drag the arrows at the corners of the box to make your design larger or smaller without distorting it.
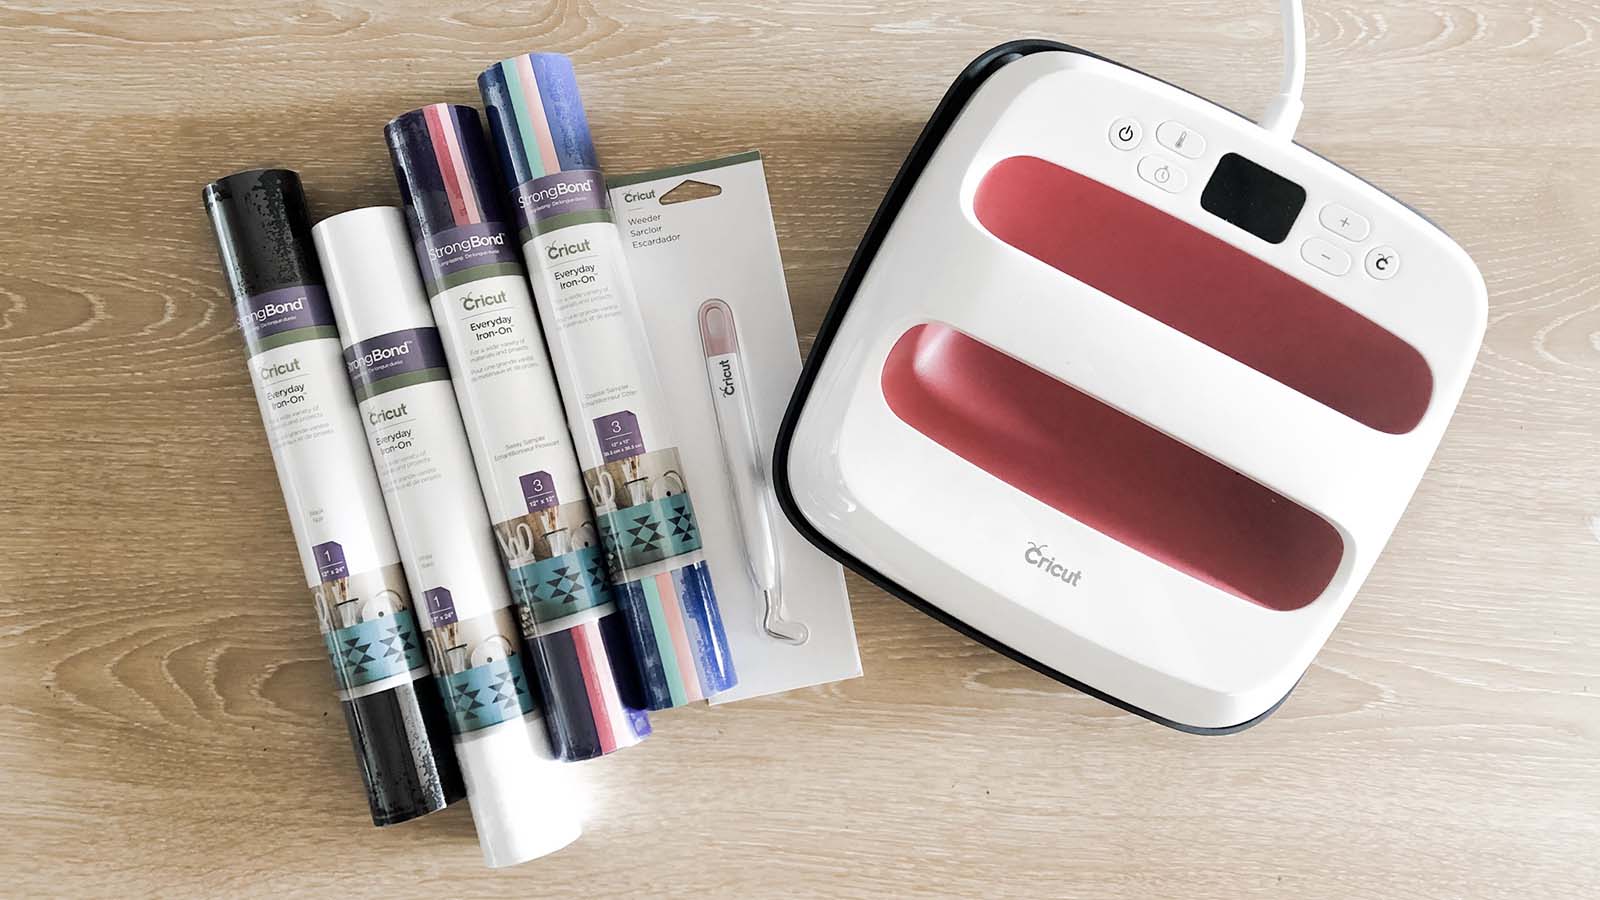
Cricut iron-on vinyl comes on a sticky carrier sheet that keeps the vinyl in place during cutting and helps you transfer the vinyl to your project surface. The SHINY side of the iron-on is the carrier sheet, while the dull side is the adhesive. When you cut iron-on, ensure that the SHINY side faces down on your cutting mat.
Some heat transfer vinyl has a white (or other color) adhesive side, but it is usually the same color as the vinyl, just duller in color. If you're unsure which side is which, gently peel the corner of the sheet to see which side is clear plastic when you separate the two layers. The clear plastic side is the carrier sheet and it should always face down when cutting, toward your mat.

In Cricut Design Space, select "Iron-on" from the materials list. If you're using a Cricut Explore Air 2, you can choose "Iron-on" from the Smart Set dial. Place the heat transfer vinyl onto your cutting mat, ensuring that the shiny side faces down, and load it into your machine.
After setting up your file, your design is ready to cut. If your design has any text or if it isn't symmetrical, it's crucial to choose "MIRROR" in the Prepare to Cut screen. This option reverses the design for cutting.

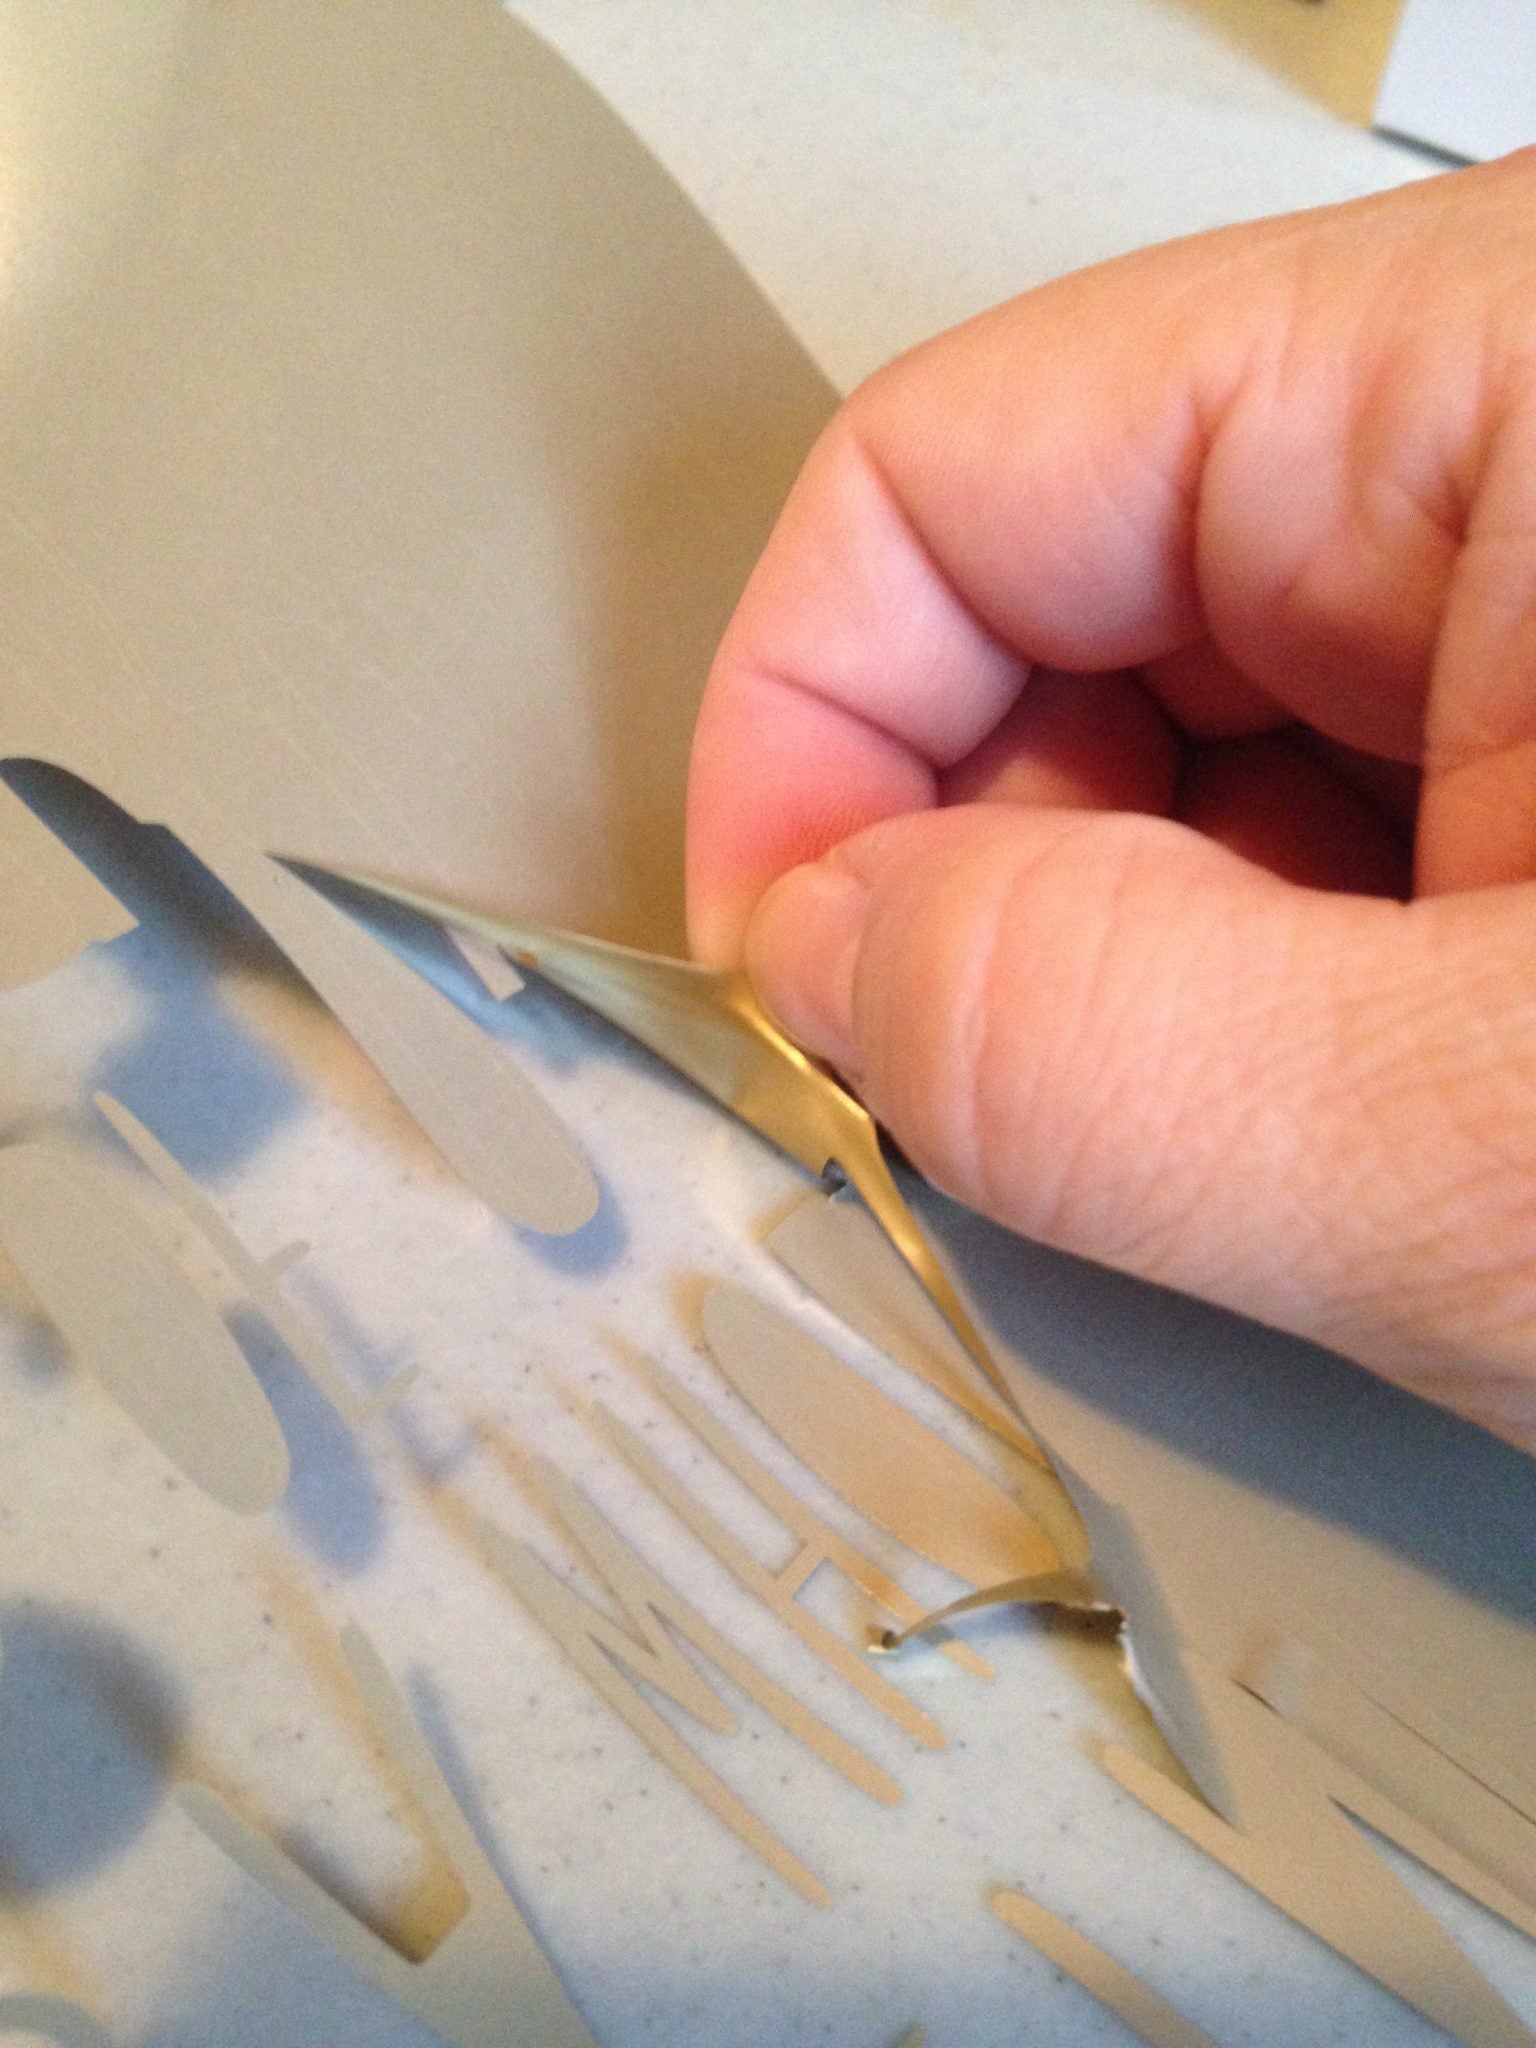
Weeding is the process of removing the excess iron-on vinyl that's not part of your cut design. It's a bit like a treasure hunt but in reverse. A weeder or hook tool can be handy, especially for intricate designs and smaller details.

Once your design is fully weeded, you should be left with the design adhered to the sticky carrier sheet. Fold the carrier sheet in half and make small creases at the top and bottom of your design. Don't worry if you fold the vinyl; it will flatten when you iron it. Ensure that you fold the NON-sticky sides together.


Fold your shirt in half lengthwise and iron it down the middle, creating a visible crease. Align the notches in your carrier sheet with the line you've ironed onto your shirt.

Adhere the iron-on to your t-shirt using a Cricut EasyPress heat press machine or a household iron. Cricut provides a valuable Heat Guide that specifies the time and temperature required for a successful transfer. Whether you're using a heat press or a standard iron, preheat the t-shirt for about 5 seconds before applying the iron-on. Position the iron-on with the shiny liner side up (the design won't be reversed) on the shirt.

Press your design onto the shirt. If you're using a Cricut EasyPress heat press, you'll have a breeze! Simply press for the recommended time using firm pressure.
If you don't have a heat press, that's okay too! Set your household iron to the highest non-steam setting. Cover your design with parchment paper or a thin cloth and press down firmly. Keep the iron in place for 10-20 seconds in each section, then move to the next. Continue this process until you've ironed over the entire design.
Once your design has been pressed, it's time to peel off the carrier sheet. Some heat transfer vinyl is "cold peel," while others are "hot peel." This means that some designs require cooling completely before you remove the carrier sheet. If you are using genuine Cricut iron-on, the Cricut Heat Guide will tell you whether to remove the liner when it is warm or cool to the touch. Otherwise, try peeling the edge of your design while warm. If it doesn't adhere to the shirt, let it cool entirely, then attempt to peel it again. If it still doesn't release from the backing sheet, consider pressing it once more.

Cricut iron-on heat transfer vinyl (HTV) is a fantastic way to personalize your shirts, bags, and various fabric items. It's a versatile material that allows for endless creative possibilities. I hope you enjoyed this tutorial and love your new shirt as much as I do! So, what other projects will you embark on with heat transfer vinyl?
Craft-e-Corner is an authorized Cricut retailer offering a wide range of iron-on vinyl colors and heat press machines. Check out our selection for your next project!
Cricut Iron-on 101: How to Size Your Designs to Fit Shirts
Cricut Iron-on 101: Working with Multiple Colors in One Design

Comments
Leave a comment