On Orders $49+
On Orders $49+


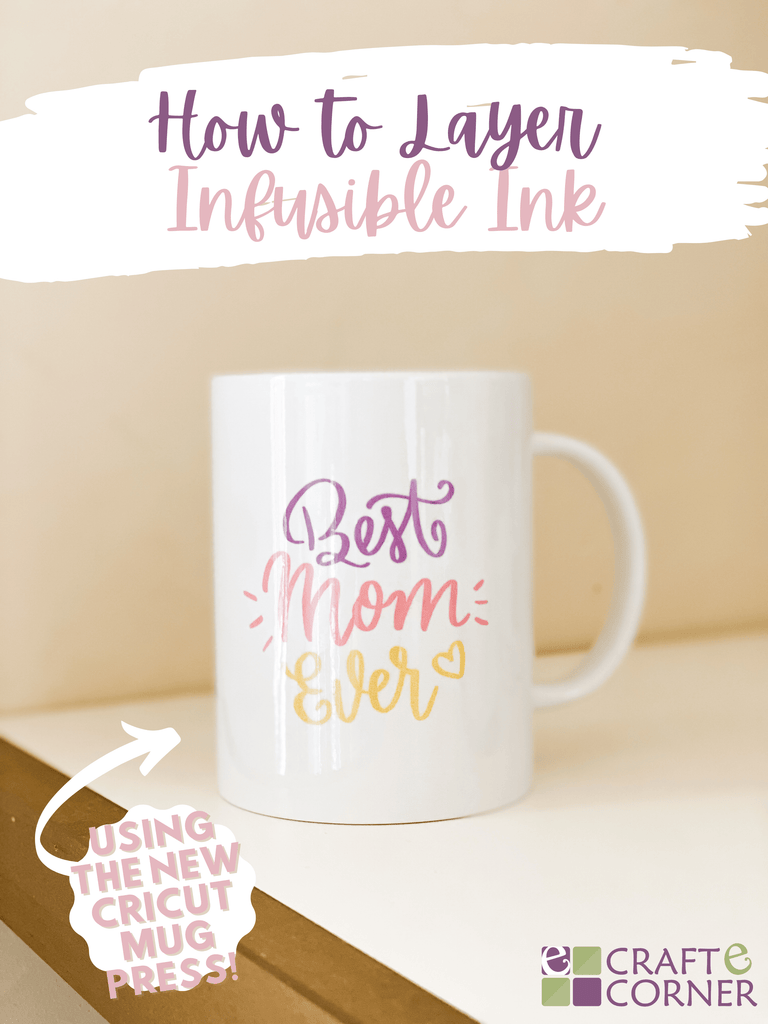
Crafting with the new Cricut Mug Press has been one of my favorite things to do lately! It allows you to make custom mugs that are dishwasher and microwave safe. The ink bonds to the mug and becomes "one" with it — no need to worry about it peeling off!
In this tutorial today, I'm going to show you how to layer Infusible Ink to make a Mother's Day coffee mug with the mug press. I've even included a little hack that I created to help line up the design on my mug. 🙌🏼
Before we get started, I wanted to highlight the Infusible Ink that I'm working with today. This is one of our bundles and it has the prettiest spring and summer colors! You can purchase it on our website or by clicking the image below:

Materials:
To make this project, click here to access the project in Design Space.
Download the template for lining up your mug (watch the video to learn more).
Happy making!
-Courteney


Comments
Leave a comment