This week on Facebook I asked our followers…What craft do you do most in summer?
The answer: Cards! Then I asked what kind of cards and 90% of the feedback was birthday cards!
The people have spoken…so birthday card it is!
Weirdly enough, it just so happens that my sisters birthday is tomorrow and I needed a card!
Sometimes I like to make very detailed cards with a lot of elements, but for today’s card I am keeping it quick and simple. (with the right tools of course!)
Talk about simple, for this card I used a pre-made card and envelope from American Crafts. We all know that there is just not enough time in the day, and that goes for crafting as well. As much as I try and spend as much time as I can in my craft room, sometimes you just need something QUICK!
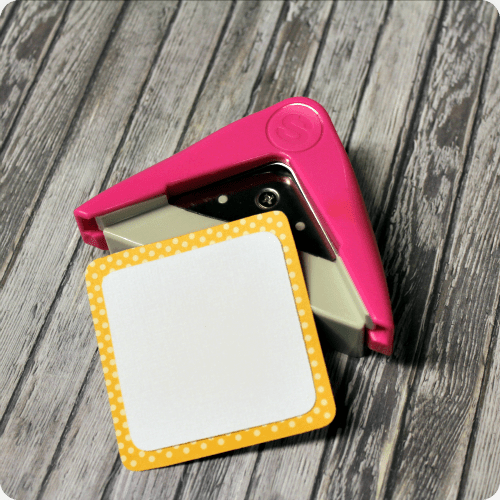
For the front of my card I cut out a 2.5″ square using a fun orange polka dot paper from the Sunshine & Happiness Kit. I topped that with a 2″ square using American Crafts White Cardstock and rounded all four corners.
Using my Doodles & Things Stamp Set I choose two basic doodle shapes (a square & a circle) for my card. I stamped the doodle square onto the center of my square and, using a fun swirl stamp from the same set, added swirly ribbons.
Next, using Tsukineko/Imagine Crafts All Purpose Ink in Cherry Pink and a Fantastix applicator, I colored my present pink!
Next, I adhered one half of my square to the right fold of the card.
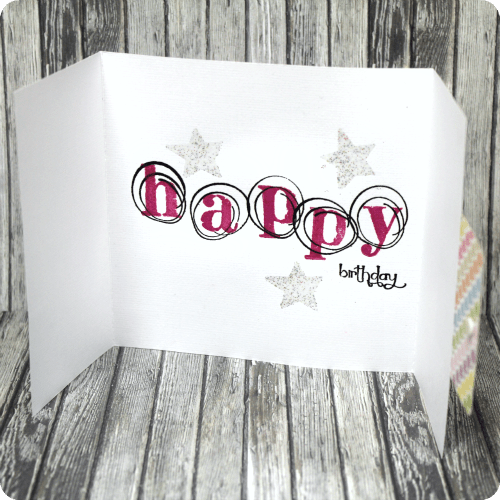
For the inside of the card I stamped 5 circles using my doodle circle stamp from the same Fancy Pants Doodles & Things Stamp Set. Each circle would have a letter in it to spell out “happy.”
Using the distressed letters from the same stamp set, I stamped the word happy using my Bachelorette Pink Ink Edgerz. While the ink was still wet, I added some Tsukineko/Imagine Crafts Clear Embossing Powder and then hit it with my heat gun.
I then stamped the word birthday below it 1:00am Black Ink and heat embossed that as well.
(again using Tsukineko/ Imagine Crafts Clear Embossing Powder)
To finish off the card I added a few heat embossed glitter starts to the card. I used the Versamark Watermark Ink Pad and the Sparkle Embossing Powder for the stars! It’s a bit hard to see in the picture, but they are super pretty and sparkly!
Hope you enjoyed this quick card tutorial! If you are looking for a great stamp set perfect for cards make sure to check out the Doodles & Things Stamp set.
WHAT DO YOU THINK?
*comment below with your thoughts on the post, I love hearing your comments*


Leave a comment