
Free Shipping
On Orders $49+
On Orders $49+
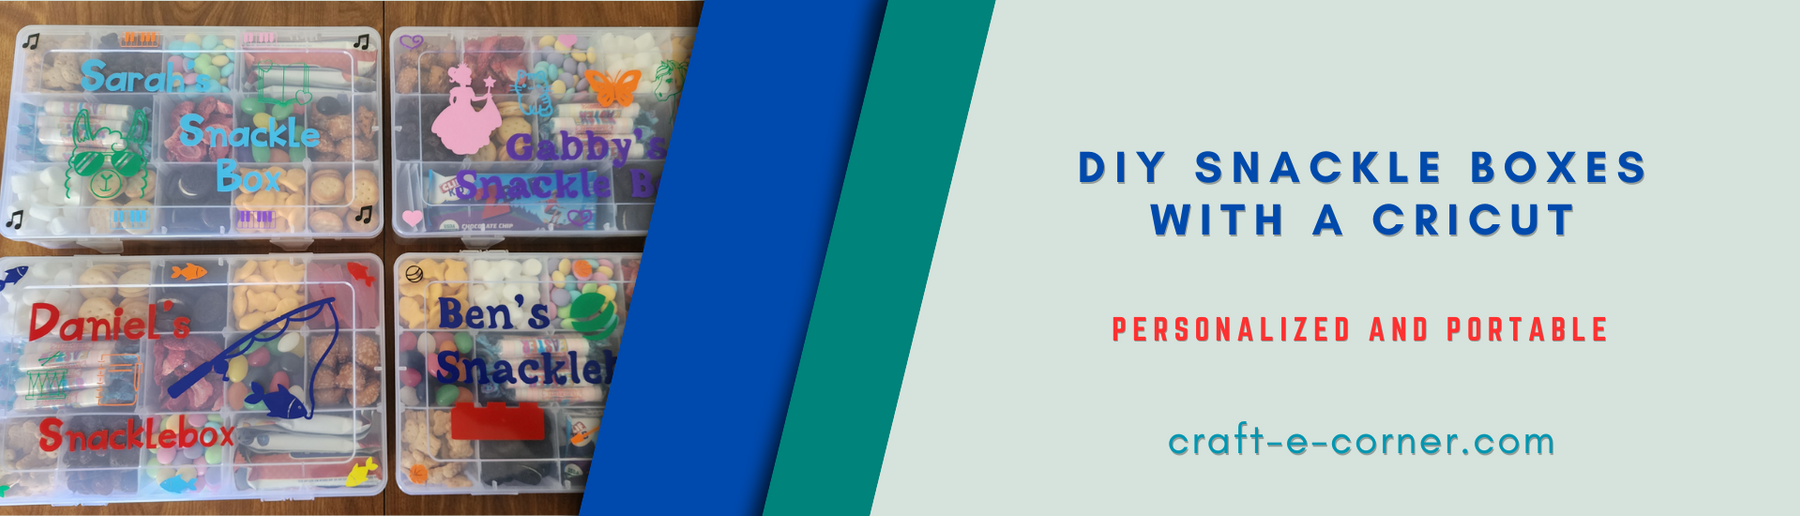

Have you seen those snackle boxes you can make for traveling with children? When I saw them, I knew I had to make some. They would be perfect for my grandchildren to take on camping trips or for other travels. I personalized each one with their favorite colors, using images that matched their interests.

Materials:
Organizer boxes
Cricut machine
Standard Grip cutting mat
Permanent vinyl in desired colors
Transfer tape
Cricut tools
This is a fairly simple project, applying permanent vinyl to organizer boxes. You could also use removable vinyl to be able to change the design or repurpose the boxes later.
I started by measuring the tops of my boxes. I discovered there was a rectangular recessed area on the tops of them, which limited the size of my design. I would have preferred one flat area on top.
Tip #1: Pay attention to the lid of the organizer box you purchase to ensure it will allow you to add the design of your choice.

These boxes have lots of dividers that can be removed to create different sized compartments for the items you want to fill them with. I saved the extra dividers and placed them inside with the snacks for future use.

In Design Space, I first created a template the size of the recessed area to keep my design sized properly. I used this for each design I created since I was making four snackle boxes.

For each child, I used text to name their box, arranging the words differently for each one. For some, I left "snackle box" as two words, and for others, I made it one word, "snacklebox." I had seen the words both ways.

Once I had the text typed and sized in the template, I started adding images from Design Space according to their interests, using different colors to keep it interesting. I added some very small images to place around the outside of the recessed area, which was about a half-inch wide.

When one design was completed, I proceeded to the next one, moving the template down to use again for sizing. I also grouped the first completed design so nothing would shift around.
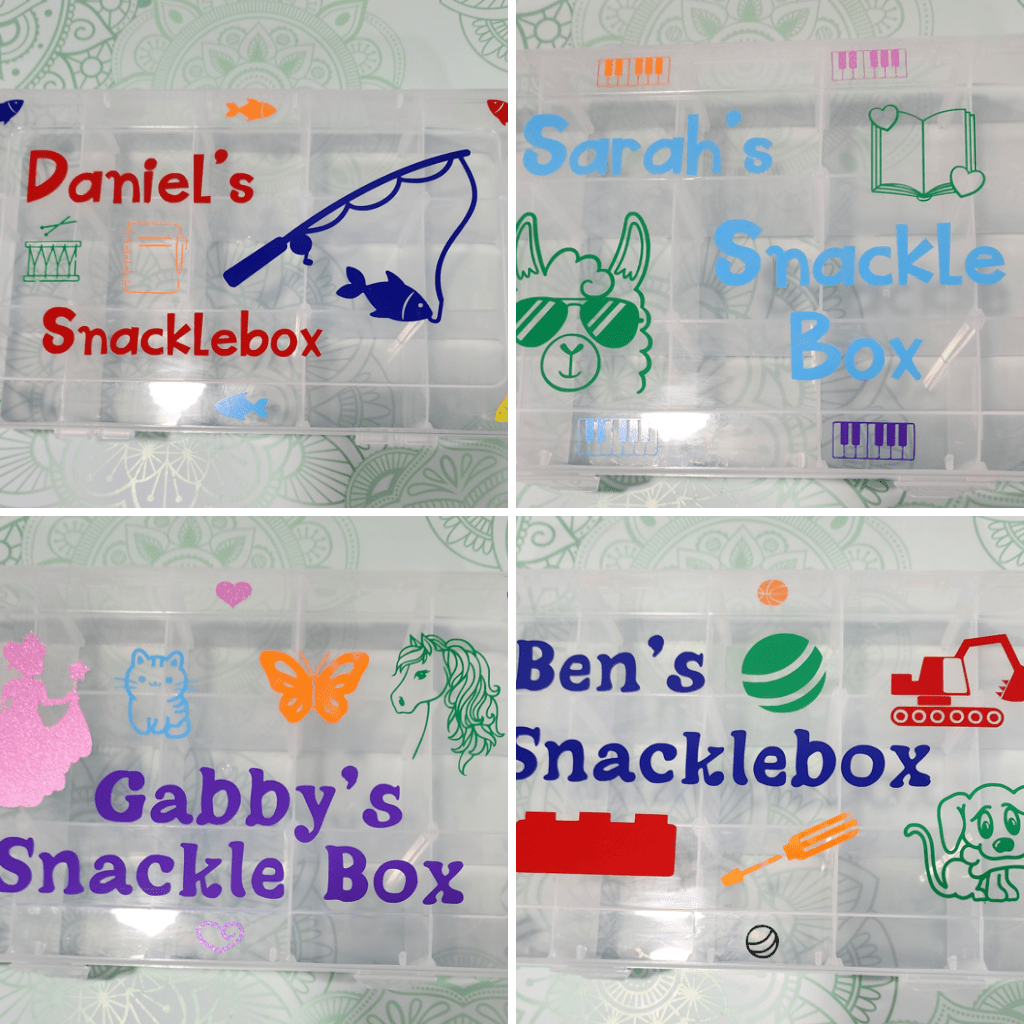
Here are the four designs I came up with. The children's ages ranged from 3 years to 12 years, and the designs reflect that.

At this point, I wanted to combine text and images that would be cut of the same color, but I wanted to keep the designs intact to refer to while applying them to the boxes. To accomplish this, I duplicated each design and ungrouped the copies, so I could move the individual text and images around.
When I had the images grouped by color, I grouped and attached each set in preparation for cutting them out with my Cricut. Then I hid the original grouped designs, so my Cricut wouldn't try to cut those out, too.

I ended up with 11 different colors and cut out all of the vinyl pieces in the correct sizes first, using my Cricut portable trimmer to make quick work of it.
Next, I cut out all the images with my Cricut machine, using a Standard Grip cutting mat for each piece.

After all the designs were cut out, it was time to weed them. I did this with all text and images on the backing together. Then I separated the text names from the images but kept the spacing of the text in place with some creative cutting.

I left the images together to apply the transfer tape to avoid having to use a bunch of small pieces, which would have taken more time.

Then I cut the images apart after the transfer tape was applied. This worked really well for me.

Now it was time to adhere the vinyl to the boxes. First, I placed each of the pieces where I wanted them on the boxes to see how the final design would look.

Once I was satisfied that everything would fit and would look good, I applied the text to the boxes first since that was the biggest part of each design. Then I could fit the images into the empty spaces.

I messed up the first box a bit. I was so excited about getting the design applied to my box that I forgot to pay attention to which way the design would be facing. I wanted to be able to see the design right side up when I opened the box, but I accidentally applied it the opposite way.
Tip #2: Be sure the box lid is facing the direction you want before applying the vinyl decals to it.
Here are all four of the boxes with the designs applied. I thought they turned out really cute. I couldn't wait to fill them and give them to my little sweeties.
My intention in making these was for my grandchildren to use them for camping. However, I made these just before Easter and realized they would work great in place of Easter baskets. It worked out great for me! You know - the whole two birds with one stone thing.

It was so fun filling each box with the children's favorite snacks. They were so colorful afterwards and looked very inviting. I filled them with some healthier snacks along with the candy. Their parents suggested some snack items I hadn't thought of.

My grandchildren loved the boxes and immediately began sampling some of the contents. Their parents liked them, too, and talked about ways the children could use them. It's so great to be able to create something useful and have fun in the process.

These were so cute, I kind of wanted a snackle box for myself, but that would probably not be wise - much too accessible for my own good!
Who would you make a snackle box for? It could be used to hold other items, too, not just snacks. The design on the top could represent the types of things to be stored in it. The possibilities are endless.
If we're not meant to have midnight snacks, why is there a light in the fridge?
Leslie
Butterfly Treats for Back to School Fun
Etched Glass Snack Plates Using a Vinyl Stencil
Camping Projects with a Cricut
Leave a comment