It’s officially spring and has been raining all week long here in Wisconsin. With rain though comes some really fabulous things…like rainbows, puddles to jump in, green grass & flowers!
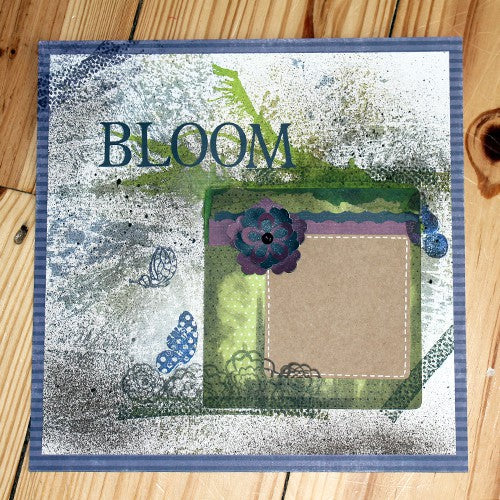
Today I am going to share a mixed media scrapbook layout I created and titled “Bloom”.
For this project I am going to use a variety of different products and share some tips, tricks, & techniques I learned along the way!
For the last few weeks I have been working a lot with products by Tsukineko/Imagine Crafts and have really been impressed! The quality of their products and variety are great! Today we will be mainly working with Walnut Inks. (seen below)
Walnut Inks are an antiquing solution that help create an aged look on almost any project. Use these inks on paper, leather, wood & more!
With any new products, I like to create a chart or test sheet so I can see what the products will look like before I start my project. For all of my Imagine Crafts/ Tsukineko Products, I created sample sheets to test all of the products on. The bottom squares are the Walnut Inks and the colors. (From left to right: Cherry Blossom, Lilac, Willow, Eucalyptus, Java & Cornflower)
I decided to mainly use the Cornflower and Willow Inks and added a touch of Java later.
To create the background of my scrapbook layout I used a technique that is simple and super easy to clean up (bonus!). I laid out a piece of plastic wrap and sprayed the two colors (Cornflower & Willow) directly onto the plastic.
Next I folded my plastic wrap in half and patted or gently rubbed the inks together. Carefully unfold the plastic wrap again. If there are some creases in the plastic wrap that is A-OK!
Next, take a white 12×12 piece of cardstock and lay it directly on the ink and rub until all of the ink is soaked into the paper.
This is how my paper turned out. If you pull up your paper and there are spots that you want inked more, you can repeat the process to fill in those areas.
I wanted to add a little brown to my background as well so I laid my inked paper into a box and sprayed the ink directly onto the paper. Hold the ink about a foot or so away from the paper. You might want to do a test spray first to get the feel of the product.
Next I added a bright green square and using the Java Ink and, using a makeup wedge, I inked/stained the outside of the square.
I then added a smaller Craft Cardstock square and a few boarders using some purple hues to contrast with the green.
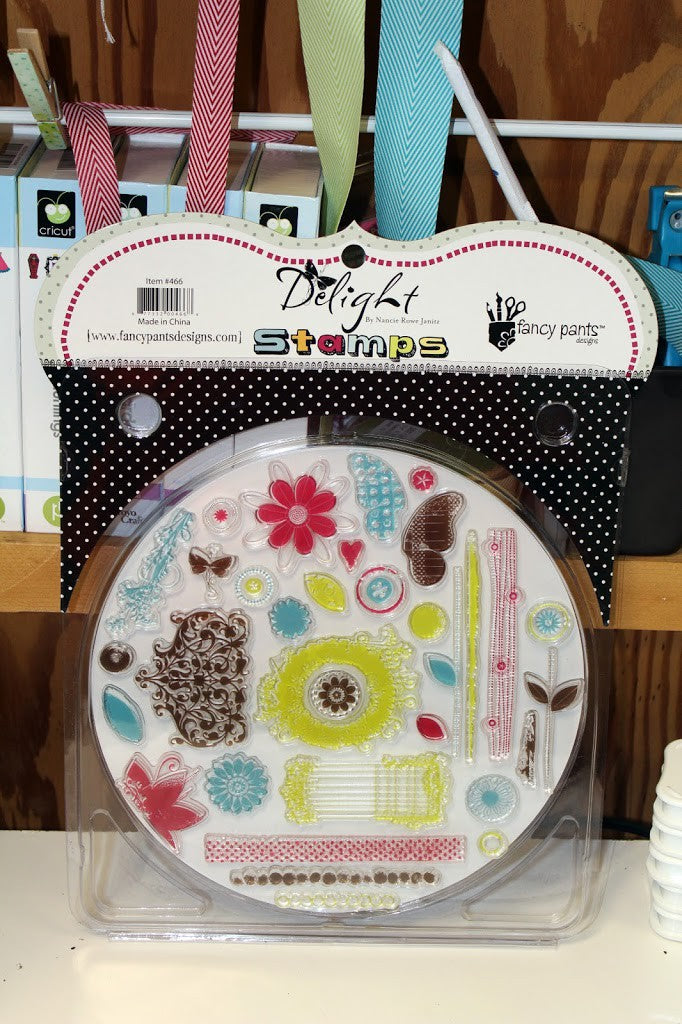
Using the Fancy Pants Delight Stamp Set, I added a few pattern stamps along with a few flowers and butterflies. This stamp set is a mix between distressed grunge and shabby chic and I LOVE it! It’s an oddly satisfying mix of edgy & girly with some basic fun shapes and designs for all tastes!
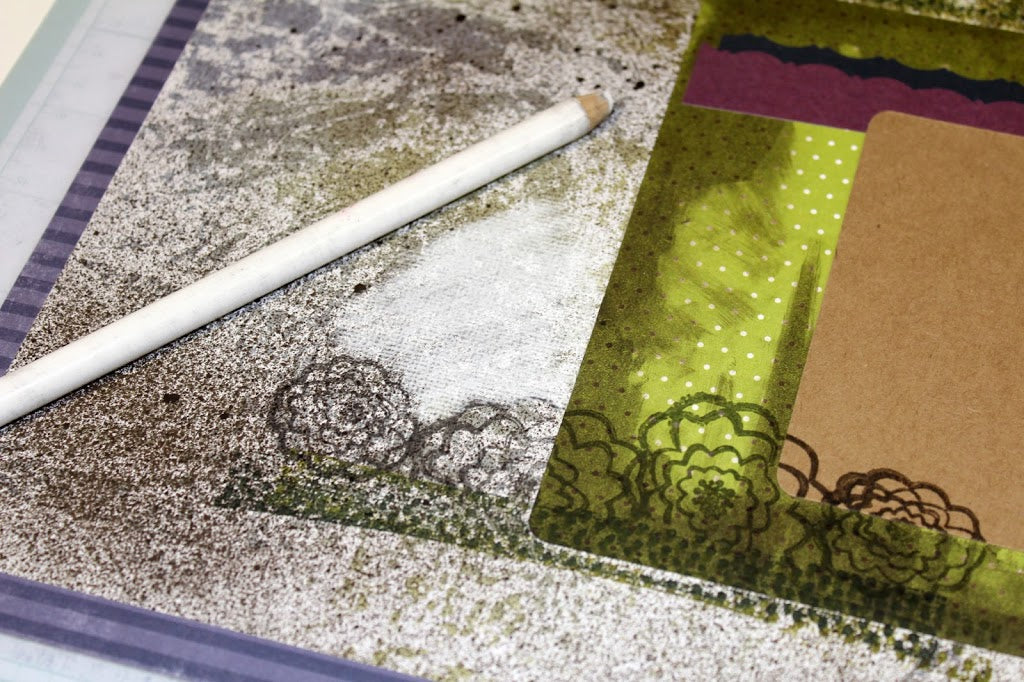
As I started to add some stamped images, I ran into the problem that my stamps were getting lost in the busy background Here is a trick to help solve this issue.
See above where I circled in pink? That spot is where I wanted to stamp my butterfly…
To make the layout less busy (where you want to stamp), I took a White Charcoal Pencil and colored right on top of my ink. Use your finger to blend the chalk in a bit and then stamp right on top of the chalk!
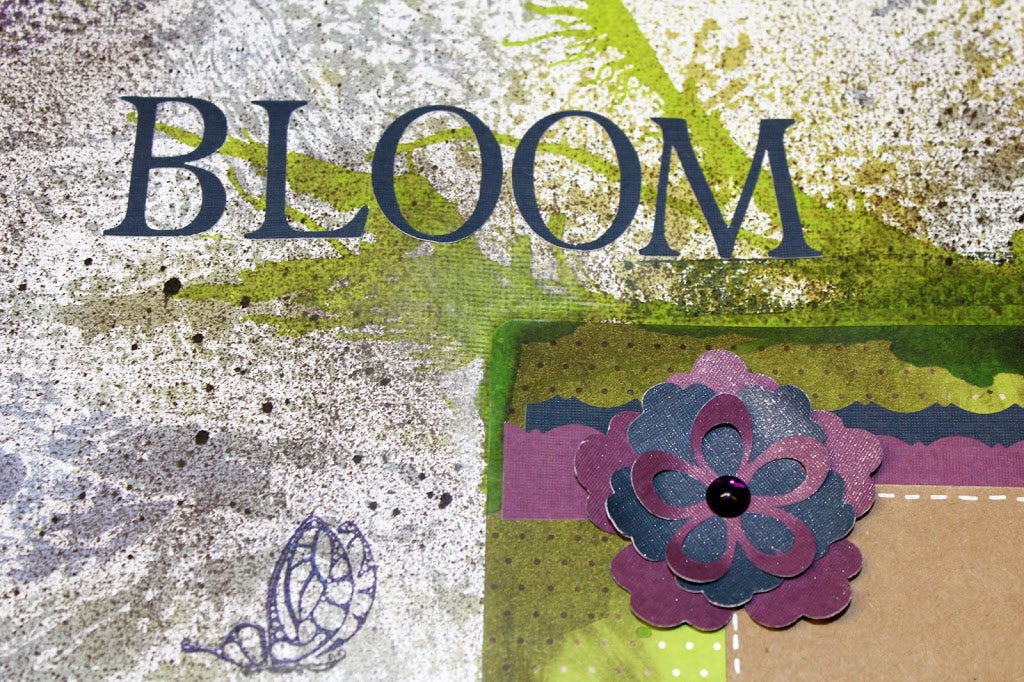
The ink still shows through the chalk slightly and the stamp now stands out! Another tip… spray your charcoal lightly with an aerosol hairspray to set the chalk and avoid smudging.
I was having so much fun mixing and matching so many products on this layout! I was like a kid in a candy store trying out all these new products and techniques!
Along the top of my square I put a few drops of Imagine Crafts All Purpose Inks in Green Apple and used a straw to blow the ink around my page. Yes, that is right, a straw! I used this technique back in college with black ink and it makes a very cool splattered look.
One of the last details I added to this layout was a flower I made using the Mother’s Day Bouquet Cricut Cartridge and the same papers from earlier. A few sprits of Tsukineko Pssst Shimmer Spray and a Lush Sparkle Lightz and this flower was ready to bloom!
Last but not least I cut out the letters to spell “Bloom” using my Cricut Expression 2 Machine and the Plantin School Cricut Cartridge and added them to my layout.
FEW! That was a whole lot to share. I hope I did not overwhelm you with all of the crazy detail of this layout and I hope you learned a few tips & tricks along the way.
This layout might seem crazy detailed, but to tell you the truth, I had a
BLAST using all of the products including the Imagine Crafts Walnut Inks, All Purpose Inks,
Versafine Ink Pads, & Pssst Shimmer Spray!
I left my layout blank but plan to add a picture of my lovely Lauren this spring once stops raining and we get outside!
WHAT DO YOU THINK?
Please feel free to leave a comment below- I truly LOVE when you all comment and tell me what you think!


Leave a comment