
Free Shipping
On Orders $49+
On Orders $49+


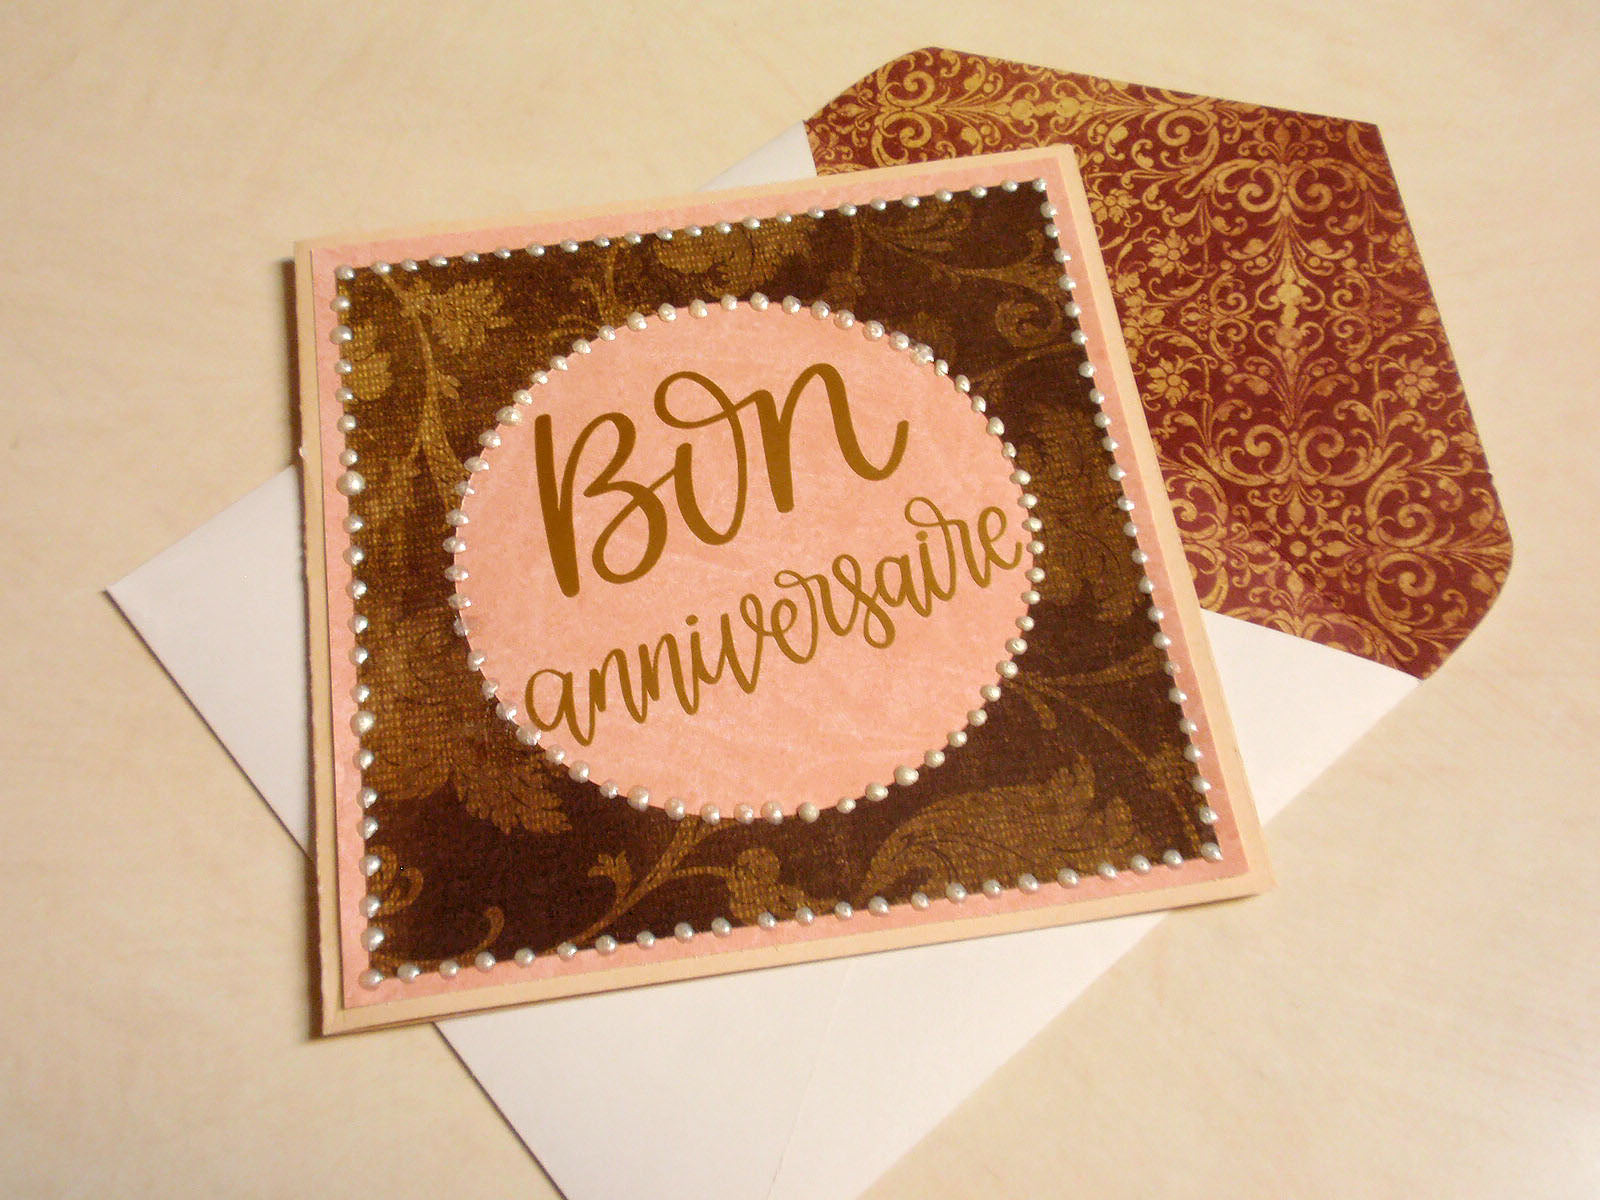
Get ready to take your card-making skills to the next level with the help of Cricut! A simple card design can be transformed into a stunning creation that's perfect for any occasion with just a few supplies and your trusty Cricut machine. By combining the versatility of scrapbook paper, the precision of Cricut pens, and the convenience of pre-designed templates, you can create unique and personalized cards that are sure to impress. In this blog post, we'll show you how to create a beautiful anniversary card using Cricut, as well as share some other inspiring card designs to get your creative juices flowing.
Materials:
Directions:
Create a simple card design in Design Space. The sample card is 5 inches square and uses four basic parts. Assemble the card using a tape runner and add any additional embellishments that you’d like.
1. Card face
Cut one piece of background paper that is 4.75 inches square and one 4.5-inch square piece with a 3.25-inch circle cut from the center. Layer the cutout paper on top of the background and secure using double stick tape.

Size your text message to fit the circle opening and cut the text from vinyl. Weed the vinyl to remove the excess and apply it to the card front using transfer tape. Be sure to use transfer tape that is not too sticky so you do not pull up your scrapbook paper while applying the vinyl. Previously used transfer tape would be ideal.

This envelope design was selected from Cricut Access and sized to fit a 5-inch square card. Cut one envelope from a 12×12 inch piece of scrapbook paper that is white or plain on at least one side. Fold the envelope on the score lines and secure using double stick tape.

The card base is a 5×10 inch rectangle. Use a Cricut pen to draw your message on the right side of the card and cut the rectangle from cardstock for the base of the card.


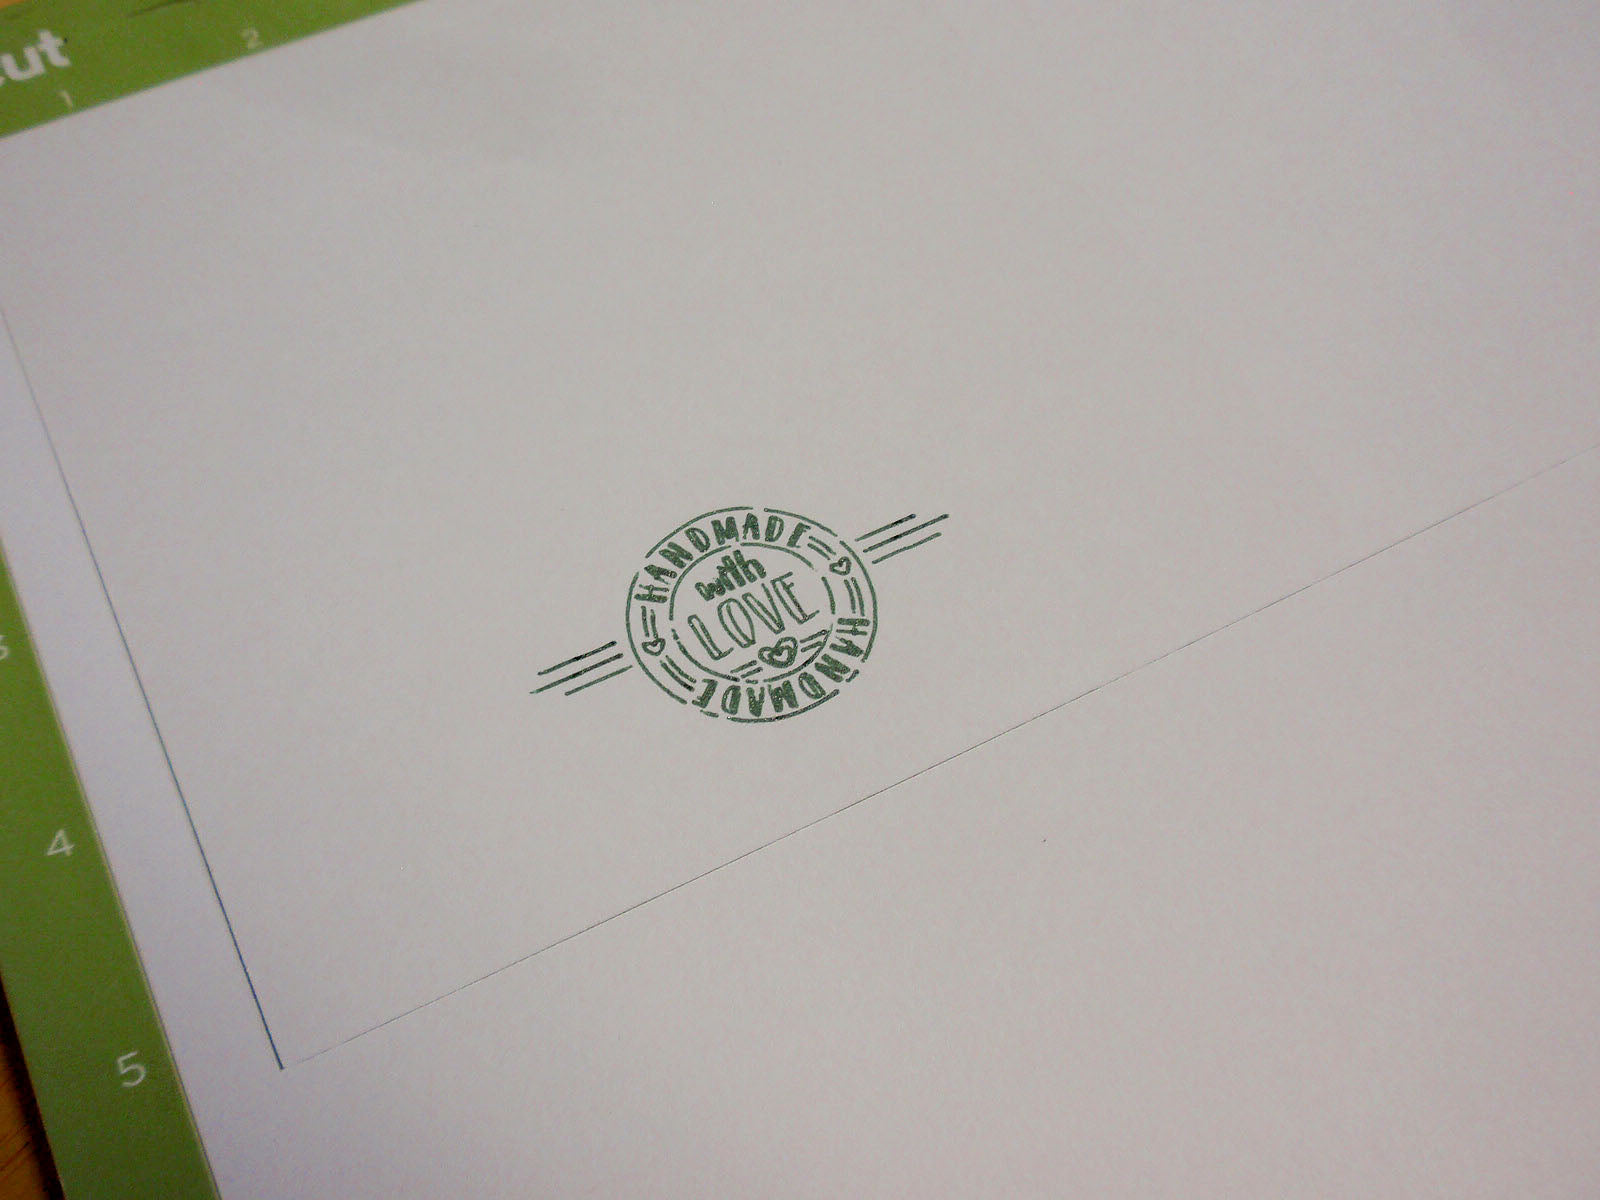
To add a “handmade” seal to the back of the card, remove the card from the cutting mat without removing the excess cardstock to be discarded. Turn the card over and place it face down back into the same opening. Set the rectangle to score or draw (but do not insert any tool) and draw the seal on the back of the card.

CARD GALLERY
Birthday Card


Anniversary Card


Wedding Card

All Occasion


All About Text: Cricut Design Space

Leave a comment