
Free Shipping
On Orders $49+
On Orders $49+

Have you tried Cricut's brand new Reflective Iron-On yet? I chose to try this product over the other new ones because of the multiple colors and the shine. I wanted to see how it looked on a dark background but also thought it would be good to compare with a light background. What really happened was that I could not decide on which of several totes to use, and choosing two was easier.

Materials:
Totes in dark and light colors
Cricut Reflective Iron-On
Cricut Machine
Cricut EasyPress
StandardGrip Cutting Mat
Cricut Tools
Design of choice
Find this project in Design Space here.
Here is the lighter tote with a new roll of reflective iron-on vinyl and then the dark tote with the reflective iron-on out of the package, so you can see it both ways. It looks almost black in the package, but when you open it up, you can see the different colors, although subtle.


I had made another tote previously with the same quote in a purchased design, but this time, I created my own design with images and a font found in Design Space, so I could share it with you all. Below is the design I came up with.

The available design area on each tote was different, so I duplicated my design and made one smaller to fit on the lighter tote. I made it a different color to cut it separately. 
I did this because the various colors on the reflective iron-on run in one direction like stripes, and I wanted to cut one design with vertical stripes and one with horizontal stripes to see the difference in appearance.
To cut the designs on my Maker 3, I placed the iron-on with the shiny side down as usual. I placed a piece shiny side up on the mat, too, to show you the difference. You may be able to see the lines running vertically on the piece adhered to the mat, but the back side is facing up, as it should be for cutting.

Once the designs were cut out, I began weeding them. A lot of light was needed to be able to see the cut lines since the iron-on was so dark. A Cricut BrightPad Go would be perfect for this. I just used my Cricut Floor Lamp and a pin pen with a light to get it done.

Here are both designs cut out and ready to be applied to the totes. The light shining on them allows you to see some of the colors, especially noticeable on the smaller design.

Now it was time to iron the designs onto my totes. The Cricut Heat Guide indicated a temperature of 315 degrees for 30 seconds. For the blue one, I selected 100% cotton as the material, and for the light one, I chose cotton canvas. Both materials required the same time and temperature.
I centered the design on the blue tote first and preheated my EasyPress 2. I used a medium sized EasyPress mat and placed it inside the tote to get better contact with the iron-on.

I removed the design to preheat the tote for about 5 seconds and then placed the design back on where I wanted it. I applied the design to the tote with my heat press.

Once it was mostly cool, I removed the carrier sheet, and this one was done.

I repeated this process for the lighter tote, but for this one, I inserted a small EasyPress mat inside it before applying heat. The handles were sewn to the tote, and my heat press was larger than the available area, so I wanted to get the best contact I could. Another option would be to use an Easy Press Mini instead.

I also pulled out a little pouch from inside the tote so it would not interfere with the adhesion of the iron-on.

I heated the design again and removed the carrier sheet when it was cool. Here is that tote done.
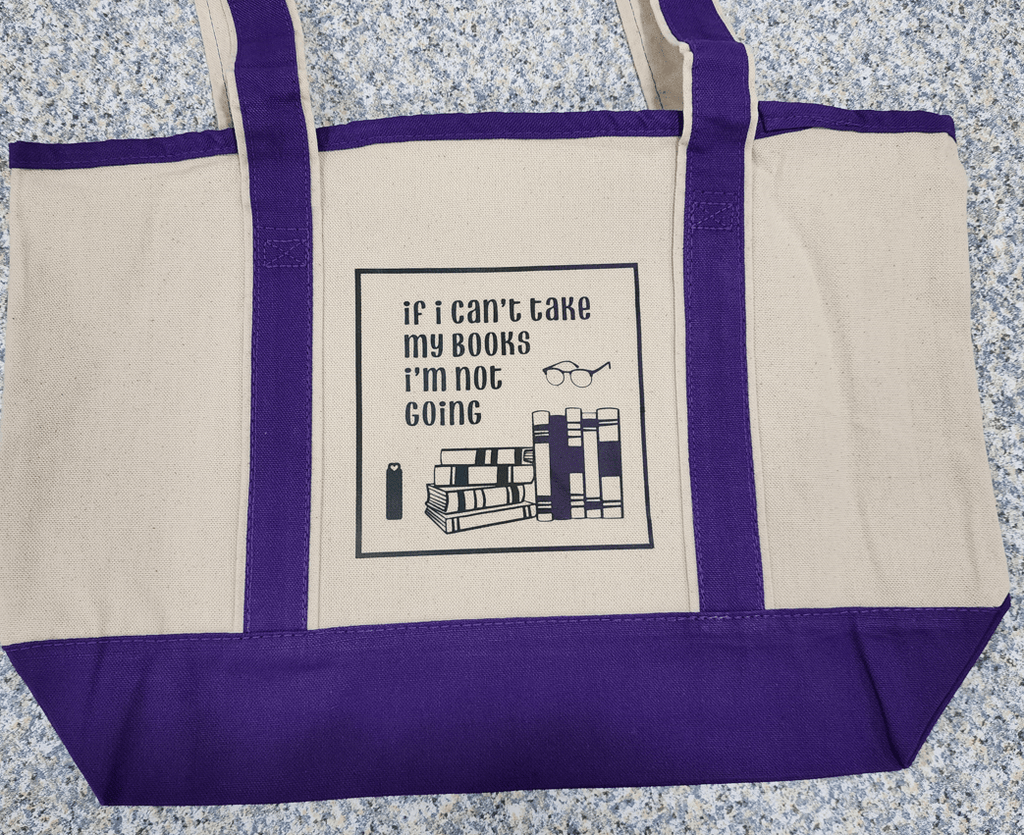
I decided to add another design to the other side of this tote because there was a pocket on that side. I did not apply the main design to that side because the available area was smaller, and parts of my design were more intricate.

Once both totes were done, I stood them up and filled them so I could get a picture that way. I was a bit disappointed because it did not seem like the colors showed up that well.

I decided to take the totes upstairs where there was more natural light, and I could see the colors so much better. That was more like what I had expected. I think they turned out really cute.

This experiment seems to indicate that the reflective iron-on shows up better on a light-colored background, at least on these cotton/canvas totes. I wonder how it would look on a T-shirt. I guess I'll have to try that next. I am just getting started using Cricut Reflective Iron-On.
I did notice that while the designs were colorful, they did not appear very reflective. That may have to do with the design itself, which does not have any large areas of solid iron-on, or it could be due to the canvas fabric.
Read on for some things I learned while using this new type of iron-on for the first time.
10 Tips for Using Cricut Reflective Iron-On
1. This iron-on may look different on various materials or blanks, depending on the fabric content and light or dark colors.
2. Consider using a design with more areas of solid iron-on to allow the reflective properties of the iron-on to show up better.
3. Decide if you want the colored "stripes" to run vertically or horizontally on your blank and cut the iron-on accordingly.
4. Be sure to mirror your design before cutting like with any other iron-on vinyl.
5. Select Reflective Iron-On as your base material in Design Space.
6. Place the iron-on shiny side down on your cutting mat.
7. You will need lots of light to weed your design because of the dark color of the iron-on.
8. Ensure good contact between your project and your heat press by avoiding ironing over seams or bumps as much as possible and perhaps by using a smaller heat press. This applies to any type of iron-on.
9. Be sure to let the iron-on cool long enough before removing the carrier sheet to avoid pulling any of your design up off the blank.
10. The colors of this reflective iron-on seem to show up better in natural light.
Well, that's what I have for you today. I hope you are inspired to try out Cricut's new Reflective Iron-On for your own projects.
______________________________________________________________
I would have a longer attention span if there weren't so many shiny things.
Leslie
DIY Book Bag with Cricut Glitter Iron-On

Leave a comment