
Free Shipping
On Orders $49+
On Orders $49+
I love using my Cricut for paper crafting! But what I don’t love is losing a whole sheet of paper when it tears while cutting or when removing it from the cutting mat. So, I’ve assembled 5 of my favorite tips to help minimize tearing when cutting paper with a Cricut.

I wanted to make up a project using one of the exclusive design files that come with our new Cricut Lamp Bundles. In case you haven’t heard, Cricut has come out with new LED lamps called Cricut Bright 360. These Ultimate Craft Lamps come in both a floor and desktop model and feature large, adjustable heads that evenly illuminate 4 square feet of space. And believe me, my old eyes really appreciate the light!

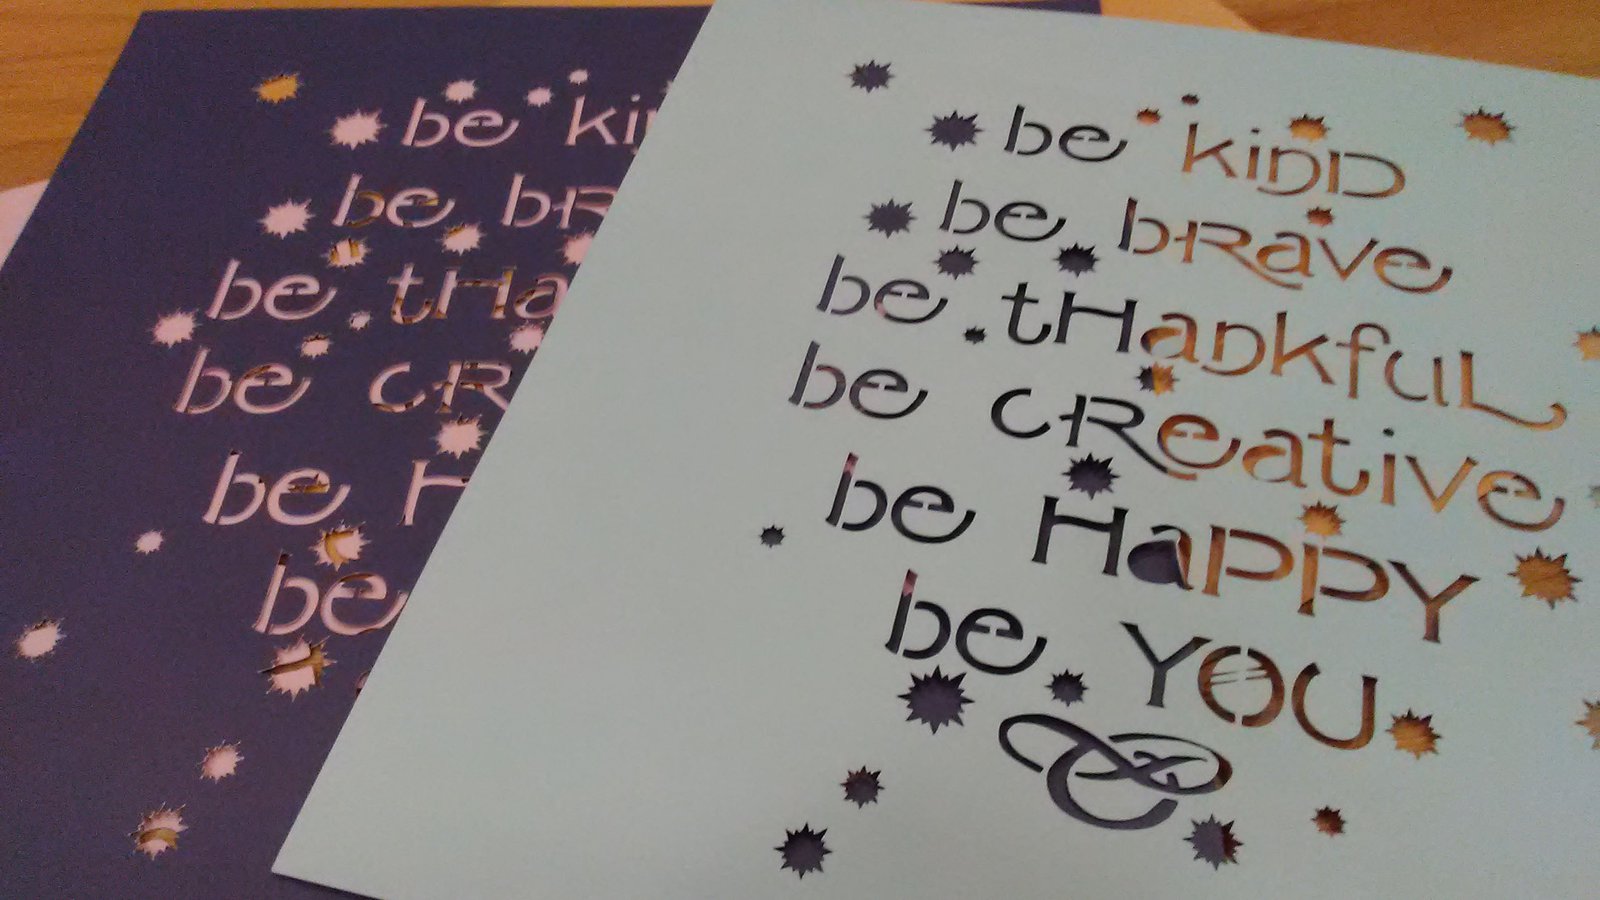
The "Be Kind" design I selected is perfect for a layered paper project, like wall décor or a shadow box. But it requires what I would consider intricate cutting, since paper is involved. So, without further ado, here are my:
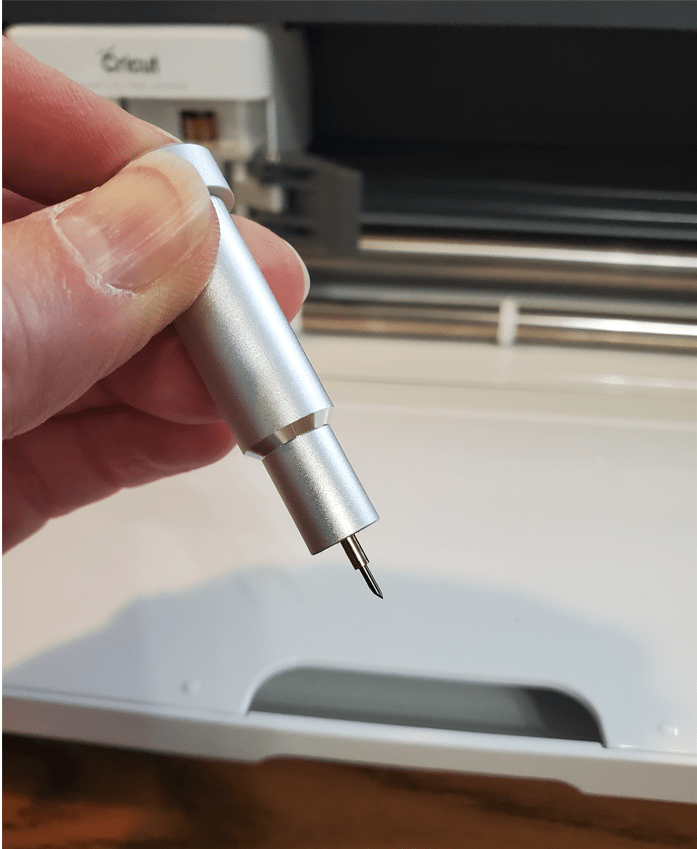
Is your blade dirty? Pull the fine point blade housing out of your machine and remove the blade. Blow out or brush off (take care – it’s sharp!) any debris that may be inside the housing or covering the blade. Read all about how to remove the fine point blade here.
Is your blade dull? Unfortunately, there’s not a clear cut way to know when to change the fine point blade on your Cricut machine. (Hey - maybe that’s a new feature we should suggest to Cricut?) As with many things in life, the answer is “it depends.” It depends on how often you use your machine. It depends on the kinds of materials you like to cut. But over time, you will notice an increasing pattern of missed cuts and damaged materials that will indicate that you’re due for a replacement.
Personally, I just hate to lose material from ruined cuts (and I’m not too keen on the aggravation either). So, I routinely replace my fine point blade every 6-12 months. I figure it’s a small price to pay to keep me cutting along smoothly. You can learn how to replace your fine point blade here on our blog.
Do you have the right mat? I like to use the blue, LightGrip cutting mat with most of my paper projects. The mat doesn’t need to be brand new, in fact I prefer mine slightly used and not so “grippy,” unless cutting very thick paper materials. But it does still need to be flat and clean, with enough life in it to ensure GOOD and SMOOTH adhesion of your paper to the mat.

Be sure to press the paper well to the cutting mat with the flat of your hand. Or, you might like using a brayer for this purpose. It is an excellent tool for getting a perfectly smooth and secure paper application.
If you press your paper to your mat and it curls back up at the edges, I would pull out a new mat for your intricate paper cuts. Similarly, if the paper does not lie flat after applying it to the mat, CLEAN the mat or REPLACE it for this project. Watch how to clean your Cricut mats here.
Is your Cricut using the right material settings? Be sure to select the correct material in Cricut Design Space when getting ready for your cut. If you’re using Cricut materials, it’s super easy! Find and select the exact Cricut material from the list. Otherwise, choose the closest equivalent option.

If you continue to have difficulties, Cricut suggests that you can try reducing the pressure settings by a small amount (2-4) to see if that will help. You can access this setting by choosing BROWSE ALL MATERIALS from the Mat Preview screen in Design Space and then MATERIAL SETTINGS at the bottom left corner of the screen (see Material Settings in the image above).

Some paper is simply not well-suited to intricate cuts with your Cricut. Not surprisingly, Cricut paper is superb. I really love their scrapbook paper for my paper projects. They call it scrapbook, but it’s a really heavy paper, more like cardstock in my opinion.

In contrast, some of the cardstock paper I buy locally seems to be soft and more fibrous. An extreme example of really fibrous paper is any of those “handmade-style” papers that you can purchase. These handmade-style papers are really not suitable for cutting with the Cricut.
I’m sure if I were versed in paper manufacturing, I could better characterize the kind of papers that have worked well for me. Generally, I like to describe my ideal papers for intricate cutting as SMOOTH (non-textured) and CRISP. When you fold crisp papers, you can get a sharp crease, without lots of tiny paper fibers hanging around the folded edge. Crisp papers also don’t leave much residue on a cutting mat. Pulpy and fibrous papers feel soft and tend to leave paper bits hanging around. But ultimately, trial and error will let you know what paper brands from your favorite shops that you can cut the best with your machine.
Be realistic about what you can do with paper. Size your design so that the smallest positive cuts (the parts that you keep) are at least 1/8 inch across. And bigger is better. You’re not going to be able to cut an intricate design from paper in as small a size as you can cut from vinyl or iron-on.

Never try to peel the cut paper from your mat after the cut. Instead, place your mat, with the cut paper upside down on a clean table surface. Slowly, roll the mat away from the cut paper, leaving the cut design on the table. With fine paper cuts, you’ll want to work carefully, and you may need a weeder or similar tool to help you tease the cut paper (that you want to keep) from the pieces you plan to discard.
You can watch one of our Craft-e-Corner team members perform this trick here on our blog. Her cut is not an especially intricate one, but the basic technique is the same. Just remember that the finer the cut, the slower and tighter you’ll want to roll the mat away. And keep that weeder tool set handy to help the process along.
Here's how my finished project turned out. No tears (and no tears 😢!) If you have a great tip for cutting paper with your Cricut, please leave it in the comments below. Let's learn from one another!


Comments
Leave a comment