
Free Shipping
On Orders $49+
On Orders $49+


In this blog post, we'll show you how to create adorable fabric bunnies perfect for Easter decor. These bunnies are made from muslin fabric and are designed to be a blank canvas for your creative paint or collage embellishments. With easy machine sewing techniques and some basic painting skills, you can make your own whimsical bunnies to add a fun touch to your Easter celebration. So, gather your supplies and get ready to create some one-of-a-kind bunnies!
Supplies:
Directions:
Draw a bunny shape on standard copy paper. Keep the design loose and without a lot of sharp corners. Simple and quirky is just the right look.

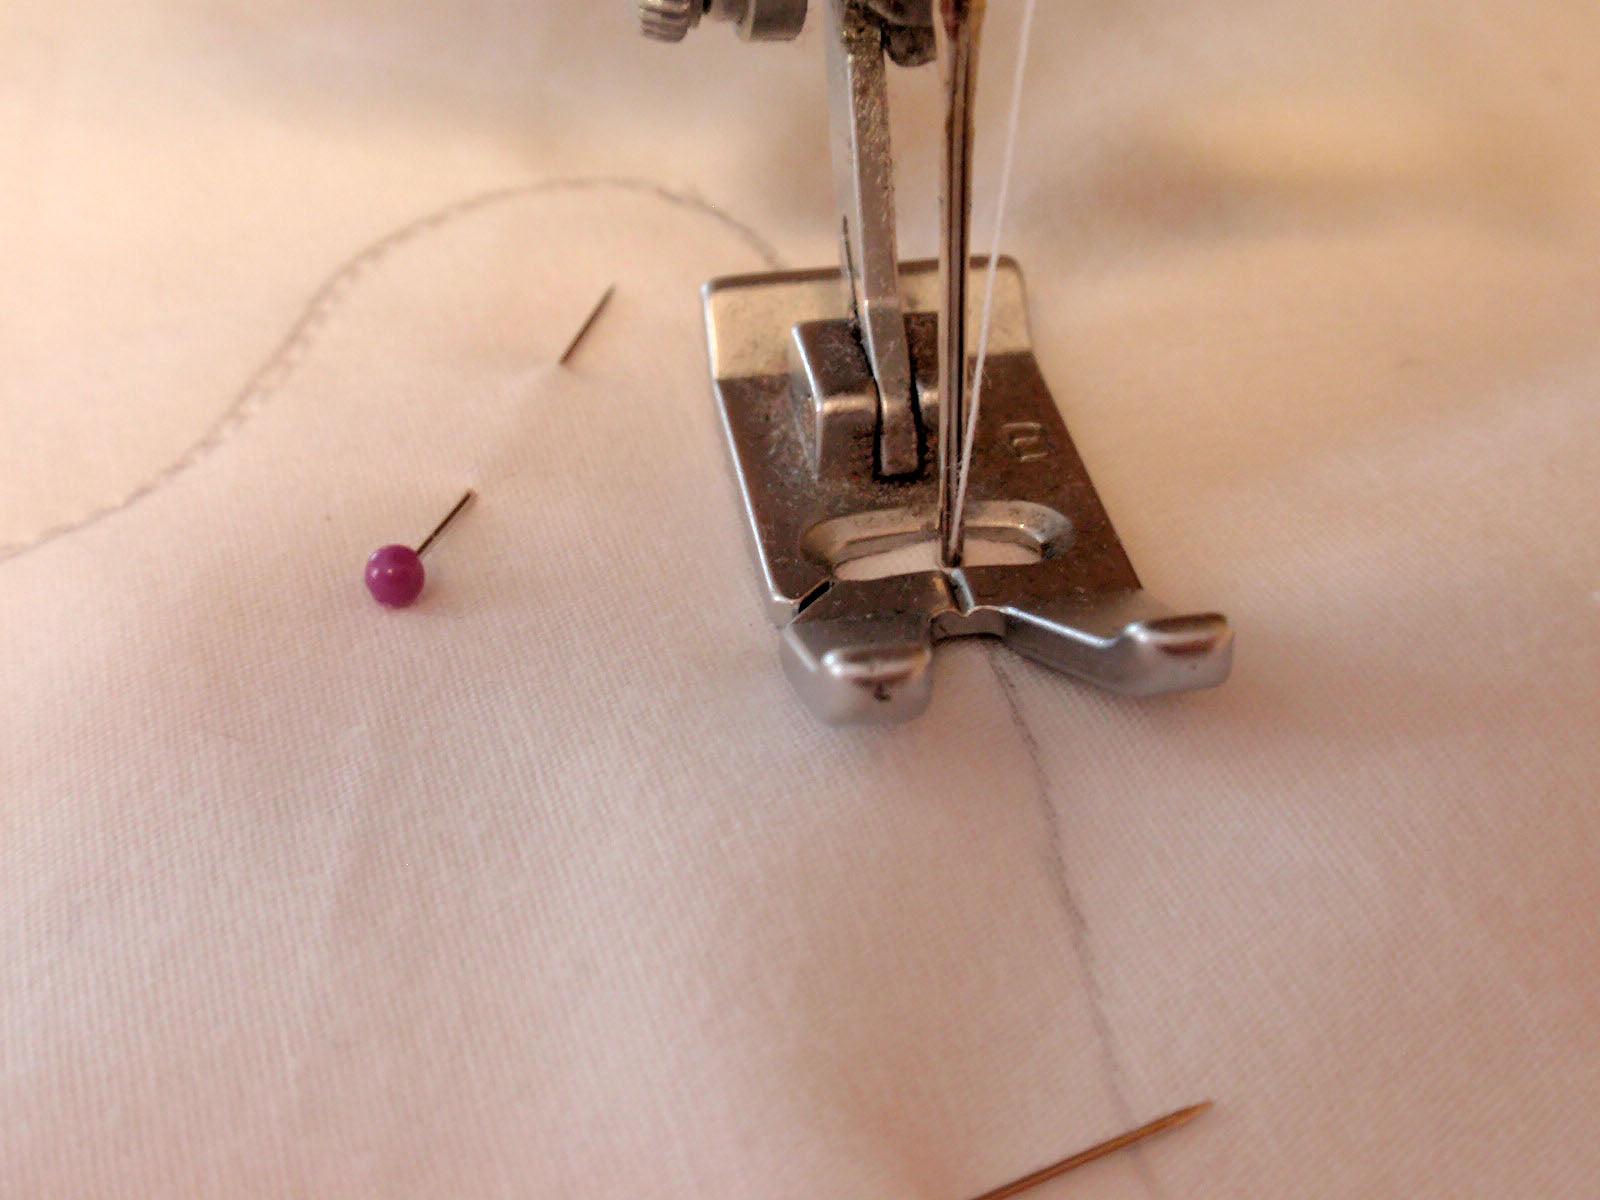
Transfer the bunny design to your fabric. Double the fabric and pin in place.

Machine sew on the pencil line.

Trim the excess fabric near the stitching line.

Cut a 2-3-inch opening in the back of the bunny. Take care to cut through only ONE layer of fabric.


Pull the fabric through the opening to turn the bunny inside out. The raw edges will end up on the inside of the bunny.


Stuff the bunny and hand stitch the opening closed.

Apply gesso to the bunny, completely covering the fabric. Allow to dry.

Paint the bunny on all sides using acrylic craft paint. The sample uses cream, pink, and rust colors, but you can make your bunny any colors that you love.

Paint a simple face using black paint. Or add features with a permanent black marker.

Add clothing and other details. Get creative and have some fun! You can use paint or glue fabric or paper to personalize the doll. Glue a white pom pom to one side for a tail.

Give your bunny some friends! Hand draw each design so that each character is unique.


Leave a comment