On Orders $49+
On Orders $49+


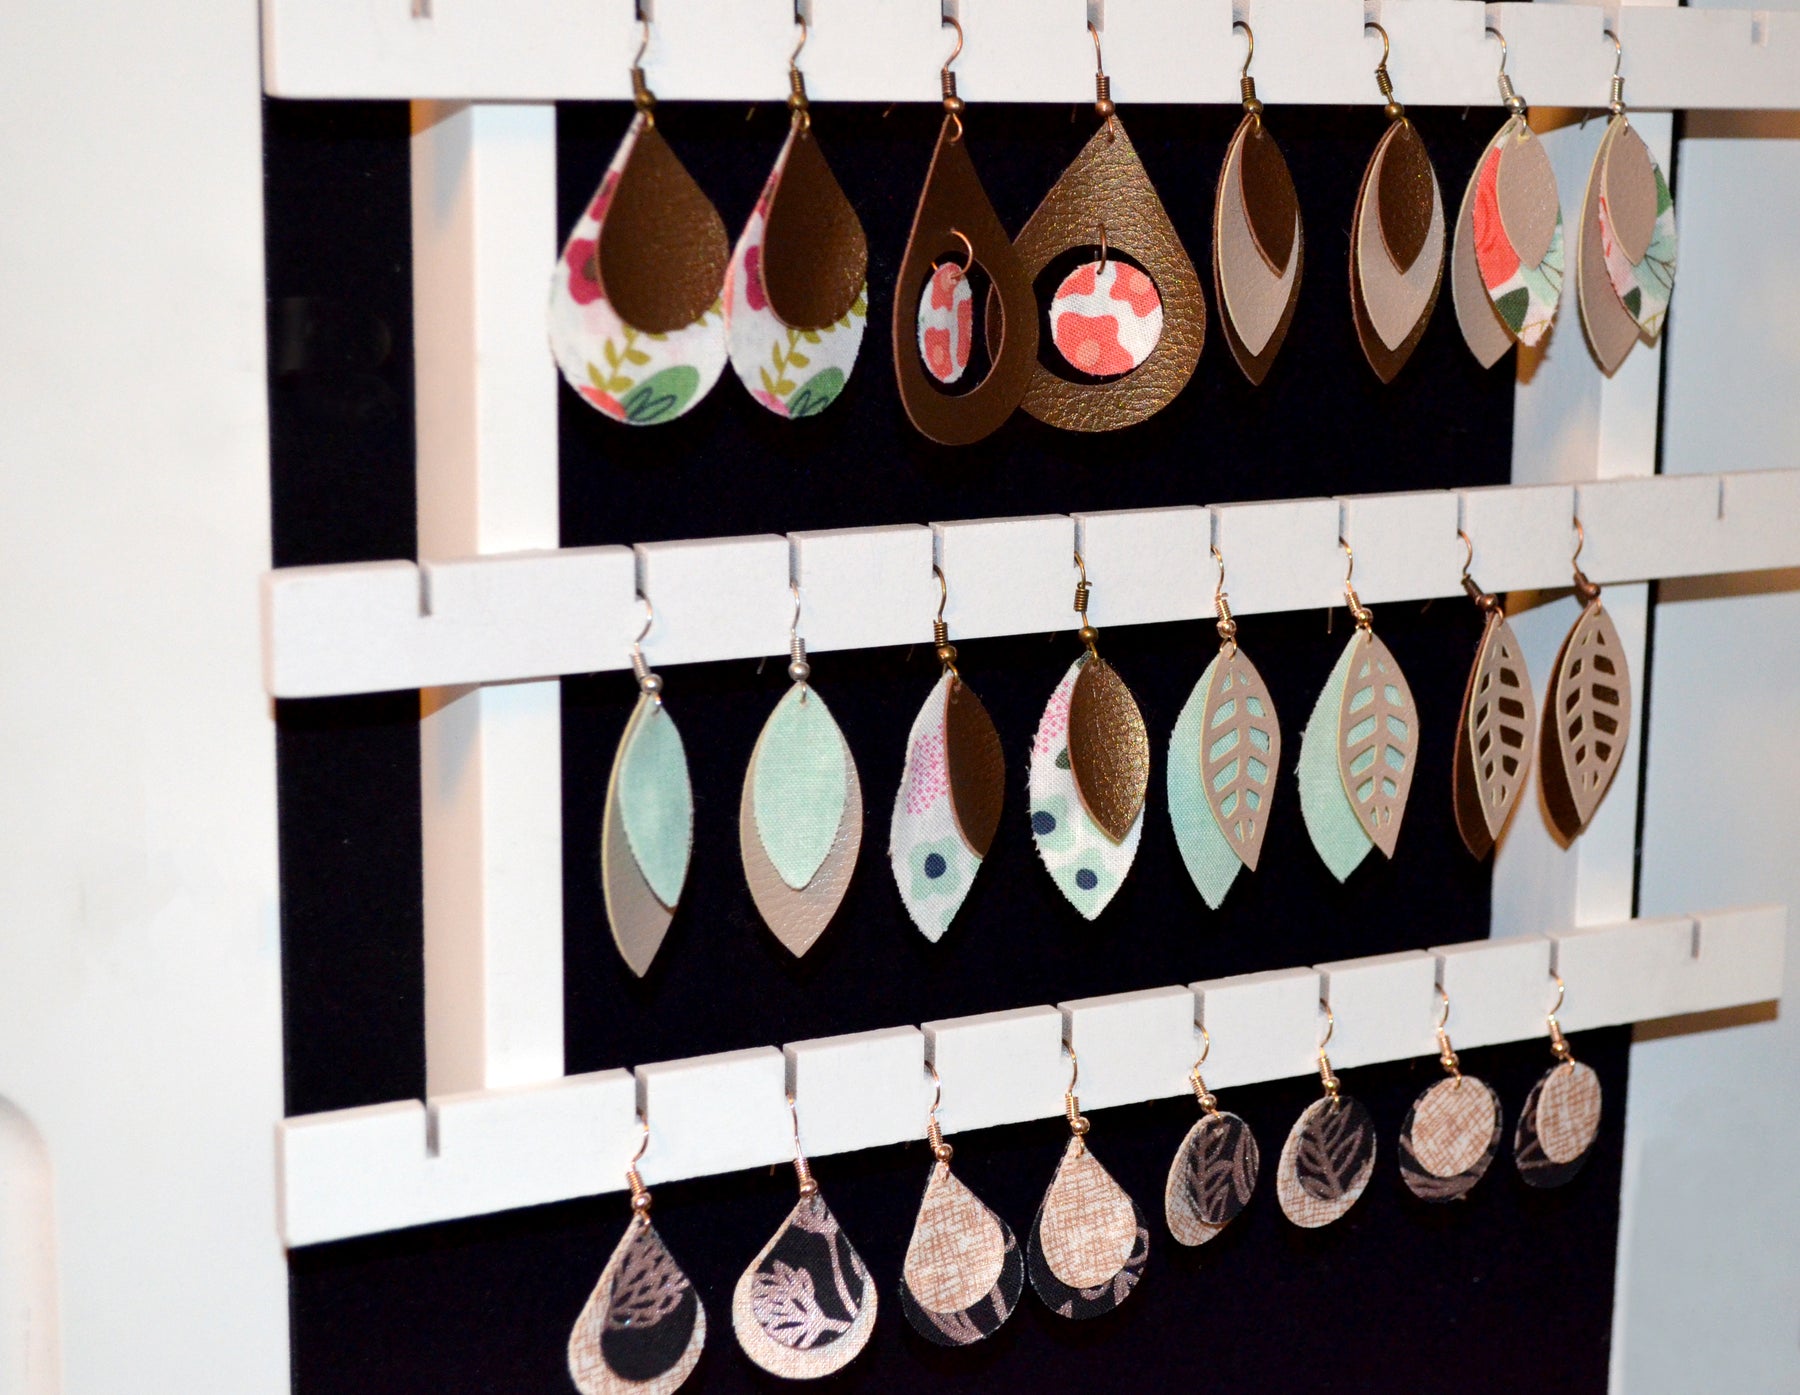
Leather earrings are in right now, so why not make your own? It's super simple to do with your Cricut and for a more unique touch I added some fabric to mine.
Materials Needed:
• Cricut Faux Leather
• Cricut Fabric
• Heat n Bond
• Cricut Die Cutting Machine
• EasyPress 2
• Cricut EasyPress Mat (or towel)
• Cricut Standard or Light Grip mat
• Cricut Bonded Fabric Blade
• Earring Backs
Directions:
1. Choose Your Design
I used several pretty simple shapes, combined them and resized them to make various types of earrings.

2. Bond your Fabric
If you want to add fabric to your earrings you will need to bond your fabric first. Heat n Bond is super simple to use. Just follow the directions on the package and use an iron or EasyPress.
3. Cut
To cut faux leather, use the fine cut blade. Place the leather shiny side down on your mat.

To cut bonded fabric, I used the bonded fabric blade and put the bonded side down on the mat. Make sure you cut four of each shape per set of earrings as you will stick two pieces of fabric together for one earring.
3. Bond your fabric together
After you put the two pieces of fabric together you will need to bond them together. I preheated them at 315º for 5 seconds. Then I pressed for 30 seconds, flipped them and did another 15 seconds. If any of your faux leather pieces are kind of curling, you can press them as well to help straighten them out. I found it easier when pressing the back of them (non shiny side) otherwise they stick to the Easy Press.
4. Add holes
You can just have your machine cut these, but I wanted smaller more precise holes (I was worried about the fabric fraying) so I used a drill.
5. Put your earrings together
Add earring backs and piece together your earrings.

Leather Luggage Tag DIY, SVG Included!
Comments
Leave a comment