
Free Shipping
On Orders $49+
On Orders $49+


Get ready for fall with this easy colored pencil pumpkin project! Layer wax-based colored pencils on a black background to create a beautiful addition to your autumn decor. Using Prismacolor pencils, a rustic wood easel plaque, and acrylic paint in teal and white, this tutorial shows you how to create highlights and shadows on a pumpkin drawing. You'll also learn how to use a scumbling or scribbled circles stroke to blend the colors and how to add a background pattern to the drawing. Follow these simple instructions to create a stunning piece of art that you can display on your mantle or bookshelf. Don't forget to lightly spray the coloring with fixative spray to protect your finished project!
Supplies:
Directions:
Cut black chipboard or heavy paper to 6 in. by 6 in. square. The heavy surface is needed because you will be applying multiple layers of colored pencil and burnishing or rubbing it into the paper. Transfer the outline of the pumpkin from your reference image to the black chipboard using light-colored transfer paper.
Color the lightest areas (highlights) on the pumpkin using yellow (PC916 shown).

Working one section at a time, color the section using orange and orange-red pencils (PC918 and PC922). Color right over the yellow and fill in the section using uneven back and forth strokes.


Color with white (PC938) on top of the highlighted areas using irregular back and forth strokes.

Color over the entire section with orange using a scumbling or scribbled circles stroke to blend the colors. At this point, you should have enough colored pencil on the paper to allow you the rub the colors together using the scribbling motion. Work back and forth using the same colors until you are happy with the main colors and highlights in the section.

Use a dark purple pencil to outline the dark “lines” or recessed areas on the pumpkin (PC932 shown). Blend the purple into the section using the orange and red-orange pencils.
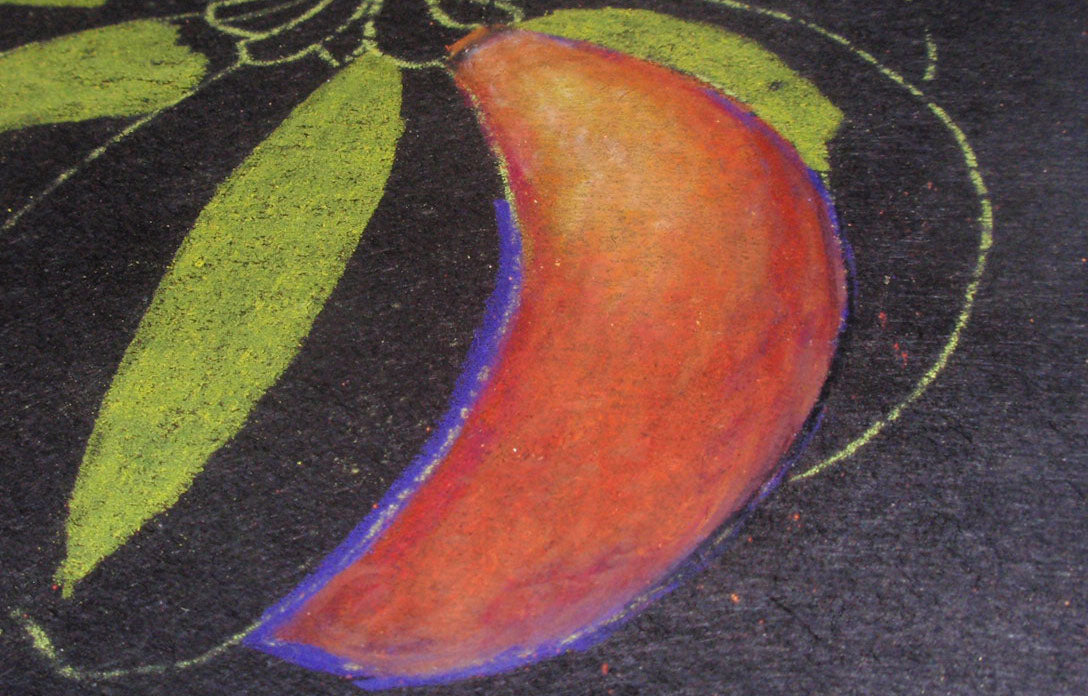
Continue coloring the other sections of the pumpkin in the same fashion.

Color the highlights on the stem using a light green pencil (PC989 shown).

Fill in the stem using a dark green color. Use purple and black (PC935) pencils to darken the shadows at the base of the stem.

Darken any recessed areas on the pumpkin as needed by adding additional black colored pencil.

Use a stencil and blue-green pencil (PC905) to add a background design to the drawing.

Lightly spray the coloring with fixative spray.
Paint the wood plaque using teal acrylic paint. Allow to dry. Paint a second coat using white paint thinned with water. Allow to dry.

Glue the pumpkin drawing to the plaque.

Do More:
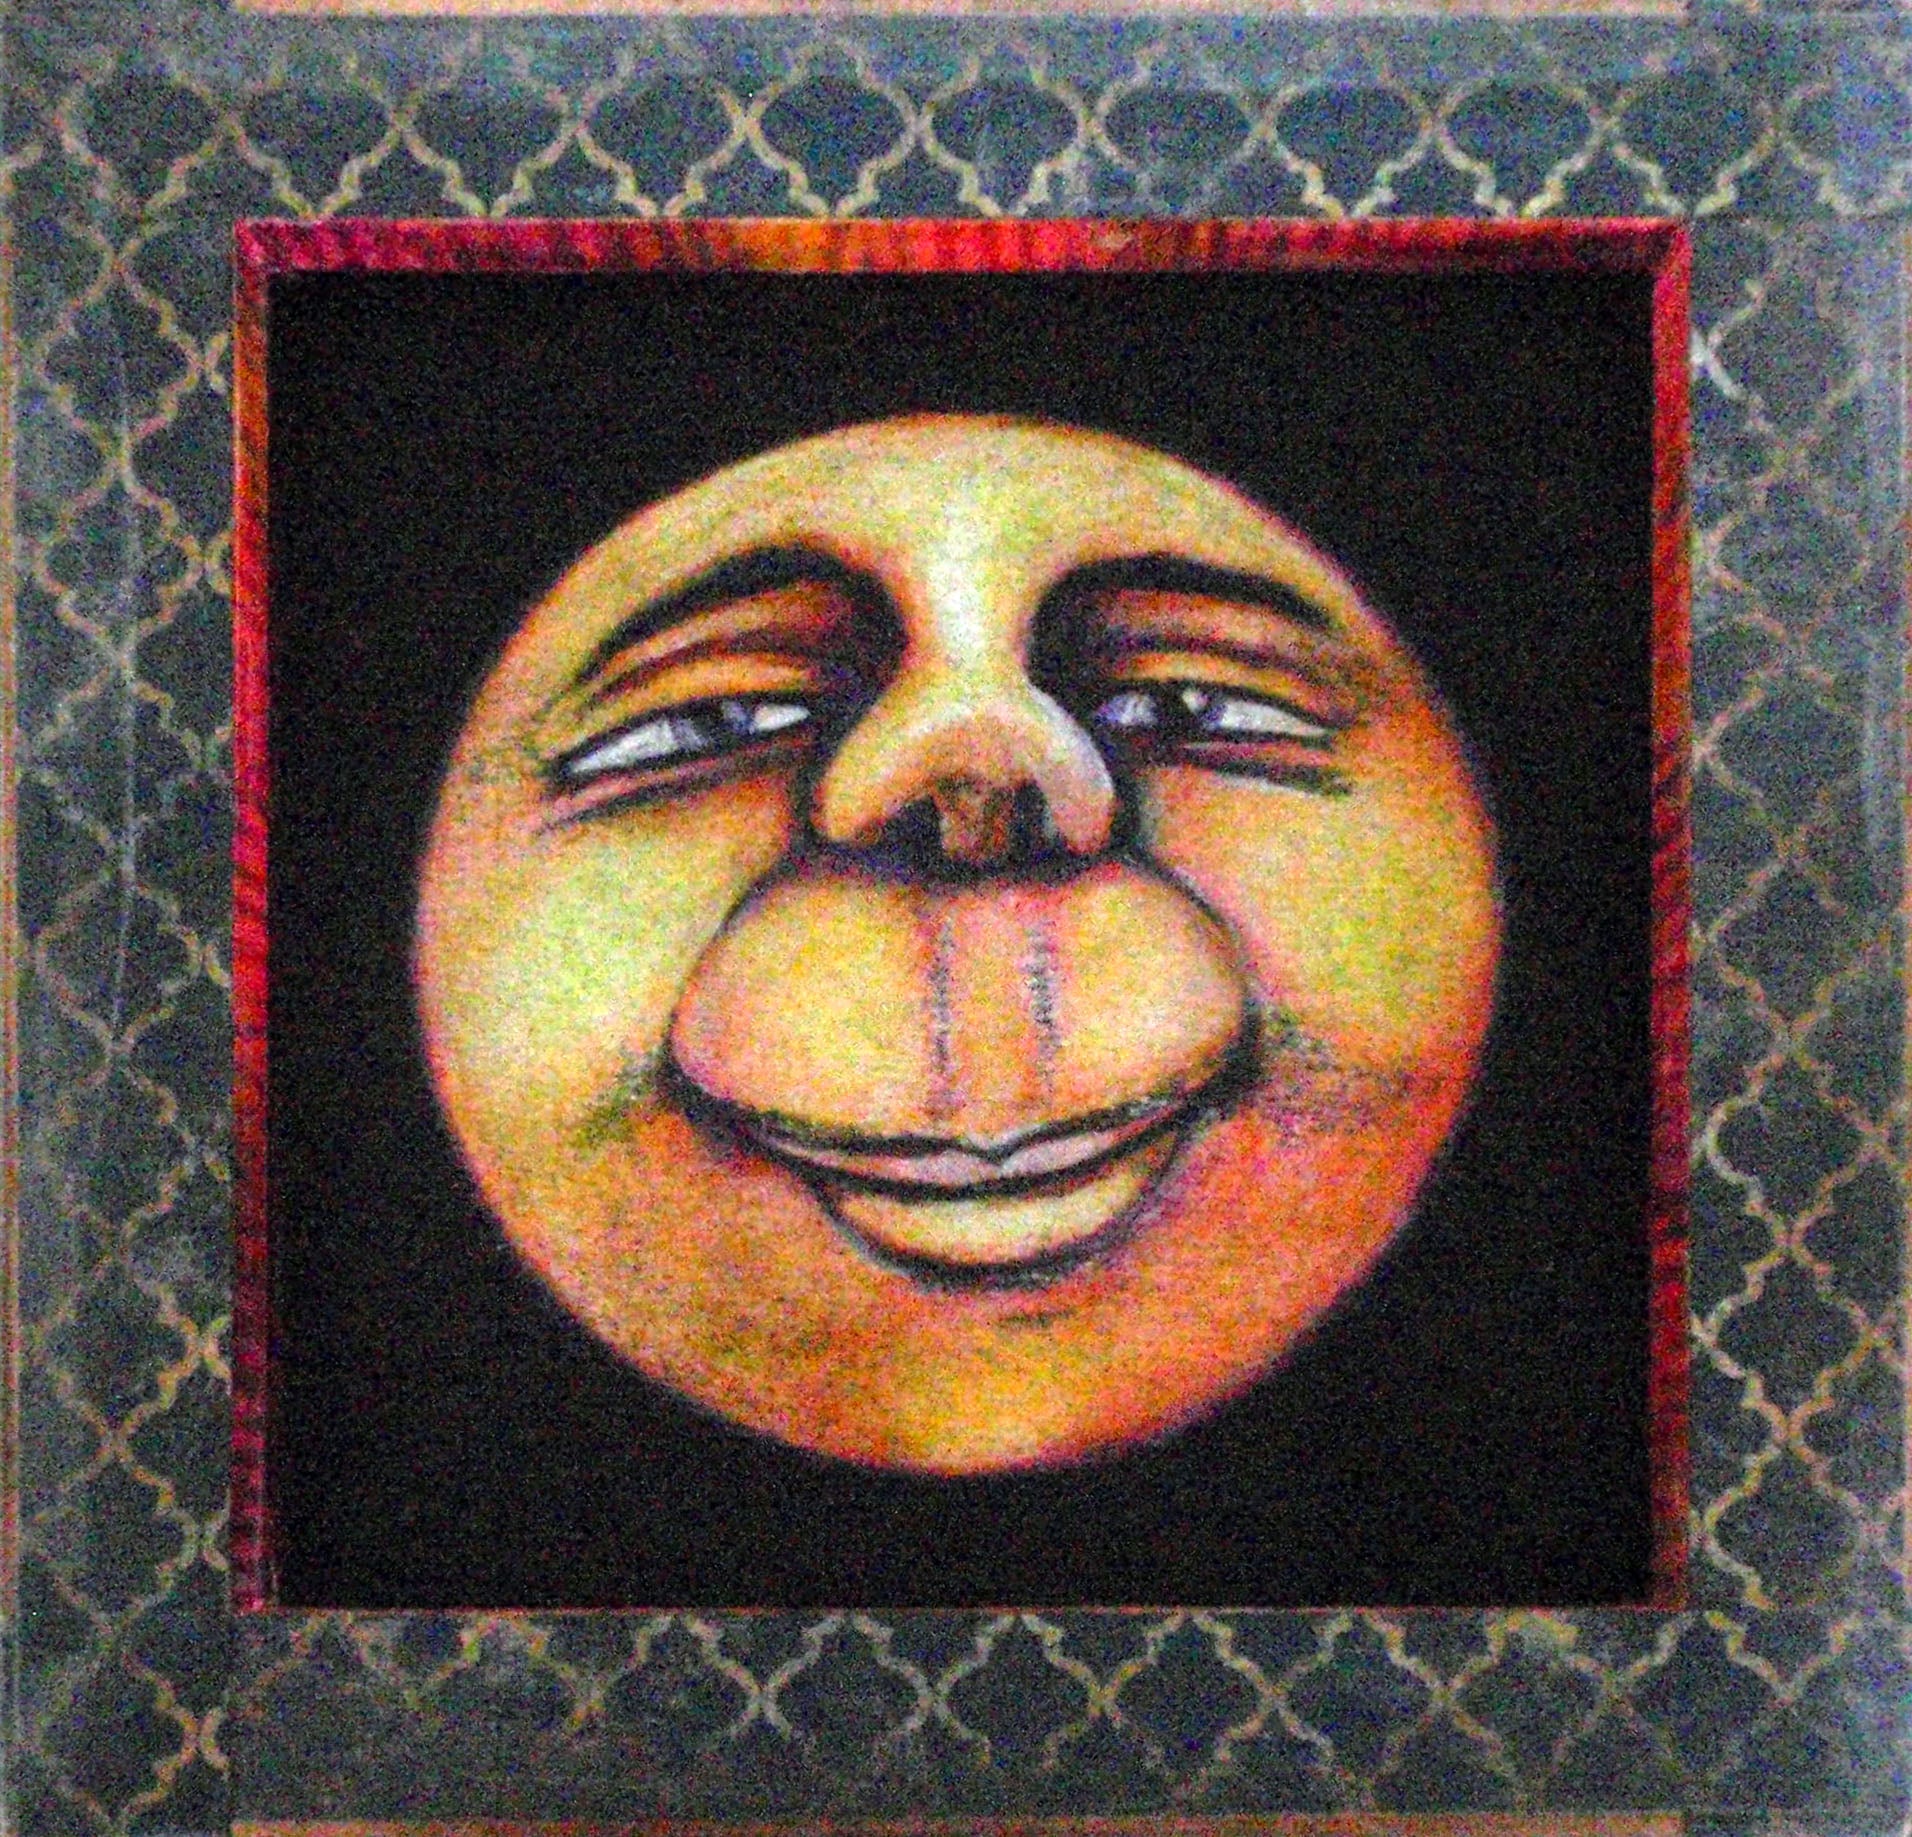
Here’s a fall moon project completed using the same colors and the same layered pencil technique. The finished drawing is mounted in the recessed back of an 8 in. x 8 in. cradled wood panel trimmed with coordinating papers.
Use Basic Coloring Strokes for Small Garden-Themed Art

Leave a comment