On Orders $49+
On Orders $49+

Colorful woodland creatures make cheerful subjects for this easy coloring project. Unlike many other art mediums, art markers require almost no preparation or clean up and can fit readily into a busy schedule. Coloring with vibrant alcohol ink markers is remarkably relaxing and a fun way to inject some creativity into your day.

Supplies:
Directions:
Print the black and white pattern on marker paper or smooth cardstock. The drawing is sized to fill an 8.5 in. x 11 in. sheet of paper. Reduce the size of the drawing slightly before printing if you would like to finish the artwork using a standard 8 in. x 10 in. mat and frame.


Color the drawing using your favorite alcohol ink markers. The samples were created using pens from the Spectrum Noir Brights set. However, these were developed to be used in conjunction with markers from the core set of 72 and not necessarily as a stand-alone collection.

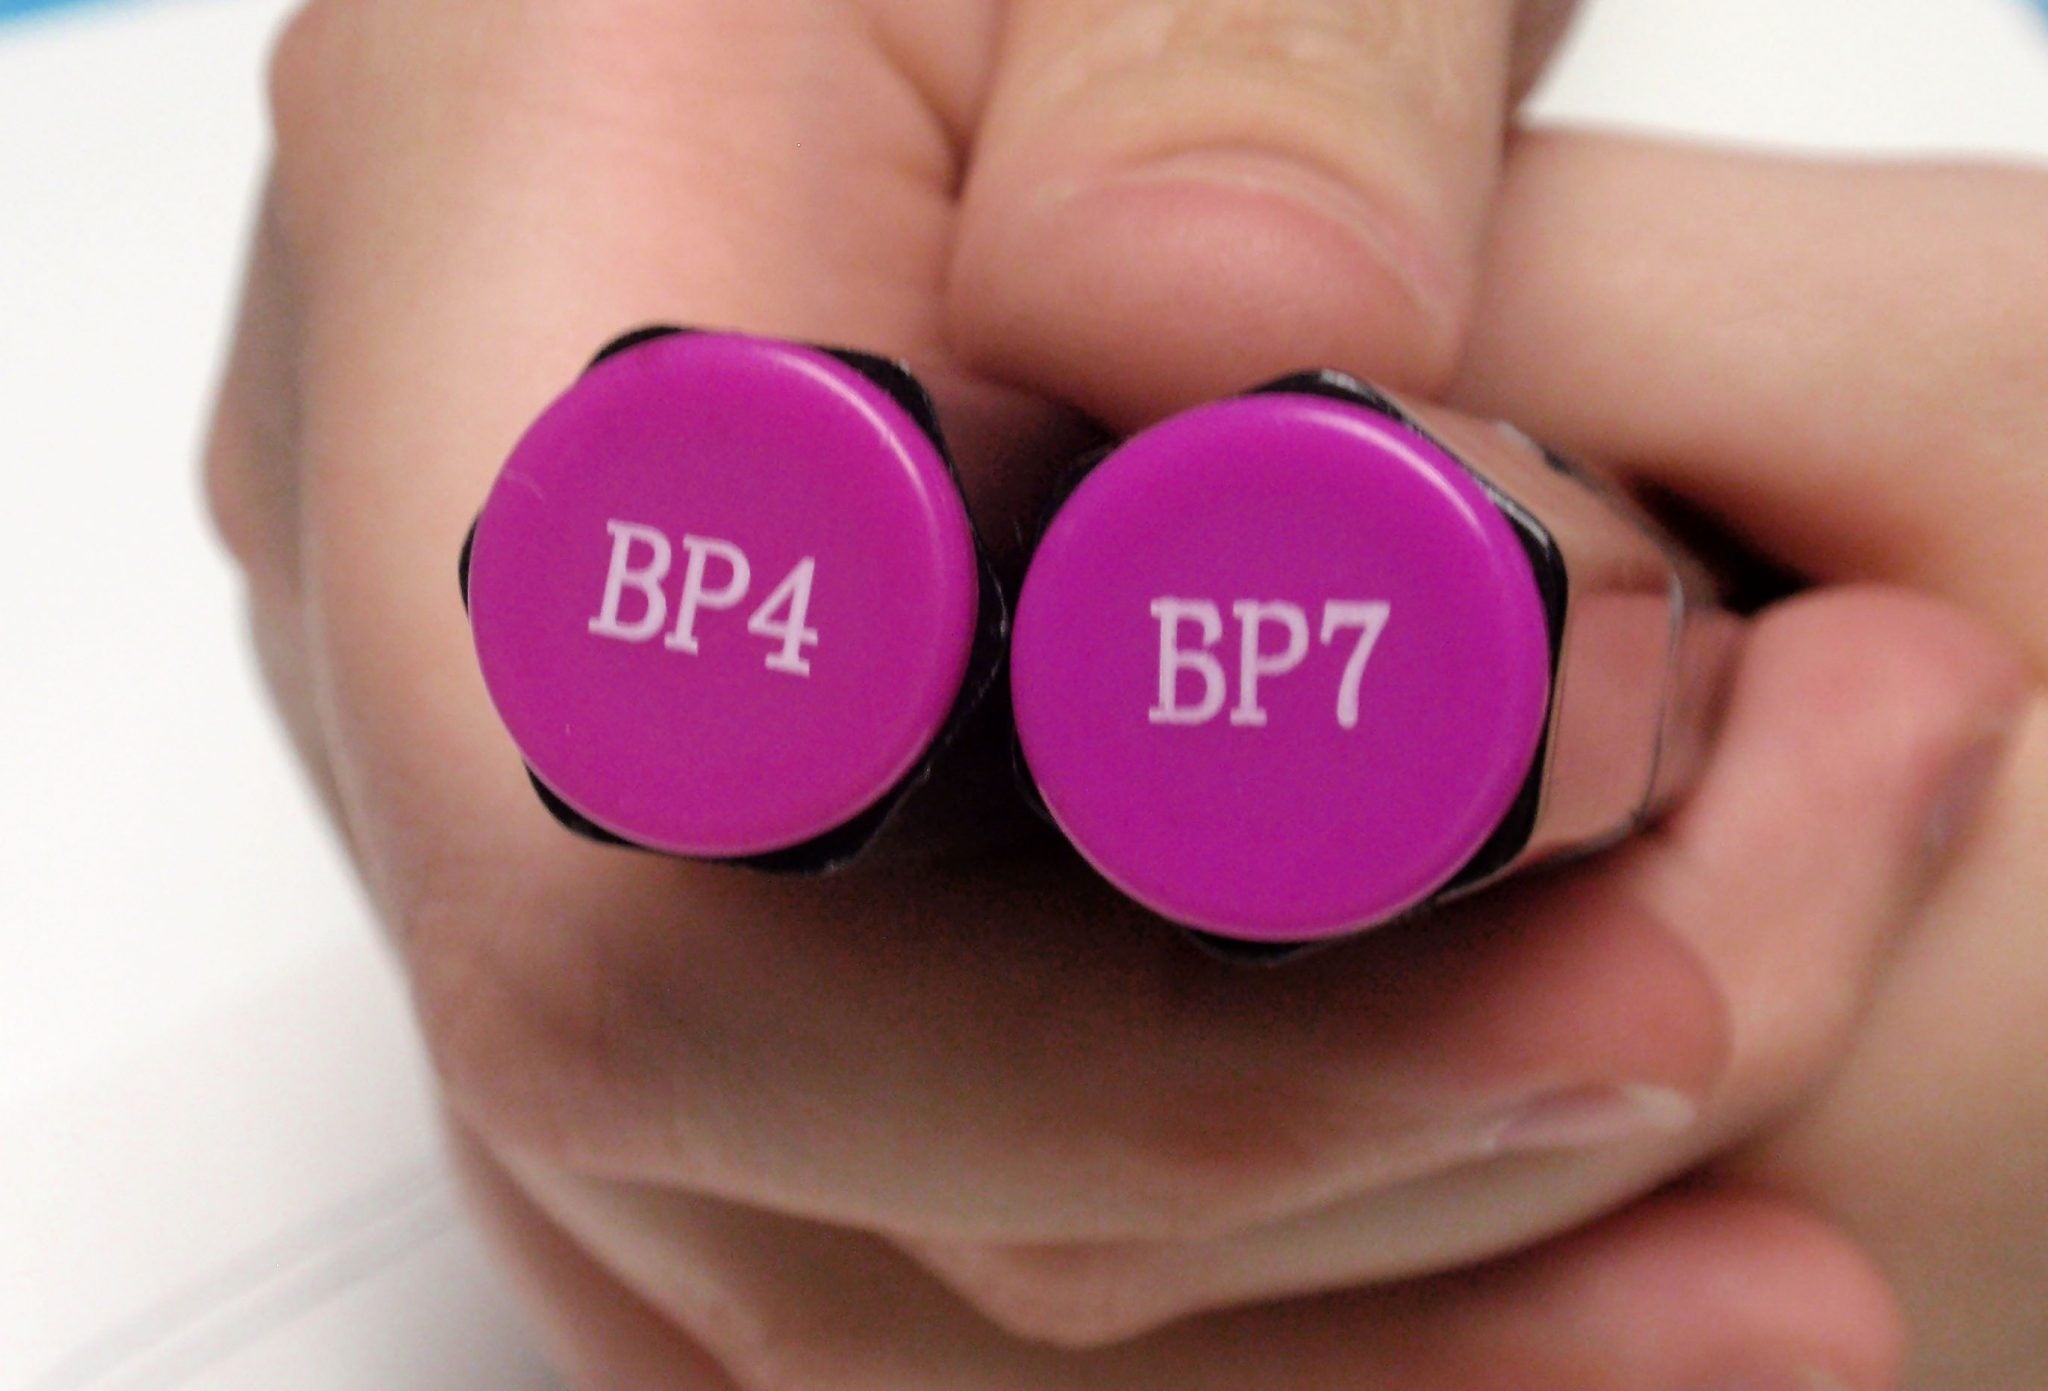
Select 2-3 pens from the same color family. Each marker system has its own labeling, but a rule of thumb is to choose markers labeled with the same letter(s) and keep 2-3 numbers between the last digits. The letters indicate the color family; for example, BG stands for blue green, GB for gold brown, and BP for bright pink. The final numbers indicate how light or dark the color is within the color group. A marker labeled BP4 is a lighter color than BP7.

The lightest color (smallest number) will serve as your main or base color. The darkest color (largest number) will work for shadows. Shadows can be any part of the illustration where you want to show the part is away from the light source or simply farther from the viewer in space. If available, a middle color acts as a bridge between these 2 colors for the smoothest blending.
You may find that the color on a marker cap is not an accurate representation of the color you’ll see when using the marker on paper. I like to create a quick color guide using my markers on the same paper I’m using for my coloring project. Just scribble a small square of color and mark it with the name of the marker to use as a reference, particularly when starting with a new set of markers. Know, too, that wet ink will appear darker than it will look when dry.

Place the drawing on top of some heavy scrap paper. Alcohol ink markers will tend to bleed through the back of the paper and onto whatever surface you have beneath.
Outline a small section using the base color. Color in this small area with your base color using the smaller bullet tip in small circular motions. Soak the paper well with the ink. Add shadows using the darkest color. Color with the middle color, overlapping dark and light areas. Repeat the process as needed, layering and overlapping strokes. Wet ink blends, so work in small areas of the drawing as quickly as possible, finishing one part of the drawing before moving on to a new section.
Use a colorless blender pen to lighten areas or correct mistakes by pushing existing color into the paper. Clean the blender pen on a scrap of paper after use.
Develop your own color scheme using your favorite colors or copy the color palette shown below. The letter/number codes reference markers from the Spectrum Noir Colouring System.

When the coloring is complete, use a fine or extra fine tip marker pen to add line details to your artwork. Additional white spaces or white highlights can also be added using a white gel pen or fine white paint marker. Color the background with a black marker using an irregular technique to create some background texture.

Santa Ornaments: A Step By Step Coloring Guide
Leave a comment