
Free Shipping
On Orders $49+
On Orders $49+
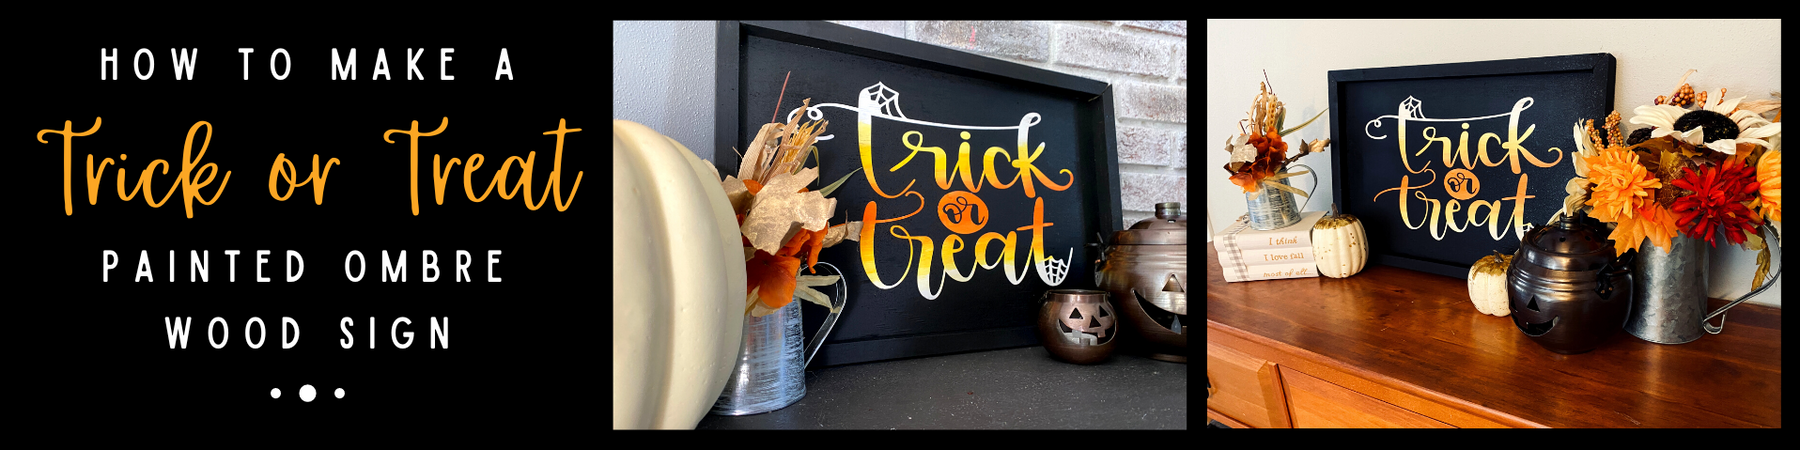


It's always so fun to decorate for every season! Halloween is right around the corner, so why not create an ombre sign for your home? This festive Trick-or-Treat sign can be hung up, or placed on your shelf to go along perfectly with your fall or party decor!
Materials:
Sign Prep:
Sand the unfinished sign before use and use a tack cloth to remove any excess wood shavings. I used black chalk paint for the color of the sign. Chalk paint dries quickly and works well with the acrylic paint for the ombre. Sealant was not used for this sign before painting the ombre.

Step 1:
Go to the Shapes tab in Design Space and select the Rectangle. Changing the color of the Rectangle to black can be beneficial to give you an idea of how the sign will look with the text.
In Design Space, go to the images tab and search for “Trick or Treat.” Add the image to the canvas and unlock the size to adjust it to the size you prefer.
Step 2:

Click the images tab and search for "Trick or Treat". Click the image and add to the canvas and size it to 14" x 9".
Step 3:
Now it’s time to create the stencil with Smart Stencil! I selected Smart Material, and for the Pressure, I selected default.
Step 4:
Next is time to weed the material! Make sure to remove the circle part of the image and inside the letters. Then, center the stencil as much as possible and use the brayer and scraper for any bubbles and to place it accordingly.

Step 5:
Once the stencil has been placed, grab your sponge brush and apply the white chalk paint to the sign. Be sure not to brush too hard so the stencil peels up and creates paint bleeds. Apply a couple of coats and set the sign under a fan and check to to see if the paint is dry before applying the orange and yellow acrylic paint.

Step 6:
Take two different brushes, one for the yellow and one for the orange paint. Apply the yellow paint starting slightly from the bottom of the sign leaving some white and take a few passes to make it a deeper shade and work your way up to the middle. Do the same with the top part of the stencil.
Next, apply a few coats of the orange acrylic paint in the middle.


Step 7:
Once the paint as dried, it's time to start the ombre! Take your yellow brush and dip it a little into the white paint to mix a lighter shade. Dab a little where the white and yellow meets on both the top and bottom.
After the yellow part is finished, take the orange brush and mix it slightly into the yellow paint. Where the orange and yellow meet, dab lightly and create a shading effect. This may take a few passes.
Let the sign dry before taking off the stencil.

Step 8:
Remove the stencil and apply the Polycrylic sealant to the sign. Allow the sign to dry and there you have it! Your Halloween DIY Trick or Treat Ombre sign that is perfect for fall home decor!


DIY Glow In The Dark Skeleton Shirt
Leave a comment