
Free Shipping
On Orders $49+
On Orders $49+

Here's a fun project for summer! Use your Cricut machine and Iron-On to apply designs to ice pop holders. Keep little hands from freezing with colorful neoprene sleeves that you've personalized with your own designs. This would be a great beginner project.

I made these with my Maker 3, but they could be made with any Cricut machine, including the Joy. You could cut all the designs at once by using Smart Iron-On, and you wouldn't even need a cutting mat.

Materials:
Cricut machine (Maker, Explore or Joy)
Cricut EasyPress or EasyPress Mini
Cricut StandardGrip Cutting Mat
Easy Press Mat
Cricut Tools
Neoprene ice pop holders (I got mine on Amazon)
Cricut Everyday Iron-On (I used black)
My ice pop holders came in a pack of ten in all different bright colors.

I chose a design and opted to apply iron-on to both sides of the sleeve. I could have done images or personalized them with individual names had I wanted to.
I opted for "cool" words on one side and character traits I wanted to encourage on the other side. I made a list of all the possible words/phrases and then chose the ones I would use. I even matched up some that seemed to fit together.

I added a rectangle to my Design Space Canvas from the Shapes menu and sized it to match my ice pop holders. I duplicated it and changed the color to gray to see the text more easily. The rectangles were strictly for sizing my design and would not be cut. Next, I started adding text with the Text box.
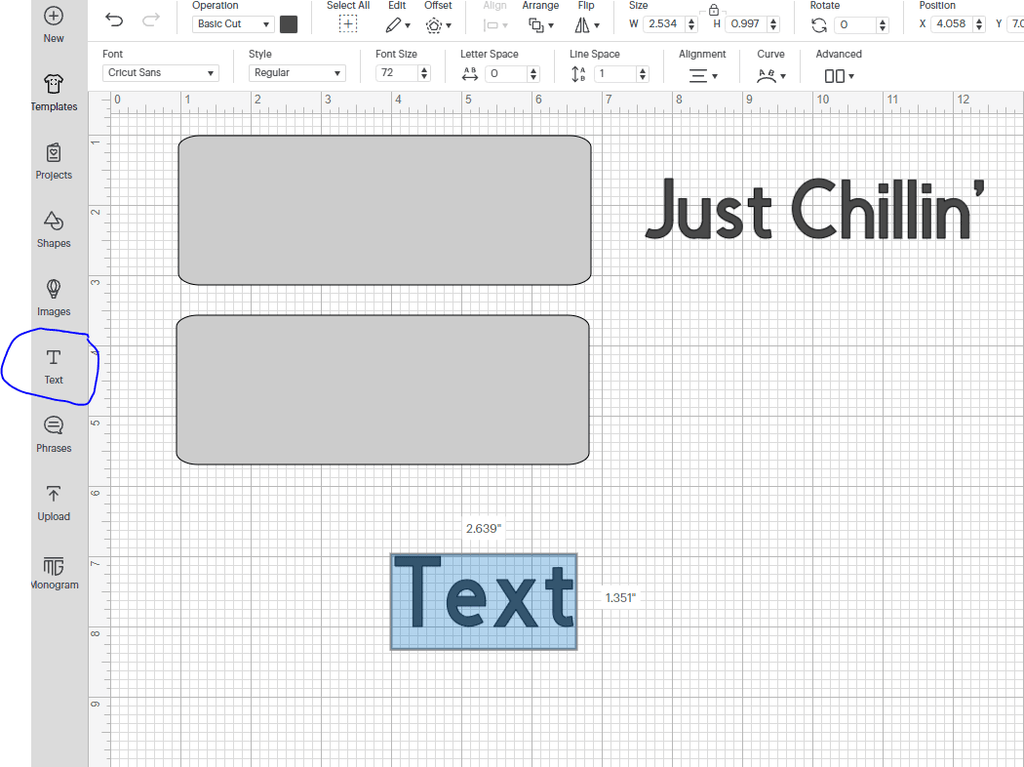
I used the font AR CHRISTY for the first side and Whimsy TT for the second side. I placed each text inside the rectangle templates and sized them how I wanted.
I unlocked the dimensions to make the text a bit longer vertically and then relocked them. I jotted down the dimensions to make every phrase the same size for consistency.
Tip #1: For each phrase, I duplicated a previous one with the same font, then double-clicked on the text in the copied box to change it. That way, I did not have to select that font each time.
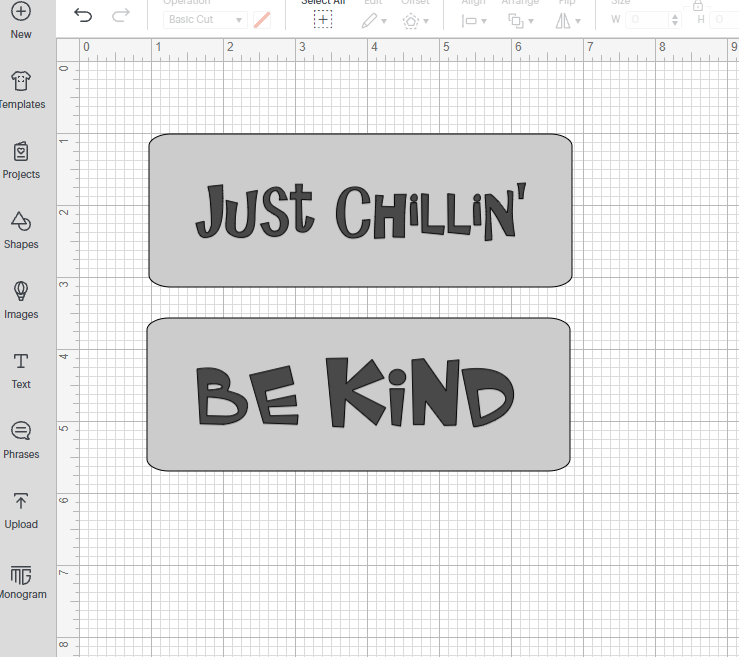
Here are all my phrases typed and sized on my canvas. I hid the rectangle template, so my Cricut would not cut it. I made all the text black to keep it simple, but other colors could be used as well.

My black iron-on was in 12x12 sheets, so I couldn't use my 12x24 mat this time. I had to cut twice to get all the phrases done. I grouped and attached two sections of phrases and changed the color of one section, so Design Space would know to cut them on separate mats.

Tip #2: Always be sure to mirror your design in Design Space before cutting it when using iron-on vinyl, so it shows up correctly on your finished project.

I smoothed the iron-on onto my cutting mat using a brayer each time before loading it into my Maker 3 and cutting the design.

I removed the iron-on from the mat by turning it upside down and pulling the mat off the iron-on to avoid having it curl up.

With the first sheet cut, I weeded out the excess iron-on while all the text was still on one sheet and then cut each phrase apart afterwards.

For the second sheet, I cut sets of text that would go on the same sleeve before weeding each set individually. This seemed to work better since there was not so much iron-on to pull off at once.

Now it was time to apply heat to attach the designs to the sleeves. I checked the Cricut Heat Guide for my EasyPress 2 and set it to 280 degrees F for 20 minutes and let it preheat.

This was my first time applying iron-on to neoprene material, and I was pleasantly surprised to see that exact material as an option in the Heat Guide. I had not noticed that in there before.

While my EasyPress was preheating, I laid out the neoprene sleeves with the designs I would put on each color. I also determined which way the designs would face in relation to the sleeve opening.
I would apply all the same type of designs (same theme and font) to the "top" side of the sleeves first and then apply the rest to the other side.
Using a 9x9 EasyPress allowed me to apply designs to three sleeves at a time. I placed them on my EasyPress mat right next to each other. You could also use a Cricut EasyPress Mini and do each one individually.

Once the EasyPress was ready, I preheated the neoprene sleeves for 5 seconds and then applied the designs and heated them as instructed in the guide.

I kept doing three at a time until they were all done on one side, leaving the others to cool before removing the carrier sheet.

The iron-on did not stick as well as it should have on a few of the sleeves, so I ended up heating each one again for almost the same amount of time.
Tip #3: It's always a good idea to check for any heating time or temperate recommendations for the specific blanks you are using. I did not do that, so it took more time to get my designs fully adhered.
Here they are with all the top designs applied. Aren't they cute?

I turned over the sleeves and started applying heat to attach the other designs, again heating them twice to make sure they adhered well.

And here they are all done! I can't wait for my grandchildren to come over and use them for the first time. I'd better stock up on ice pops. I only have a few left.

What would you put on ice pop holders? You are only limited by your own imagination.
A life without love is like a year without summer. (Swedish Proverb)
Leslie
DIY Custom Pillow with Cricut Smart Iron-On

Leave a comment