On Orders $49+
On Orders $49+

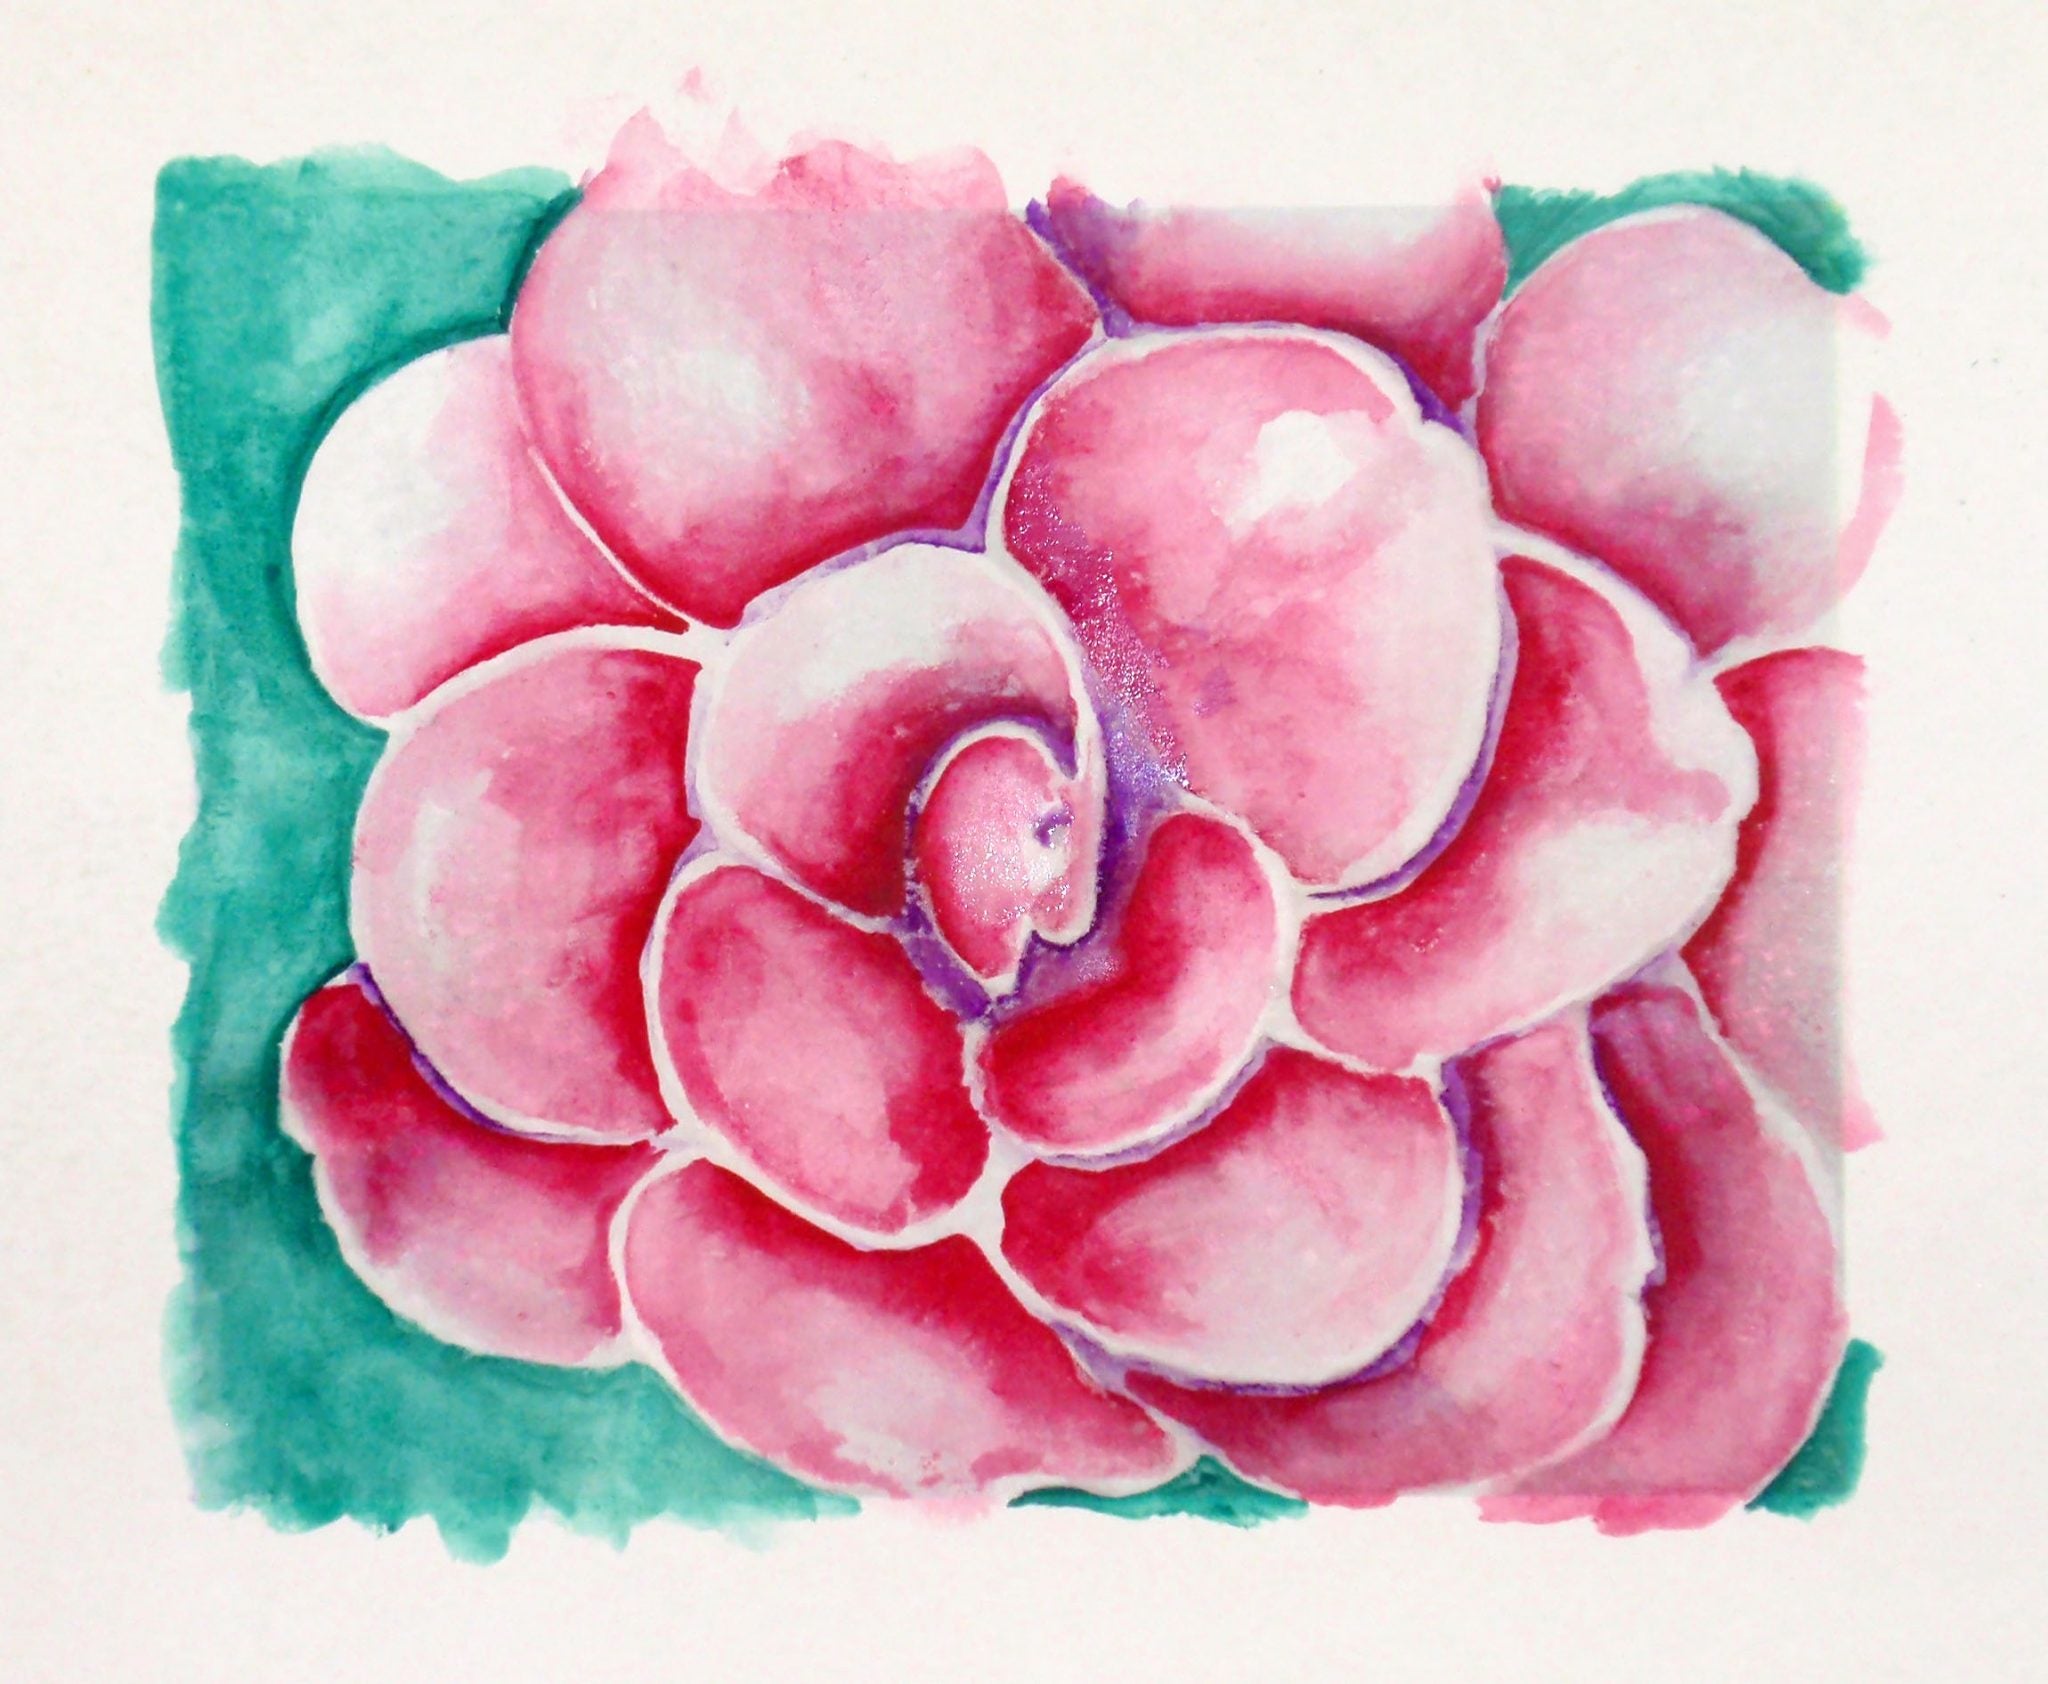
This is an easy watercolor project with no drawing required. Instead, the project makes use of grey-scale photographs printed on watercolor paper to jump-start your painting. Turn completed paintings into a collection piece by mounting them together or use them on handmade greeting cards for little functional works of art.

Supplies
Watercolor paper, smooth finish
Watercolor pan set & brushes
Patterns
Step-by-Step
I have shared the photographs I used in the patterns for this project. They have already been edited for painting using simple photo editing software. If you’d like to use your own photograph, adjust the photo using your favorite photo editing tools. Remove the color from the photograph, changing the image to a very light grey-scale version. You want to see some areas of shadow with plenty of open light space. Keep in mind that the printed version of the image is likely to appear lighter than what you see on your computer screen.

Cut watercolor paper to letter paper size that will fit in your laser printer. Many manufactured watercolor papers have one side of the paper that is smoother than the other. Load your paper using the printer’s bypass option (single paper feed not from a tray) so that printing will happen on the smoother side (if possible). Adjust the settings on your printer to accept the heavy watercolor paper and print one photograph on one sheet of paper.
If you’ve painted on watercolor paper before, when you begin using these printed papers you’ll notice that the absorbency of the paper has been altered by the toner laid down in the printing process. What you’ll see is that very loose paint, with lots of water added, will tend to bead on the surface rather than being immediately absorbed. At times you can use that effect to your advantage to create attractive random texture while painting. In general, though, you’ll want to use more paint and little water when first painting in an area of the image. As more paint is applied to a section of the image, the toner barrier is reduced and the paper will accept loose washes of color.


The Begonia


Paint the other images following a similar pattern. Paint the shadows and background first using a dark, undiluted color. Paint the flower petals next, applying some fairly ‘dry’ paint that blends with more water into less intensely pigmented areas. Leave some white or light spaces on the flower petals. Deepen shadows and dark edges along the edges of the flowers by dropping additional color into water applied to those areas.
The Blanket Flower
Color palette: blue, purple, red-orange, orange-yellow, yellow-green


The Rose
Color palette: burnt sienna, cerulean blue, blue-green, olive green, black


The Clematis
Color palette: Blue, blue-green, purple, magenta, yellow


Coloring Page Painting: Get Started with Acrylic Paints
Leave a comment