
Free Shipping
On Orders $49+
On Orders $49+


We recently moved and wanted to give our realtor something awesome for working with us. We were looking for the perfect house for a very long time, so I wanted it to be special. Using the Cricut Mug Press I can make personalized gifts in minutes. It’s super easy and looks so professional.
Materials:
Cricut (I used my Joy)
Cricut Mug Press
Standard or light grip mat
Mug Blank
Infusible Ink Transfer Sheets
Heat Resistant Tape

I started in Design Space. I clicked on projects on the left hand side. I found the project that was called Mug Design Setup.

The next screen asked me for the size mug I was using. I then clicked Customize.

This is the mug wrap template. This helps a lot with sizing and placement.

I then uploaded my file by clicking on Upload – Upload Image – Browse – Find File – Upload – Add to Canvas

I sized my design making sure it fit on the mug wrap template and duplicated it.

I hid the template and had my Joy cut out the infusible ink.
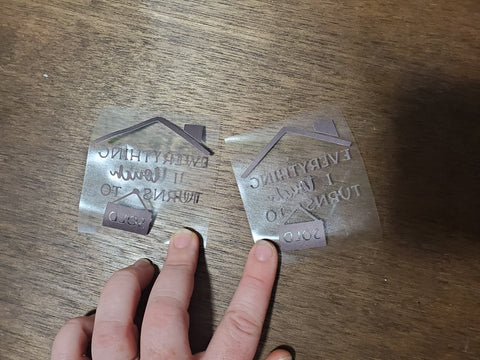
After it was cut, I weeded the two designs with my fingers.
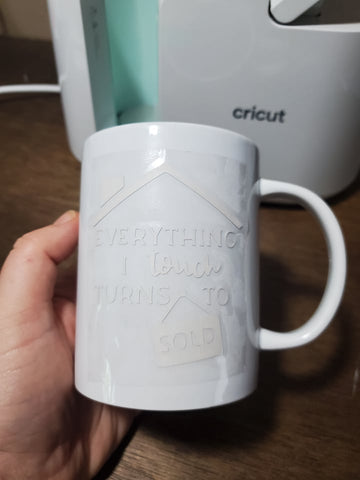
I placed each image where I wanted it on the mug. The infusible ink backing is sticky so it helps keep the design where I wanted it.

With heat resistant tape, I taped down the design to the mug so that it was tight and secure.

Time for the Mug Press to do it’s thing! I turned the Mug Press on and let it warm up. It will beep and the power button will turn green when it is ready.

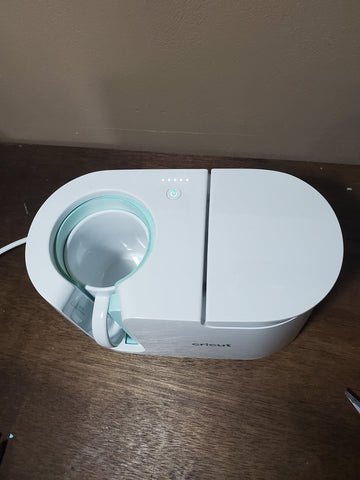
Slide the mug into the Mug Press with the handle sticking out.
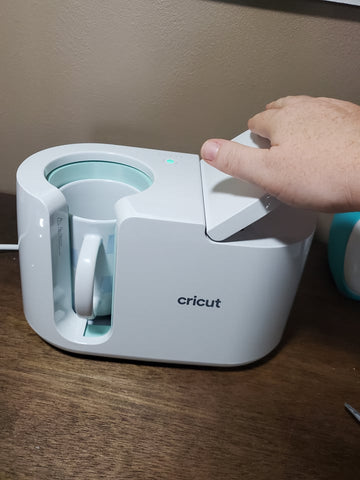
Push down on the lever. This will close the heat plate around the mug.

One of the little lights on top will light up indicating that it is going. As it continues to go more lights will light up to show you the time it is taking. Each mug can take a different time due to temperature of the room and mug.
When all 5 lights are lit it will beep to tell you that it is done.

Lift up on the lever and carefully remove the mug out of the press. The heat plate and the mug are very hot. Be sure to only touch the handle of the mug.

Set it somewhere to cool off. I like setting it on my Easy Press mat.

Allow it to cool completely and then remove the tape and the transfer sheet.

How simple to make a personalized gift! I gave this to our realtor and he loved it!
*Instead of worrying about what you cannot control, shift your energy to what you can create.
~Beth
Cricut Mug Press Tutorial with Cricut Joy

Comments
Leave a comment