
Free Shipping
On Orders $49+
On Orders $49+

Bookmarks are so easy to make with a Cricut machine, and they're fun, too! All you need is some cardstock and glue along with other specialty papers, if desired. Make them as simple as you want, or be creative and go all out.

After I made some bookmarks as Christmas gifts, my son-in-law (a teacher) requested some for his students. He wanted their names on the front, and I came up with an idea to add more personalization.
Materials:
Cricut machine
StandardGrip and LightGrip Cutting Mats
Textured cardstock in various colors
Patterned cardstock in bright colors
Foil papers, plain and textured
Cricut Permanent Vinyl
Cricut Tools
Paper glue
Laminator and lamination sheets (optional)
I chose to use three layers for the bookmarks, with colorful foil papers sandwiched between cardstock. I wanted them to have a little wow but be thin enough to laminate. I suggested adding a personal characteristic to the back of each bookmark, so the teacher came up with a positive attribute for each student.

I started by making templates in Design Space for the front and back of the bookmarks. The back side was solid, and the front side was like a frame. The size of each bookmark was 6" wide by 1.8" high.

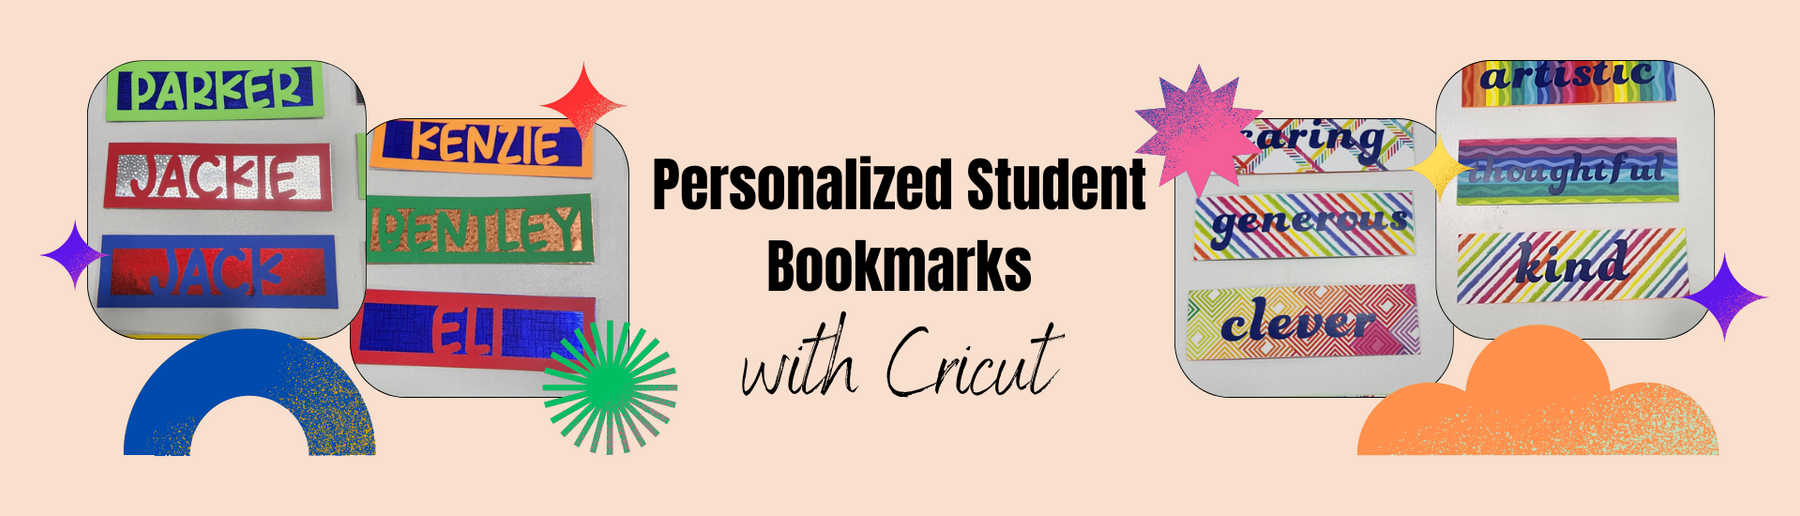
I selected the BFC Banana Shake font for the names. After I typed each one, I placed them inside the frame templates on my Canvas and sized the text, so the letters would touch the frame. Then I welded each frame and name together for cutting. Below are some of the completed designs.

I started cutting out the bookmark fronts on my Cricut, using textured cardstock in a variety of bright colors. Next, I cut out the backs of the bookmarks, using some Crayola Cardstock in colorful patterns.
I chose to cut the foil paper inserts by hand because they were very thin, and because I was using so many different colors. These were the same size as the bookmark backs.
Continuing on, I typed the text for the backs of the bookmarks, using the Close to My Heart - Artbooking font. I arranged all the words close together on my Canvas and grouped and attached them to cut on one mat on my Maker 3 (could also be done using Smart Vinyl without a mat). I used dark blue permanent adhesive vinyl, so the text would show up well against the colorful cardstock.

Once the text was cut out, I weeded out the unnecessary vinyl and cut the words apart for applying to the cardstock. Now I was ready to assemble my bookmarks. I couldn't wait to see how they looked all put together.
Steps for Assembly:
1. Adhere the text to the patterned Crayola cardstock using transfer tape.
Burnish the text only, as much as possible, to avoid the transfer
tape tearing the cardstock when removed. Slow and careful is best here.
2. Glue the foil paper layer to the blank side of the Crayola cardstock backs.
3. Apply glue to the student names and stick them to the foil paper.
4. Allow the glue to dry.
5. Laminate the completed bookmarks.
Here is how they looked on the fronts (before lamination):

And here are the backs:

These turned out so cute, and both teacher and students loved them. Each child felt special having their own personalized bookmark. They were told ahead of time I was making them, so anticipation was high. I'm glad they were not disappointed.
Although these bookmarks were made for children, adults love them as well. Do you know a reader who would enjoy having handmade place-keepers? What would you put on bookmarks to personalize them for others, or even for yourself? Come to think of it, I didn't make any for me. It's time to change that since reading is my favorite pastime.
Reading is essential for those who seek to rise above the ordinary. Jim Rohn
Leslie
DIY Holographic Iron-on Leather Bookmark Using Cricut
DIY Personalized Drink Pouches with Cricut Vinyl // Cricut Project Tutorial
Leave a comment