
Free Shipping
On Orders $49+
On Orders $49+

I love Spring, and the first thing that reminds me of spring is flowers blooming. Now I live in Wisconsin, so it take a while before that starts to happen, so my solution is to make the flowers bloom inside the house!
Here is a project that I found on Pinterest a while ago and couldn’t wait to make this monogram flower for spring. I love decorating my house for Spring after the long cold, white winter. It really livens up my house and brings a cheerful atmosphere all around.

I started with a few fake flower stems. I decided to go with a pink/lavender/white/green combo, but of course you could do this in any color combination for any season!
1)Gather up your supplies-
-a few stems of fake flowers of your choice
–scissors
–hot glue gun (By the way- have you seen this hobby holster?? I think I might need to get one of these!

-cardboard
-your letter of choice and a template to trace (optional)
2)Tape down your letter to your piece of cardboard if you are using a template. I printed mine out full sized on a sheet of paper.
3)Cut your letter out with whatever works for you. Box cutter, scissors, die cutting machine, or whatever sharp object you happen to have lying around. Don’t worry about making it perfect- you will be covering it up anyway. I also cut a little wider than my template just to make sure I would have enough space to put on all my lovely flowers.

After you have your letter all set-
4) Estimate how many flowers you may need to cover your letter, and start de-heading your flowers from the stems, and cutting your leaves apart.
*Note-some flowers have a longer end on the flower that attaches them to the stem that may need to be cut down so you can glue them down flat onto the letter.

Now, I decided to lay out my flowers to decide how they would look when finished. This is an optional step, but remember once they are glued down, they will be much harder to move than if you place them before gluing.
5) After you have them arranged how you would like them make sure your glue gun is nice an hot and get-a-gluin’! Move the petals back to place your other flowers underneath in some places onto your letter to make sure to cover the cardboard completely, and don’t forget your leaves!


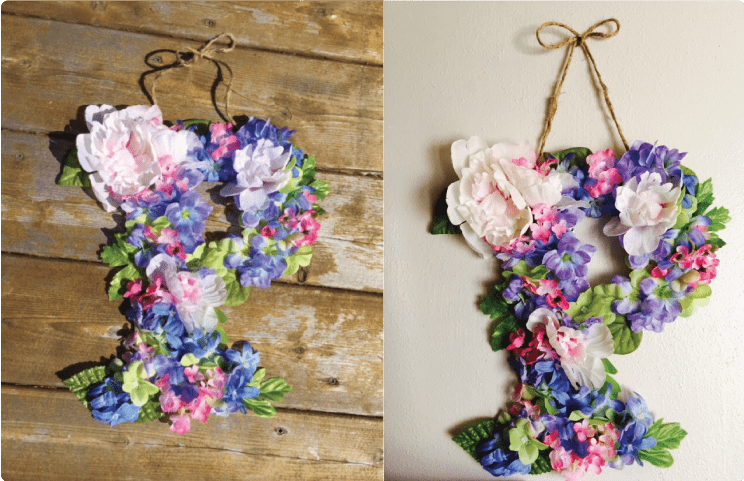
Here is my “P” when it was all done! I didn’t have the twine attached at first, but decided it was a nice additional touch to complete the project.


Leave a comment