
Free Shipping
On Orders $49+
On Orders $49+

Learning to draw can seem a daunting task for new artists. One of the main challenges, though, is less about learning to use a pencil in a new way and more about learning to use your eyes in a new way. The contour or outline of an object is one of the key aspects that allow others to identify it. Learning to see those lines is an important skill for drawing recognizable subjects.

Supplies:
Directions:
Step 1
Maximize your success by selecting the right image to draw. Some kinds of images are easier to manage than others when you’re just learning.
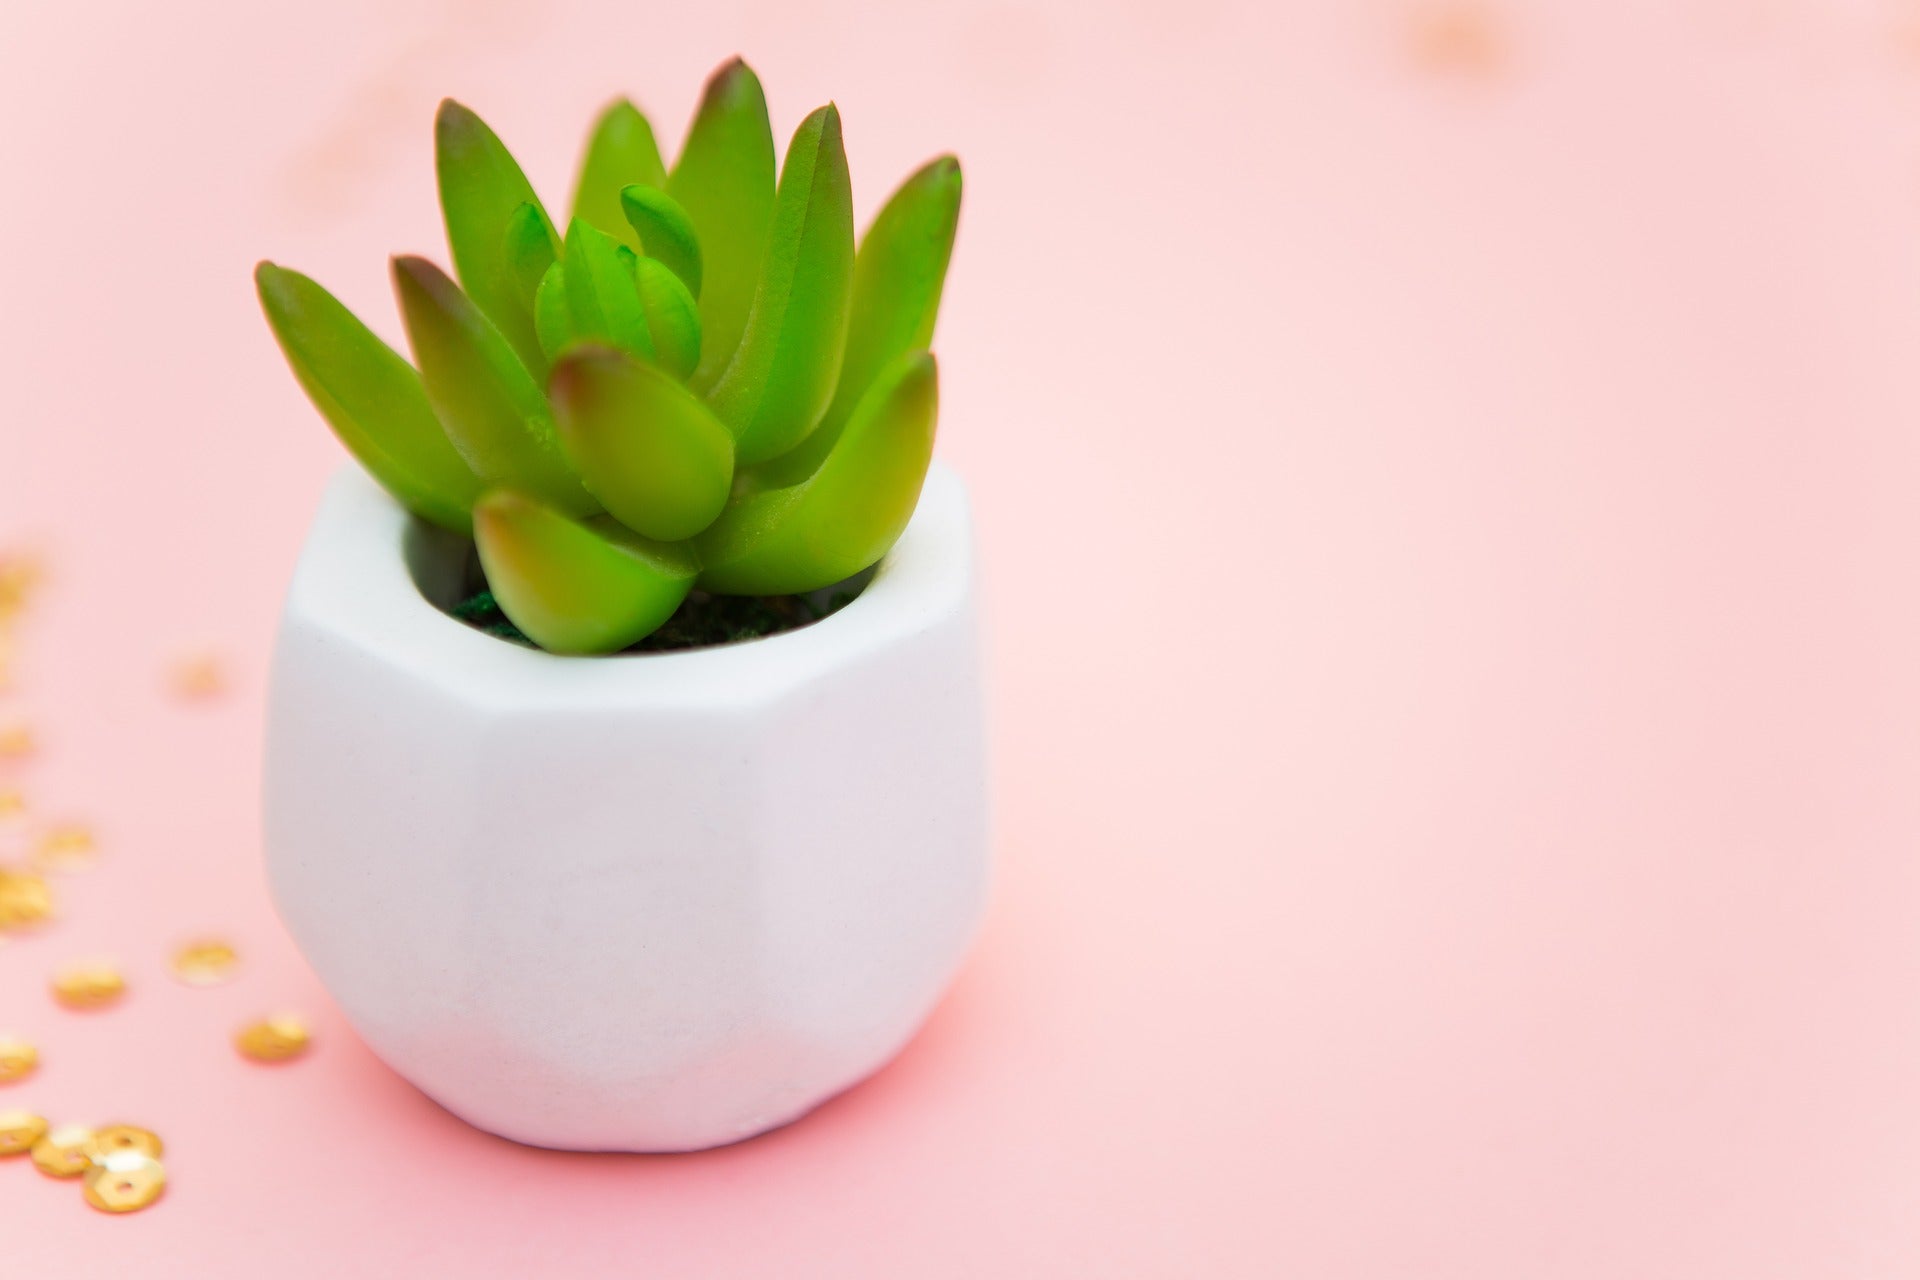
Foremost, keep it simple. Choose a composition with a single focal item.

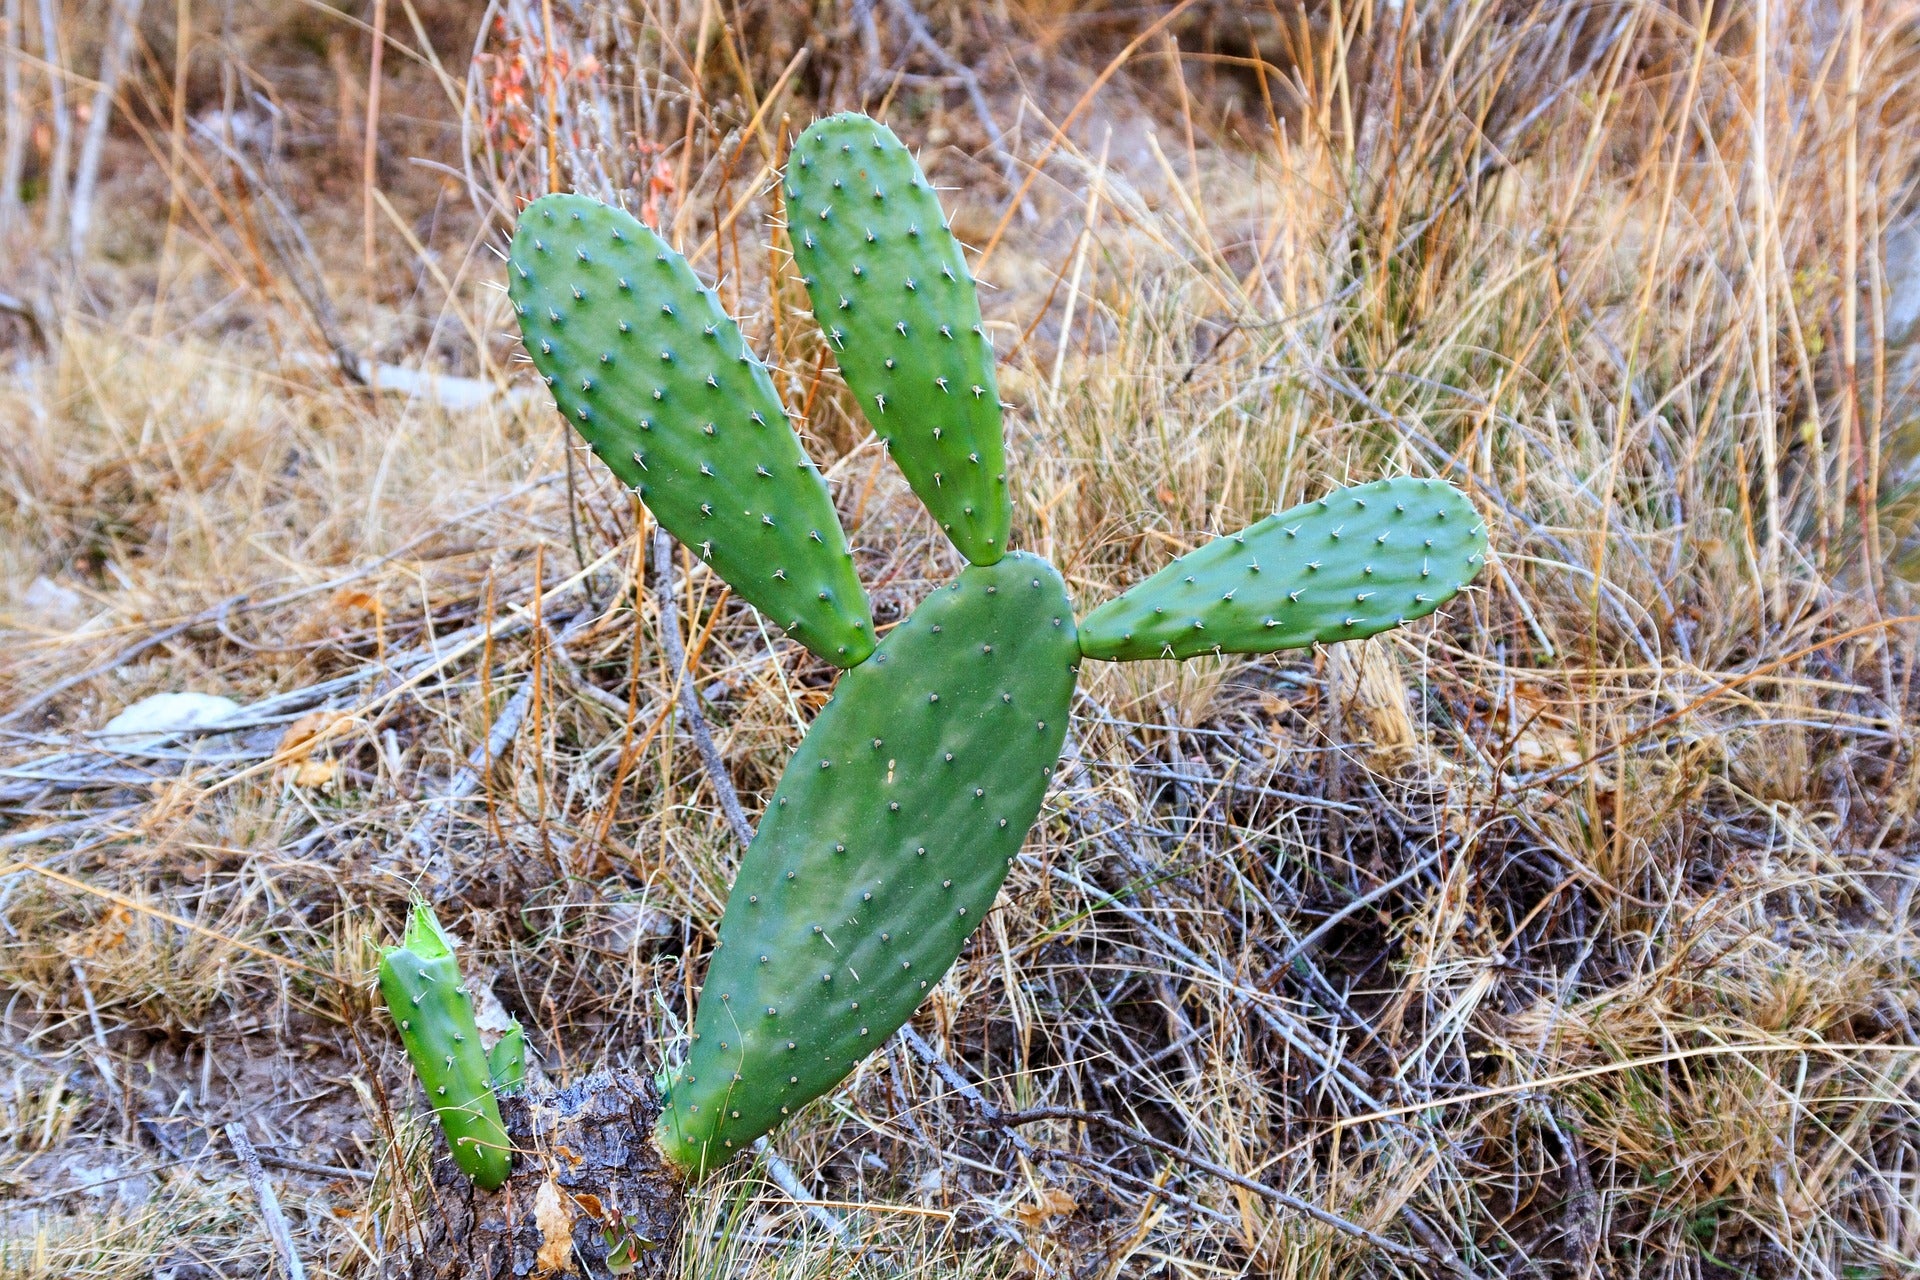
Second, select a reference photo with clear contours and clean separation of the focal objects. It’s easier for beginners to create a drawing from a photo where objects present a clean shape and you can readily determine each object’s outline.
THIS:
NOT THIS:
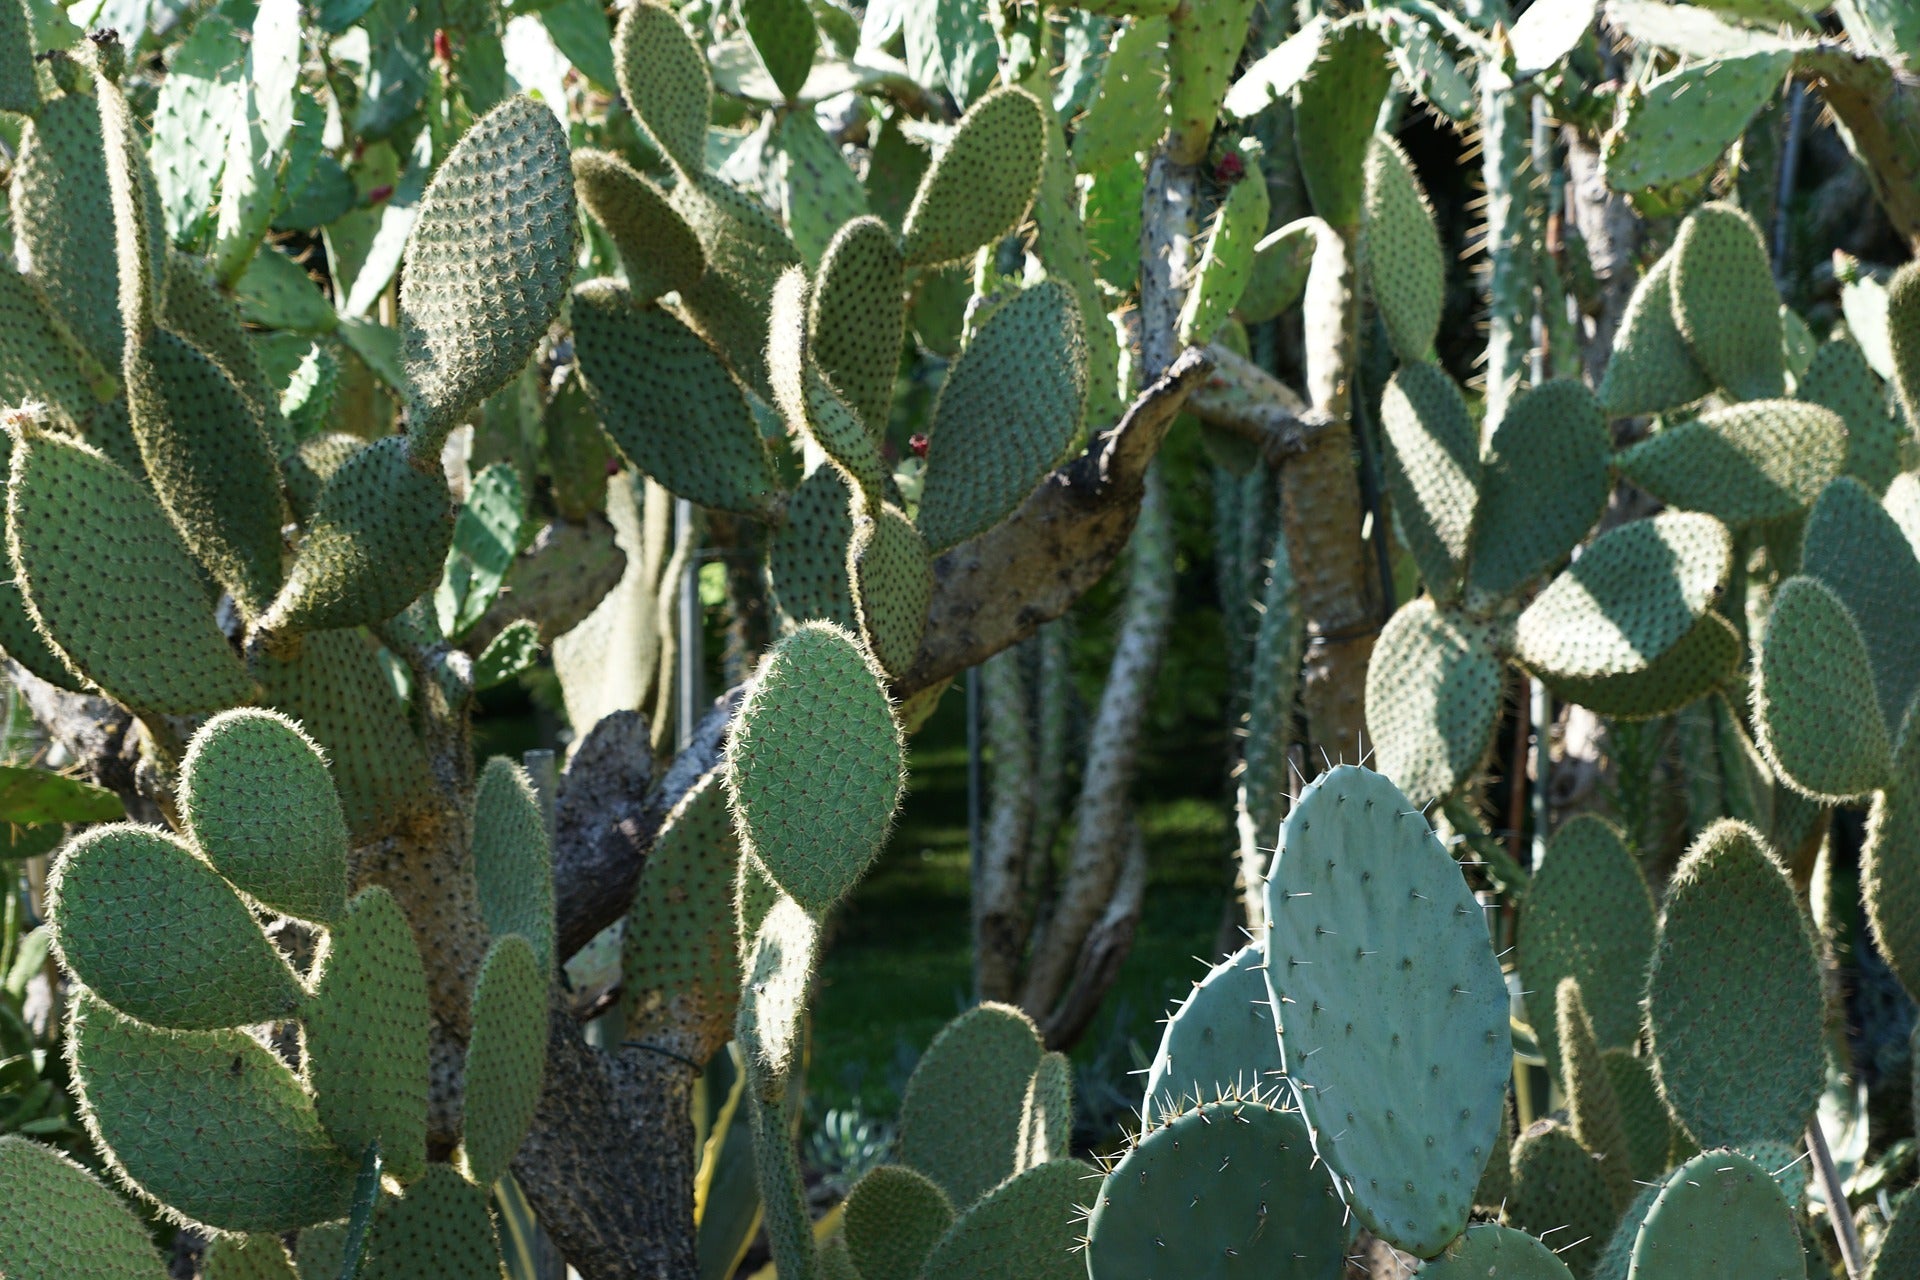
Finally, as you advance, working with an image of overlapping objects is fine and adds interest to the composition. However, it’s still good to be able to see discreet contours for your objects. You can always edit busy photos for more success as illustrated below.


Step 2
Print several copies of your image onto ordinary printer paper. Paper copies allow you to trace or draw right on top of the photo.
If desired, use photo editing software to alter the image. Change a colored image to grayscale. Increase the contrast in the photograph to exaggerate the darks and lights in the image. These alterations change your view of the image and can often make it easier to see and accurately reproduce shapes and values in a drawing.

Now is also a good time to make any composition changes to your reference photo that you’d like. Ignore, edit out, or alter completely any objects that you do not want to include in your drawing. Though we are using a photograph for our reference, you are encouraged to take some ‘artistic license’ to improve upon the photograph and make the image your own. This image is being altered slightly to interpret sequins as pebbles and to shift the overall placement of the focal objects away from the far left in the drawing.
Step 3 – Observe Size and Position
Take out one of your printed copies. Assess the proportions and placement of the objects in the drawing. Draw a basic shape over the objects in the printed image. Notice the size of the objects. How big is one object compared to the other? You can even get out your ruler to help you.
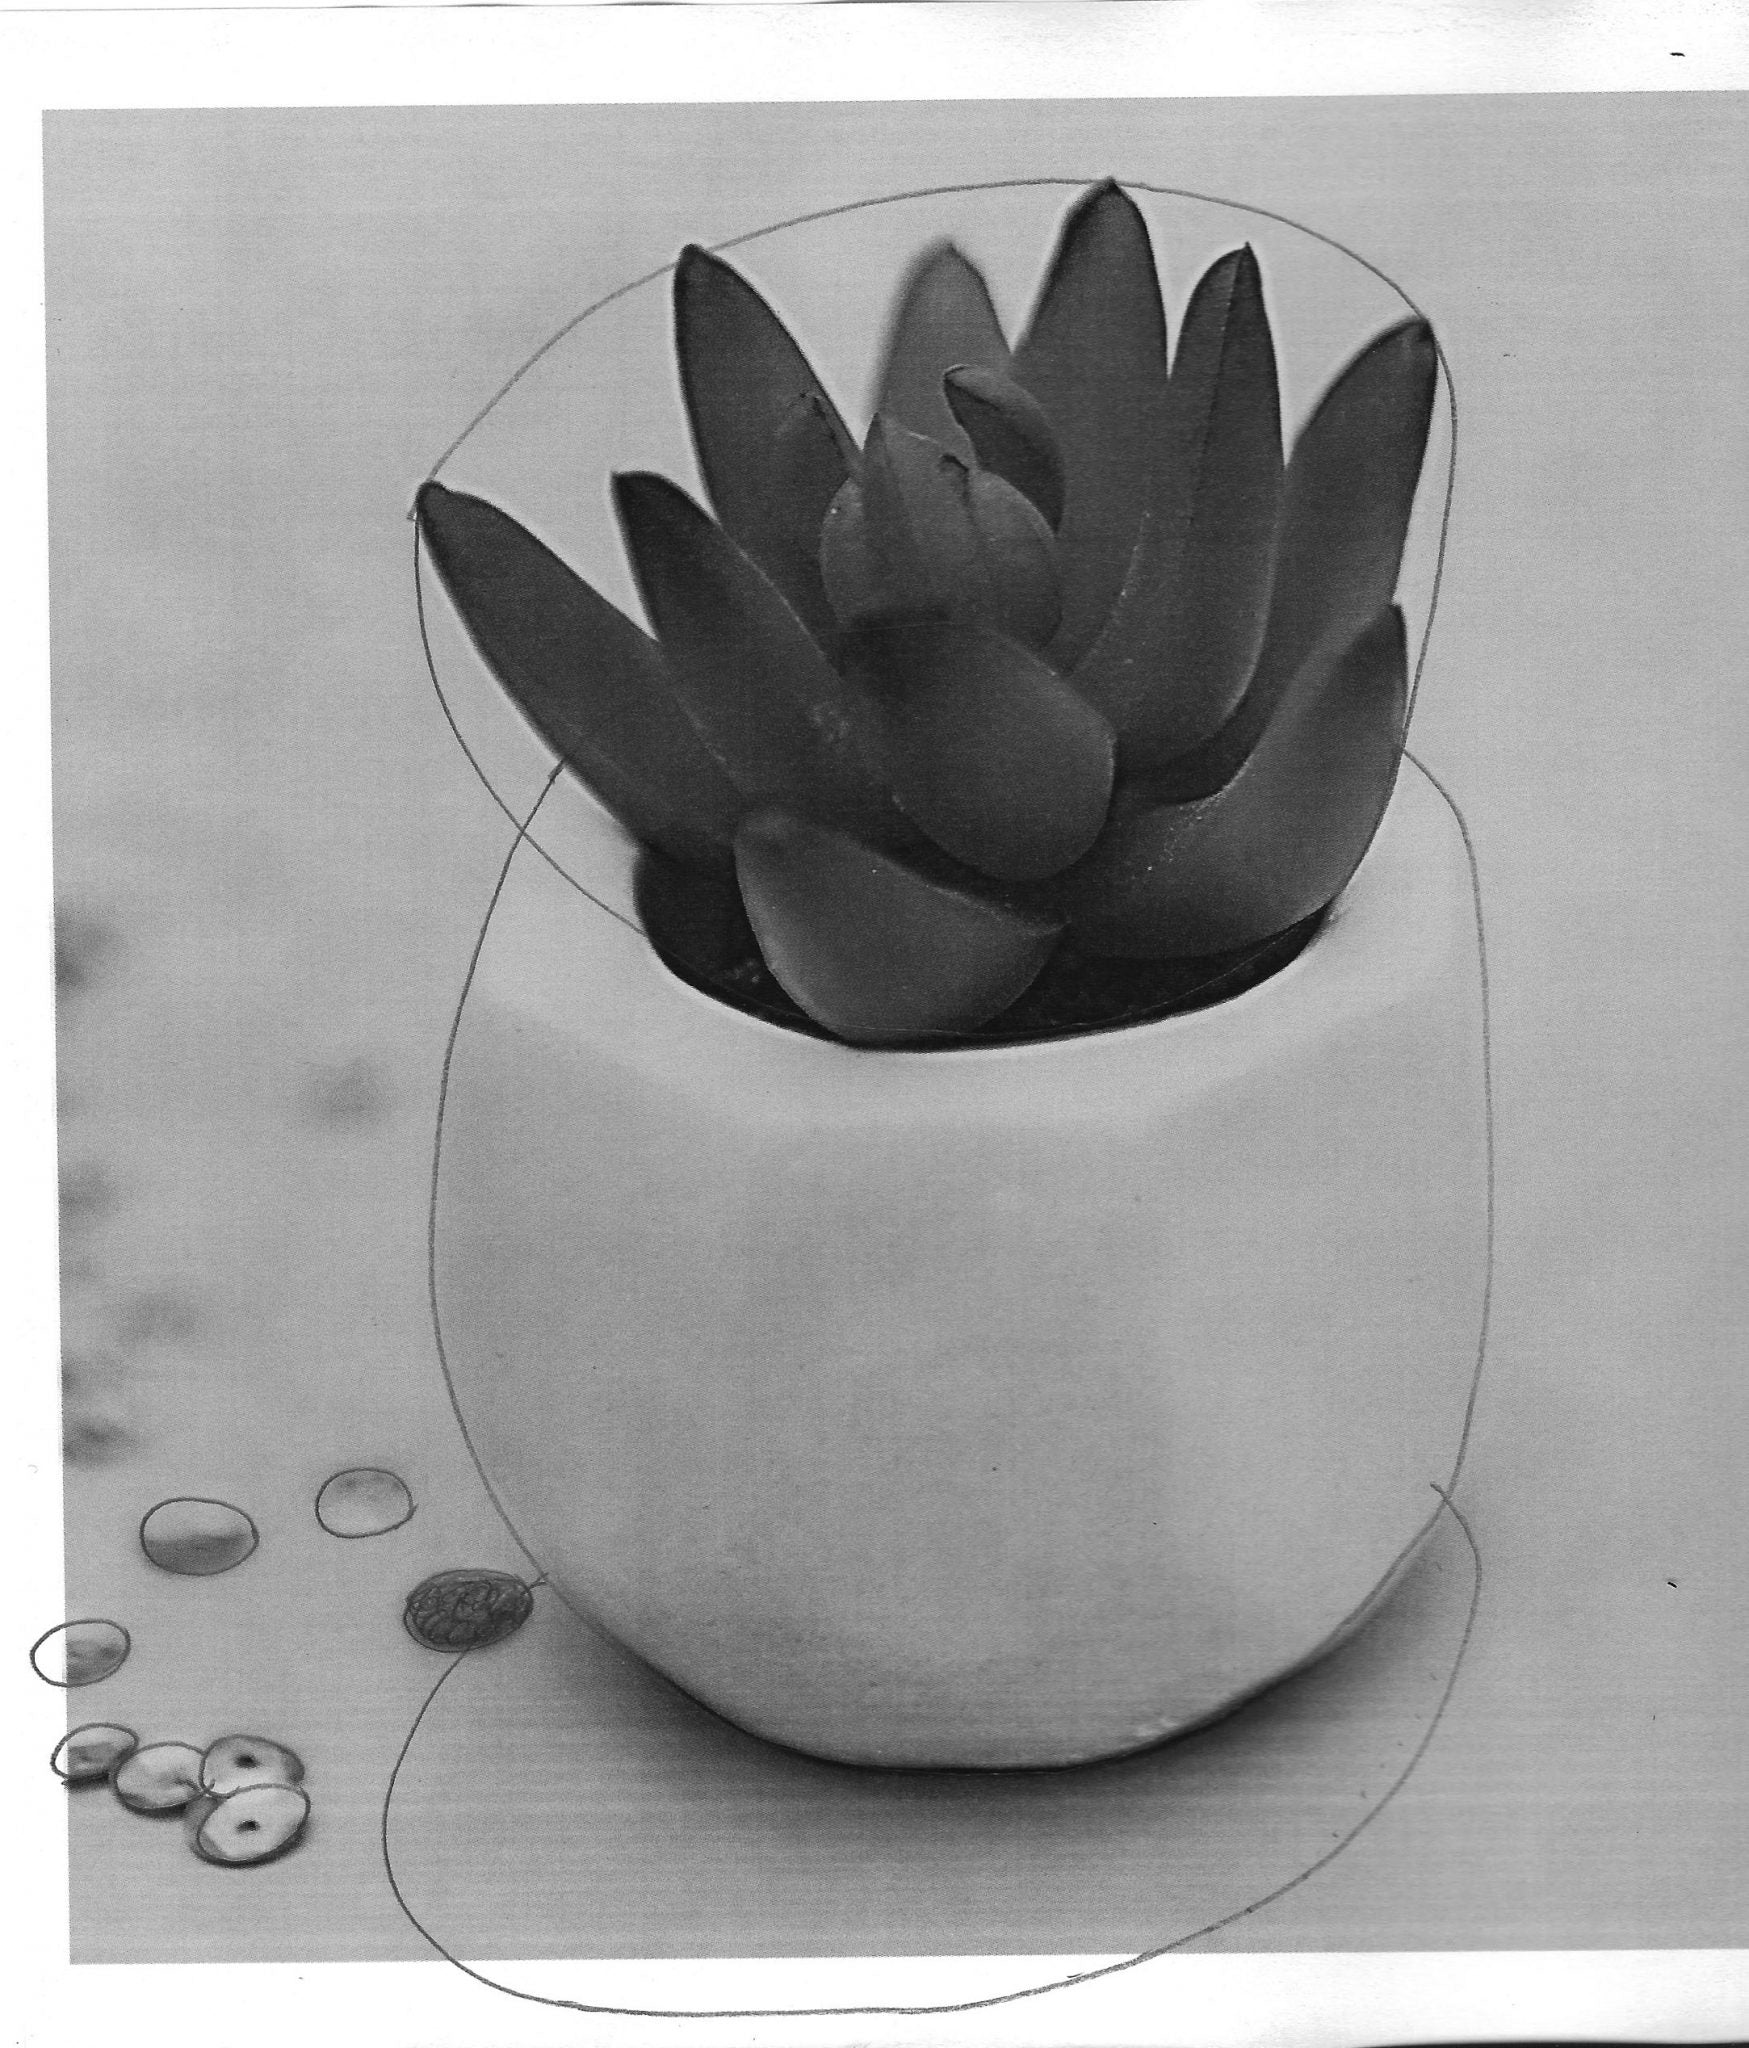
Draw horizontal and vertical lines that mark the size and position of objects in the image. Use the lines to observe the placement of the objects in the image.

Lightly sketch the objects on your paper using a basic shape as a place holder. Check that the measurements in your drawing match the measurements you’ve established on the reference photo. Measurements can be direct; draw your shapes the exact same size as the ones in the reference image. Or measurements can be relational; select an object from the image to serve as a measurement standard and mark other objects in relation to this one.
Step 4 – Observe Shapes
Now that you have the basic size and position for the objects in your reference photo, examine the individual shapes that comprise each object. Trace around each object on the reference image. Note the overall contour of the objects.
Look closer at the individual shapes that make up each object. Trace the shapes on your reference image.

Sketch the contour and individual shapes on your paper inside the basic placeholder shapes you created in the previous step. You will probably need to draw additional guidelines on the reference photo to help you draw the size and position of these individual shapes accurately, just like you did in Step 3 above.

Step 5 – Add Values
After you’re satisfied with the basic contours, shapes, and position of objects in your drawing, it’s time to add the values. Values refer to the lightness and darkness of colors in an artwork. Because our drawing is being completed only in pencil, values will be suggested by white (or the color of the paper), black, and various shades of gray.
There are many ways to create value in a pencil drawing. Some artists add value and texture by varying their pencil strokes. Hatching, stippling, cross-hatching and scumbling are pencil techniques that the artist can use to add shading to a drawing. Hatching is drawing a set of parallel lines on the page. Stippling is making dots on the paper. Cross hatching is drawing a series of perpendicular lines. Scumbling is making small or large circular scribbles without lifting the pencil from the paper.
Another approach is to use a value scale. A value scale is a simplified gradation from white to black, based on colors you can render using different pencil grades in combination with a blending stump and kneaded eraser. To create a value scale, draw 5 to 9 boxes in a row across some scrap drawing paper. Leave the first box blank and fill in the last box using your darkest pencil color. (Use a 6B or darker pencil if you have it. Otherwise choose your darkest “B” grade pencil.)
Move to the center box and create a grey that you feel falls in the middle between these 2 extremes. Depending on the supplies you have available, this might be created by using a different pencil grade or adjusting the pressure to influence the amount of graphite deposited.
Start at one end of the scale and work towards the middle value you have created. Repeat from the opposite end of the scale.
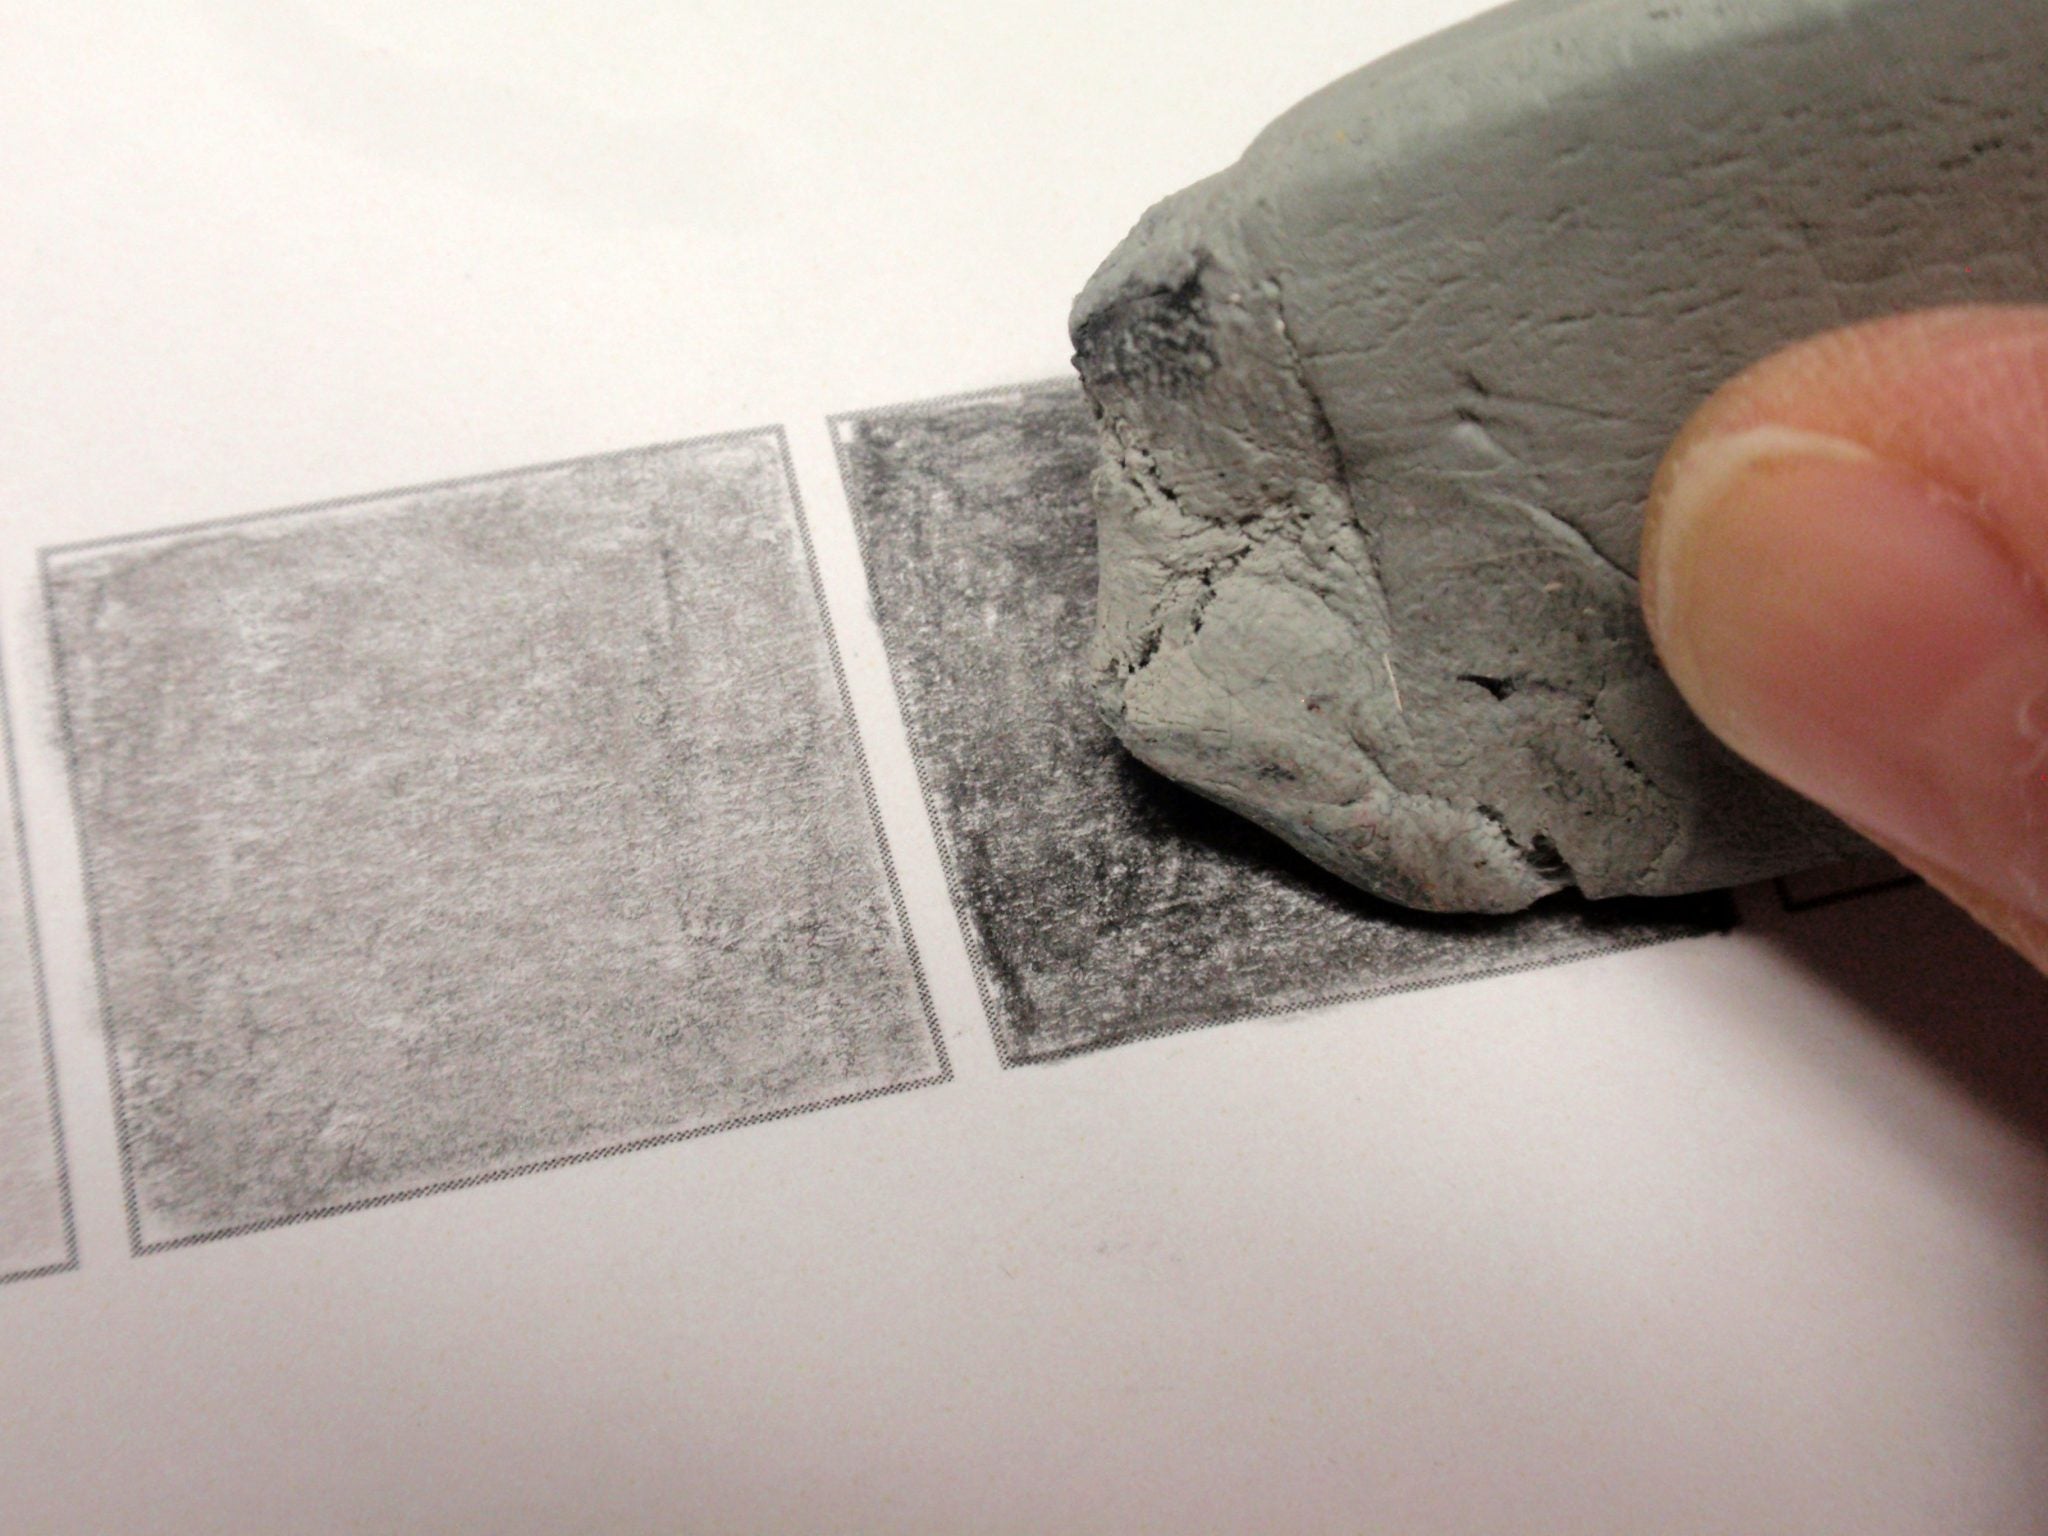
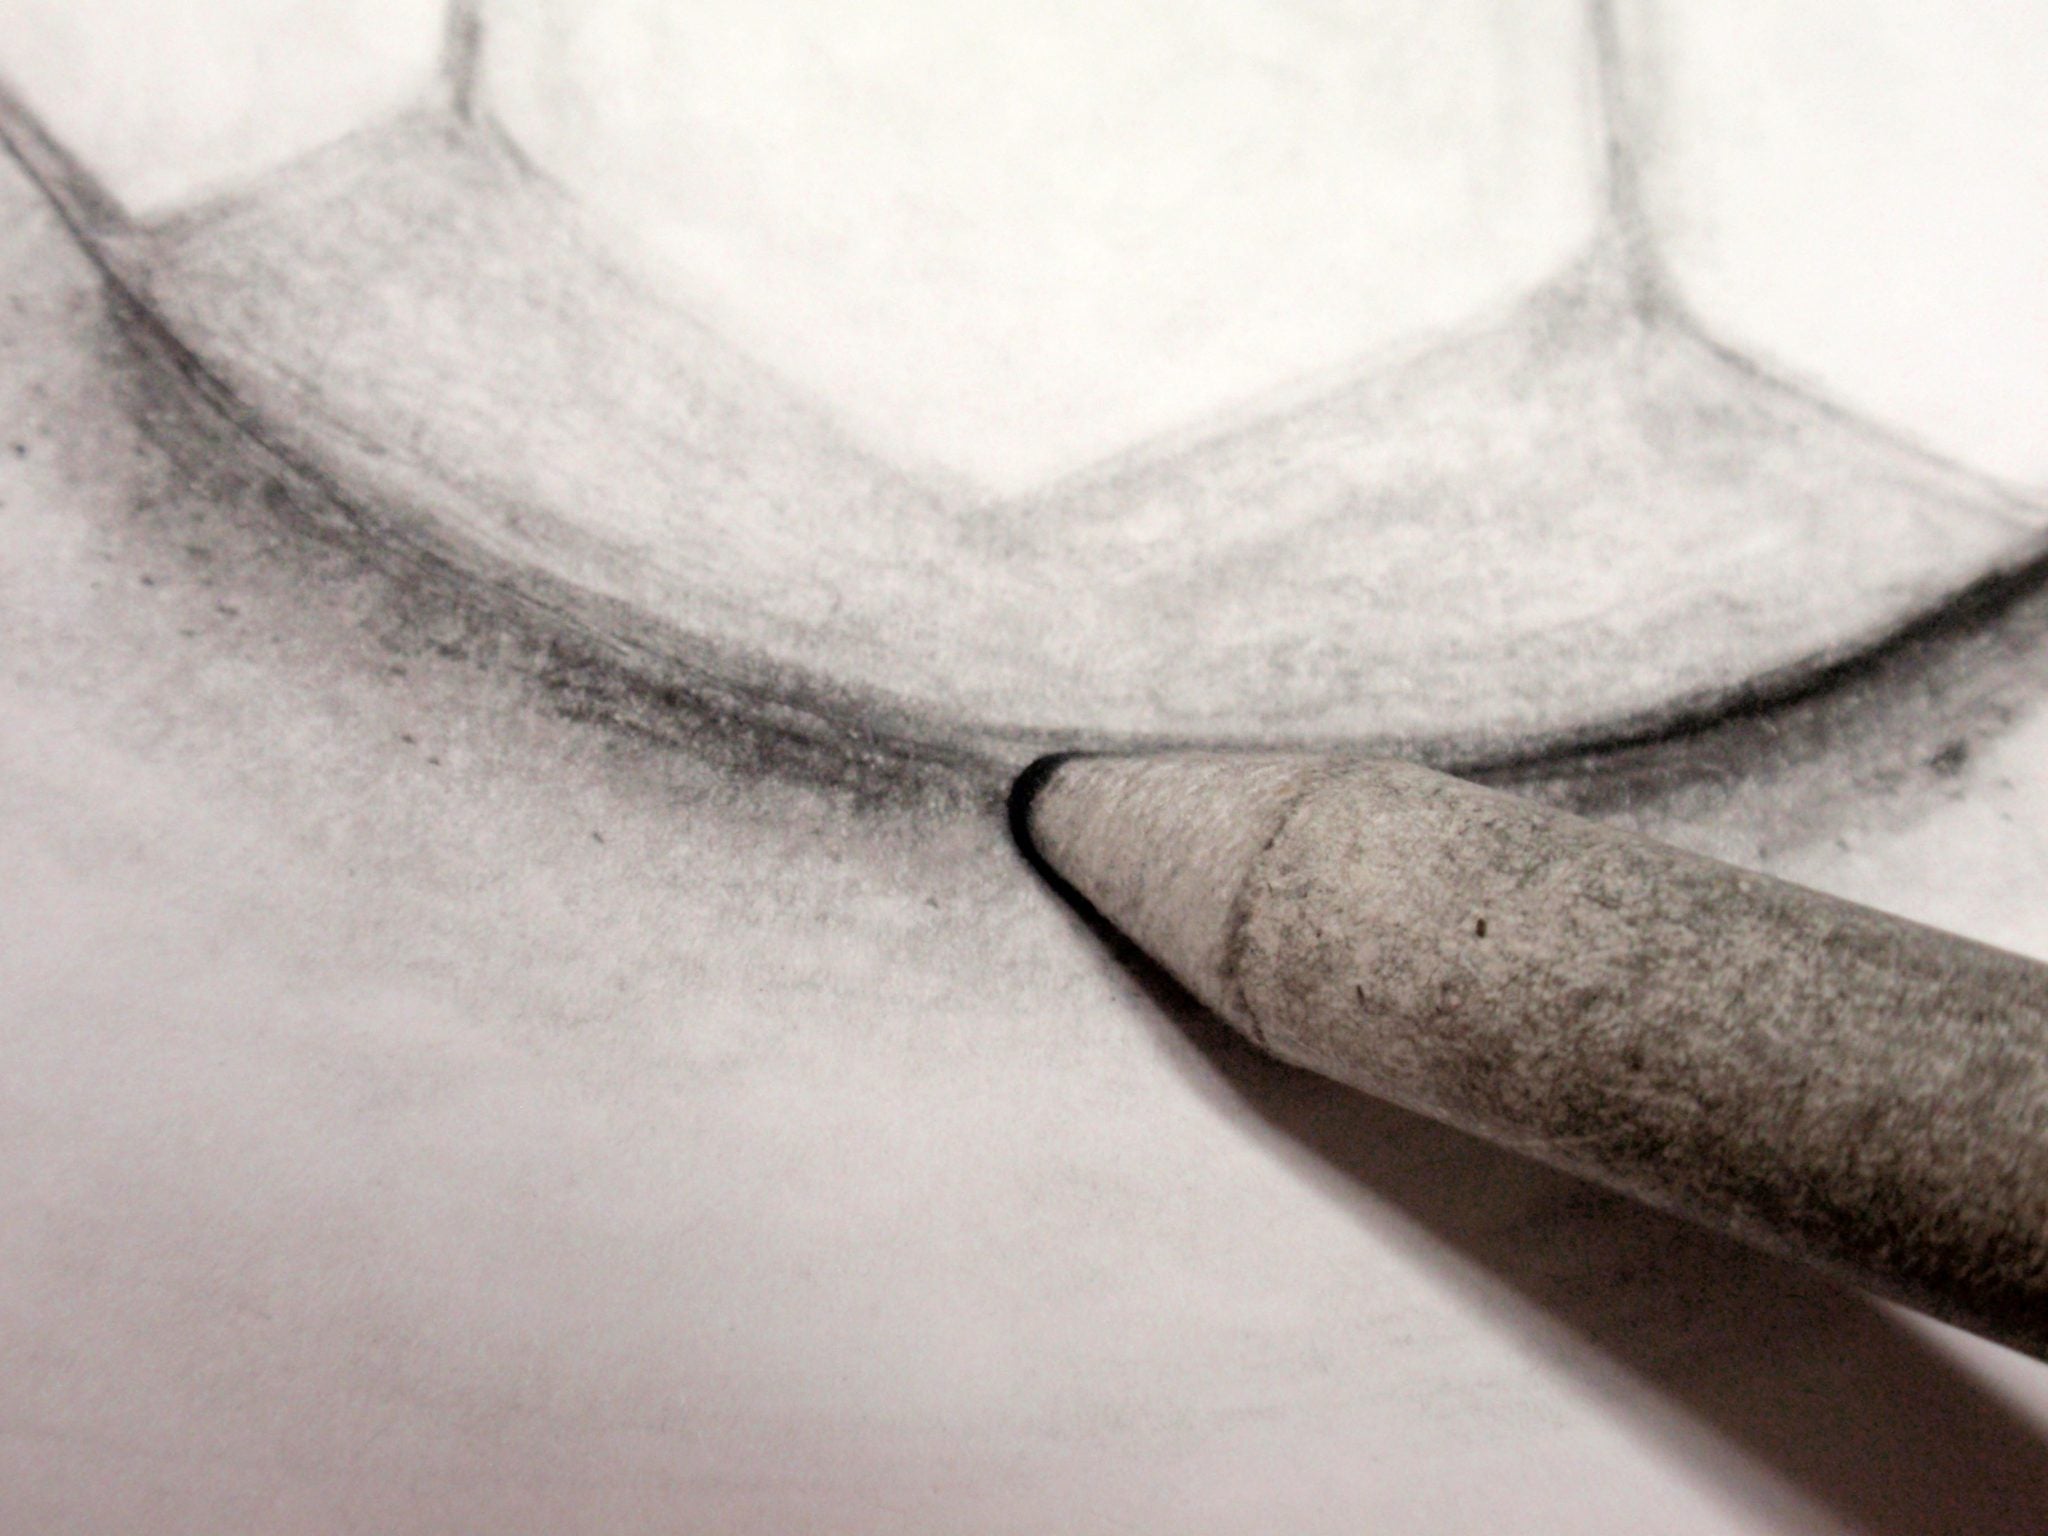
Colors can be lightened using a kneaded eraser to lift graphite from the paper’s surface. Light colors can also be created using only a blending stump or tortillon. Put some graphite on scrap paper by scribbling. Pick up the graphite on the end of the blending stump and use it to color.
Make some notes on your value scale to remind yourself what pencils/techniques you used to achieve each color.

Use your notes to color in your drawing, matching the colors from your value scale to the dark or light areas in your image. Use the blending stump to smooth the transition from one shaded area to the next. Use the kneaded eraser to pick up color and return light areas to the drawing. Add any additional details that might not be present in your reference image.


Tip: Place your hand on top of scrap paper or paper towel to avoid smearing your coloring work.
Step 6
Lightly spray your pencil drawing with fixative spray before matting and framing your work. Prop the drawing upright. Hold the can about 10 in. away. Start spraying off the edge of the drawing and sweep horizontally across to the opposite side, finishing your stroke off the edge of the drawing. Repeat, overlapping strokes until the drawing is covered with a light mist. Allow to dry. If desired, apply a second coat using vertical strokes and allow to dry.
And that’s it! Your little succulent drawing is complete. Of course, like any skill, practice is the key to getting better. Make a little time each day to observe and draw and you’ll see improvements in no time.
7 Drawing Supplies to Begin Sketching Today

Comments
Leave a comment