
Free Shipping
On Orders $49+
On Orders $49+


Do you decorate your house for the 4th of July? Here is a simple project to apply permanent vinyl to metal pails. Use them as utensil holders for a party, as candy dishes or whatever you can think of. I used Shimmer Vinyl to add some extra sparkle to some of them and regular vinyl for the rest. They turned out so cute, if I do say so myself!

I generally don't do a lot of holiday decorating, but now that I am back into crafting, a whole new world has opened up to me. When I saw these pails at my local Hobby Lobby, I just had to make something with them. They were bright and shiny and caught my eye right away.

Of course, I had to get a red, white and blue one for the 4th. They were perfect with the little star cutouts along the top edge.
Materials:
Small metal pails in red, white and blue
Cricut Maker or Explore
Cricut Shimmer Vinyl
Cricut Permanent Vinyl
Transfer Tape
Strong Grip Transfer Tape
Standard Grip Mat
Cricut Brayer
Cricut Scraper
Weeder Tool
Painter's tape
Rubbing alcohol
First, I cleaned off each pail with rubbing alcohol to make sure there was no dirt or dust on them, so the vinyl would stick better.
I knew I would add vinyl to the pails in patriotic designs, and I would put a design on two sides of each pail for more variety. How could I choose just three? Here are the original designs I decided to use. I ended up swapping one out for a different design, which I will explain later.

You may notice that each of these designs had more than one color, so that meant I had to layer the vinyl before applying it to the pails. I learned how to do that previously and was impressed with the process, so I did not mind doing it again. Below are the colors of Shimmer Vinyl I used for this design.

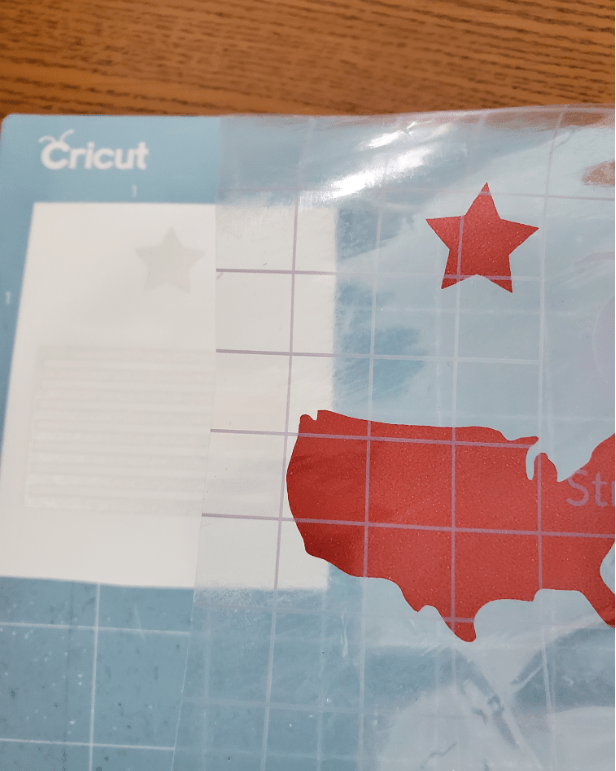
For the blue pail, I chose this 'Freedom' design from Images in Design Space. In case you didn't know already, I am a huge fan of anything multicolored, the more sparkly the better.
I inserted the design and sized it right away to fit on my pail. I used a tape measure to figure out the center of each side of the pail and used painter's tape to mark the center for even application onto the pails.

Then I inserted a star shape from 'Shapes' on the left panel in Design Space, reduced the size of it, centered it over the top of the design and grouped it with the design for duplication. This star is called a registration mark and is used to line up all the layers together once they are cut out with the Cricut. You can use any shape you like.
 It is very important to have the star and the design grouped together before duplicating to ensure proper layering. This design had three layers, so I duplicated it twice. Each layer requires its own image.

Here are the three images with the star above each one.

The next step was to show only one layer for each duplicated design to prepare for cutting. This is done by removing unneeded layers by clicking on the little 'eye' symbol in the right panel of Design Space for each layer to be hidden.

After separating the design into layers, I changed each star to match the color of the layer below it for cutting purposes. You will notice that all my other designs were at the bottom of my Canvas, out of the way until I needed them. I wanted to save them all as one project.

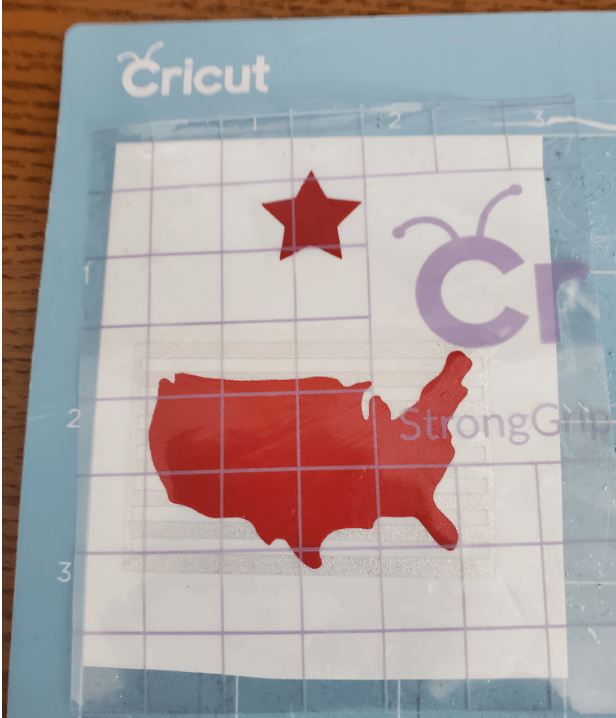
Then I clicked on 'Attach' for each layer of the image with its star, so they would be cut in the exact position I wanted. Below is the first layer cut and weeded on the mat.

I cut and weeded the second layer and applied it to my transfer tape in preparation for applying it over the first layer. I kept the entire design on my mat throughout this entire process for stability.
![]()
Here is the second layer about to be applied onto the first. I lined up the stars exactly for proper positioning. Notice that I was using Strong Grip Transfer Tape. That is required for Shimmer Vinyl because it is a thicker vinyl.
Here are the first two layers together.
I removed the transfer tape, then did the same thing with the third layer. I made sure to align one of the grid lines on the transfer tape along the design for easier positioning on the pail. I didn't want it to be crooked.


The next step was to apply the entire design to the pail. I lined up a grid line from the transfer tape with the pail to keep it even.

Here it is fully adhered to the pail.

I continued on, creating layers for each design and applying them to the pails, just as I did for the first design. Here are the different layers for several of the other designs.

You will notice that the last image with the words has an extra layer, which is an outline I made with the Offset feature in Design Space. I will show you how I did that. I will note that the 'Offset' feature is only available for use with a desktop computer.
First, I clicked on the design and then clicked on 'Offset' above my Canvas.

I made the selections I needed in the box that popped up. The distance was initially set right in the center. I moved the dot over a bit to give a larger offset. This is shown with a light blue line around the entire design. I wanted a bit more space around the words.
I chose to use rounded corners, and I left 'Weld Offsets' selected. Otherwise, each word would have had an offset around it, and I wanted just one offset, or outline, around the entire design.
Once I hit 'Apply', the offset was inserted into the Canvas. However, it showed up in black, which was not going to work.

I could still cut out the outline with any color I wanted, but it would be easier for me to see how it would look with a lighter offset, so I changed the color to gray.


After this is when I separated my design into layers. The offset simply became a separate layer for this one.
I will note that I had a terrible time weeding this design because the words were so small. I cut and weeded it several times and used the one that looked the best. You can read the words, but a few letters are not all there. I included a close-up, so you can see how it turned out.

I mentioned earlier that I switched out one of my designs. This was simply because the original design had lots of colors, and it was the last one I was going to do. After separating the layers and using registration marks on five other designs, I was ready to be done with this project. This was the original design.

I really liked this one, but I no longer wanted to use it. I had noticed that the smaller layers on my other designs were quite difficult to weed. This design had very smalls stars, and the firework lines were quite skinny, too. I chose the design below instead.

The image on the right shows the original colors, but I switched them up because the pail I was applying this design to was red. I wanted the design to show up well. Below are the layers I ended up with. I have shown the layers with the different colors, so you can see the difference.

Here are the three pails with the designs on one side.

And here they are with the designs on the other side.

I will note here that while I loved the look of the designs with the Shimmer Vinyl, I found that the layers did not stick together well and began to peel up around the edges. The shimmer fireworks design actually fell off the pail, except for the first layer. I did not want to redo the design, so I used some E6000 glue in a thin layer to reattach it to the pail. This worked pretty well, but there is a bit of bubbling underneath the design. I don't think it's very noticeable. You probably can't even see it in this photo.

The first design with Shimmer Vinyl seemed okay at first. There were only three layers, so I thought that made a difference. However, after it sat for a while, the edges of the word 'Freedom' started to peel up. I don't think I will layer Shimmer Vinyl anymore. It seems like I learn something new every time I do a project. This is a good thing, even though the learning often comes from mistakes.

Although this was a rather simple project, it took quite a bit of time since I chose to do six designs, and they all required layering. Perhaps I was a bit too ambitious. Decorating one side of each pail would probably have been sufficient. Even using a single layer image on each pail would have made it so much quicker.
A takeaway from this project could be that simpler can be better.
I hope you enjoyed reading about this project and maybe even learned something new that you can use with your own projects. Don't be afraid to try new things!
Time to go work on my next project. So many ideas, so little time. Sigh...
Leslie
Patriotic Bandana Wreath With Cricut Vinyl for Stencil
Leave a comment