
Free Shipping
On Orders $49+
On Orders $49+

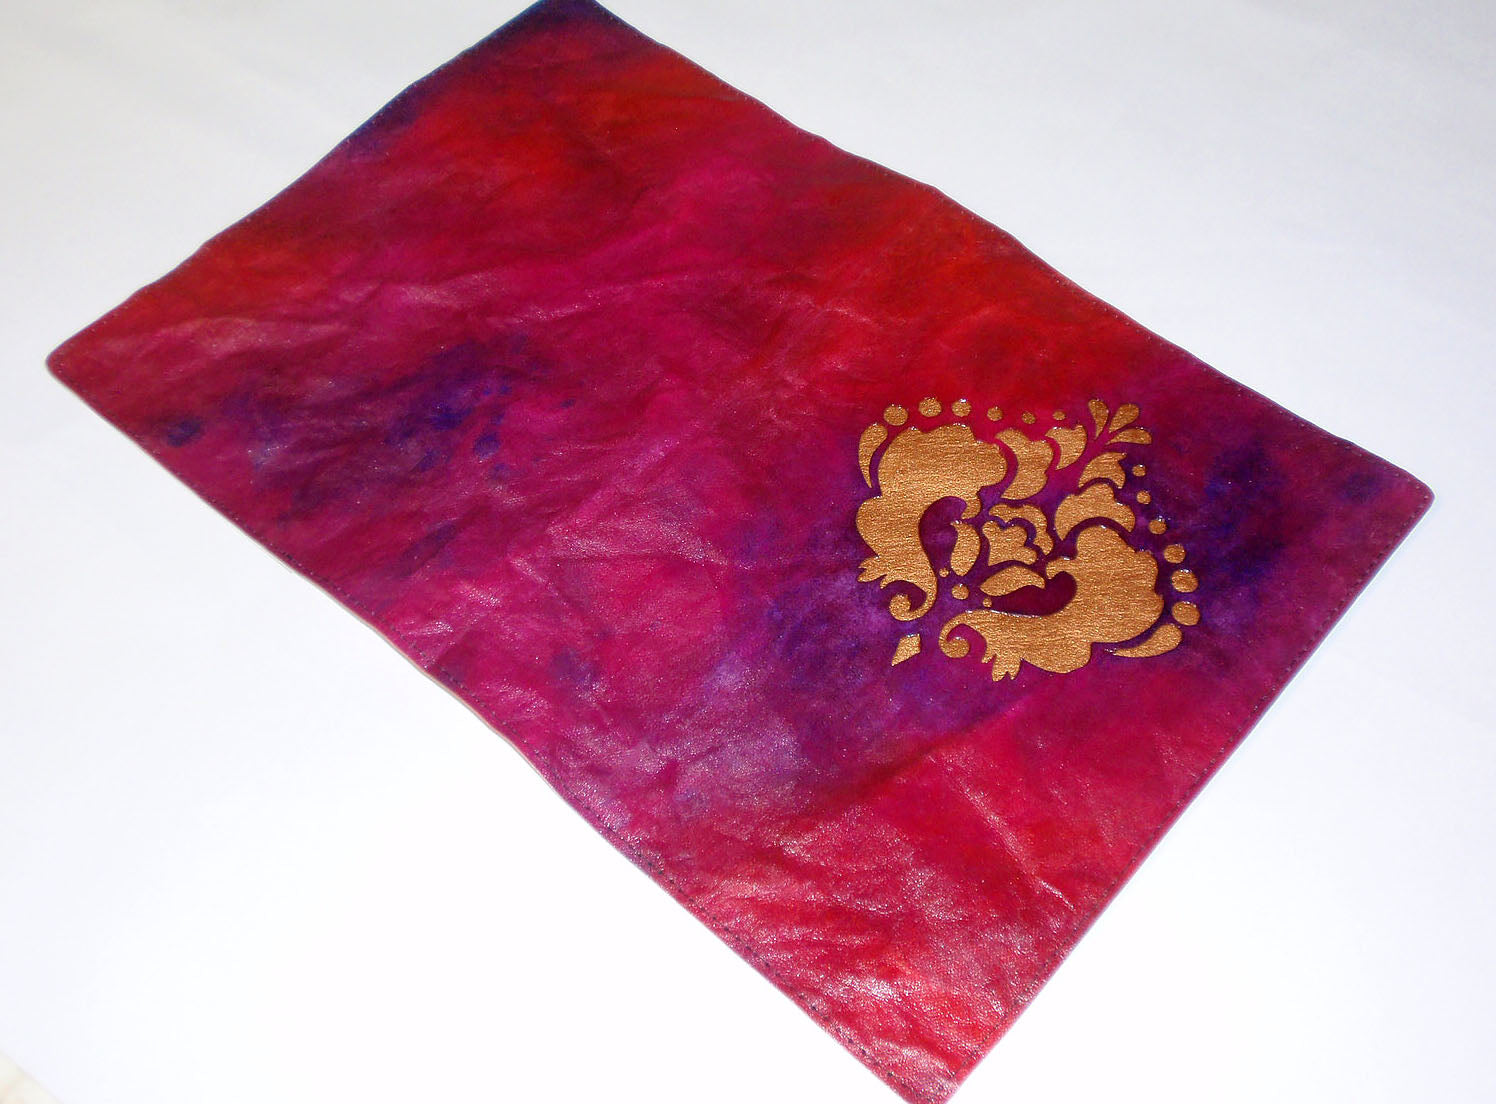
I got some faux leather paper recently. I really love the texture after you soak and crumple it. I think the photos don’t really do the texture justice, but I find it very attractive. I colored mine using some acrylic inks while the paper was wet and sewed it into a cover for a composition notebook. Functional and beautiful!

Supplies:
Standard composition notebook
Faux leather paper
Inks and/or paint
Die cutting machine
Scissors and ruler
Binder clips or masking tape
Sewing machine and supplies
Directions:
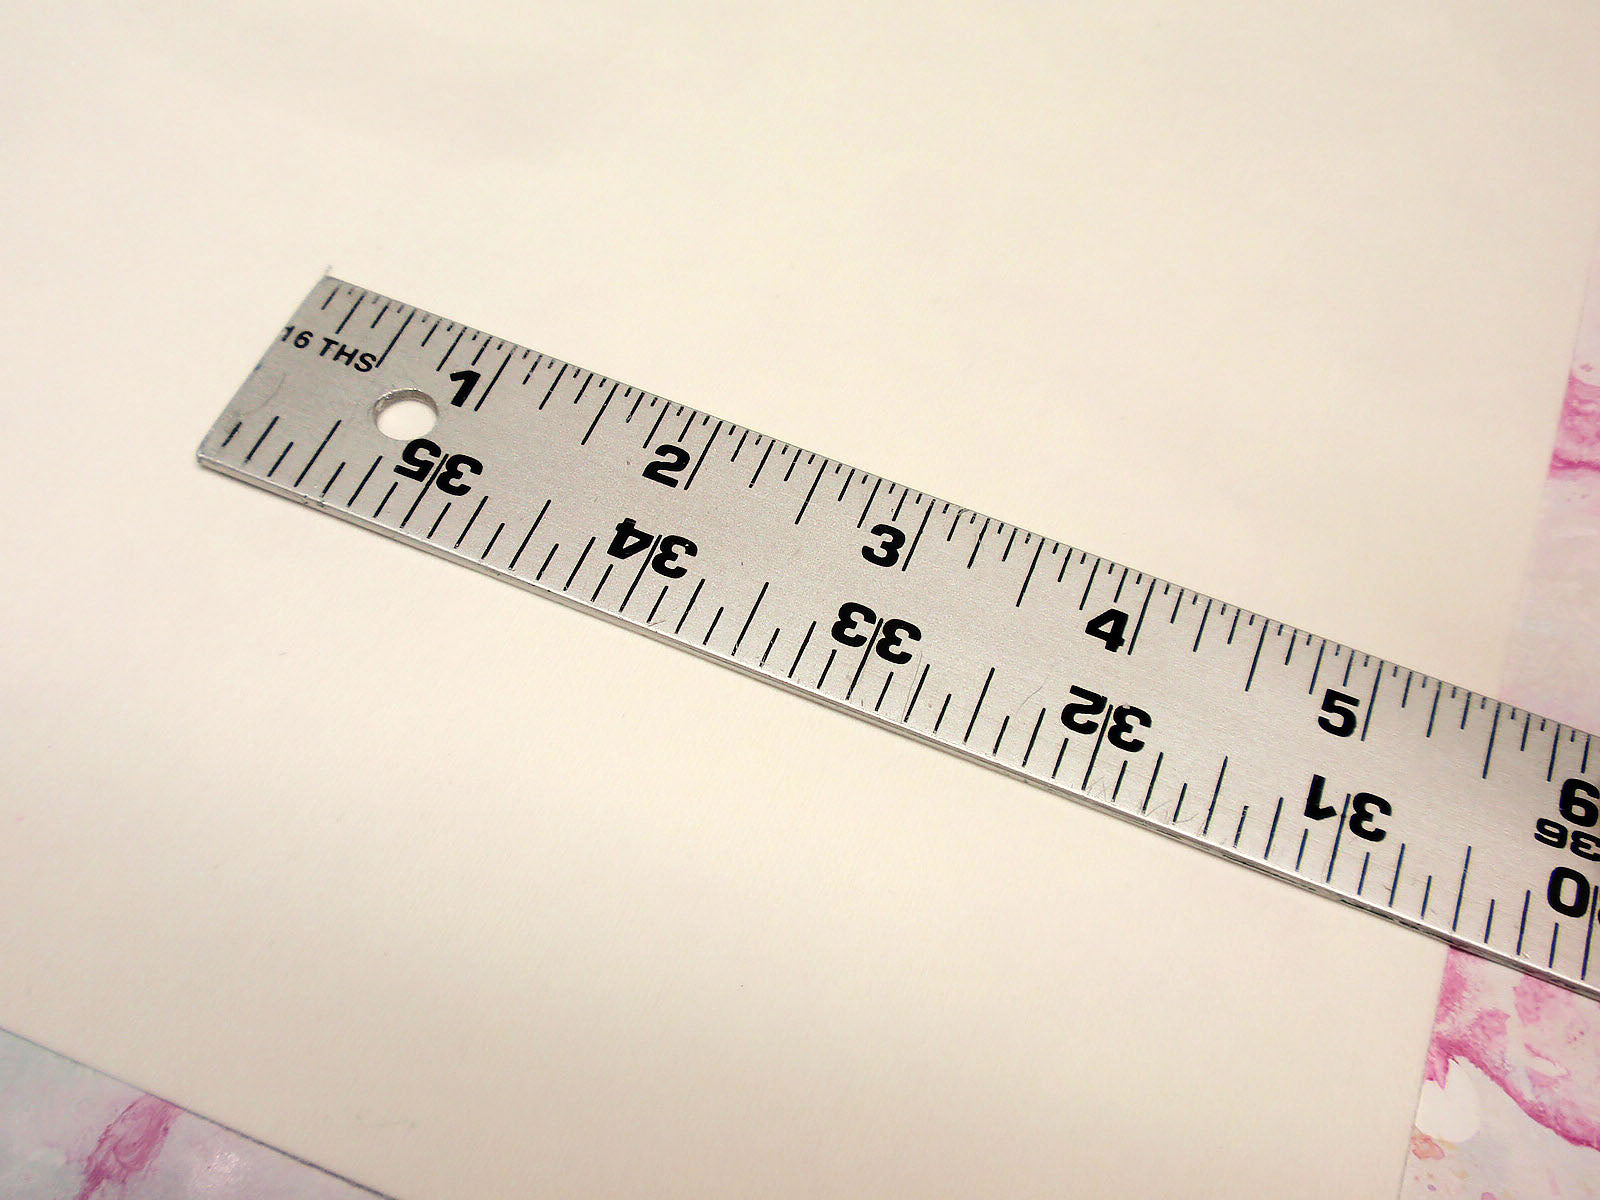
Cut a length of faux leather paper approximately 12×17-18 inches for the exterior piece of the notebook cover. The piece will be finish cut before sewing to 15.75 x 10.25 inches, but the little extra material allows for leeway in aligning any cut designs on the front cover.
Create any die cut embellishments before treating the paper. Add a rectangle to Cricut Design space and size it the same as your front cover. You will not be cutting the rectangle using the Cricut, but it will help you position the cover design in the right space for cutting.
Bring your cover design onto the canvas and position it on the rectangle where you’d like it to appear on the finished cover. Attach the design to the rectangle and rotate the rectangle vertically. Take note of the distance the design falls from the top and left edges on the canvas. For example, the sample design falls 2 inches from the top and 2 inches from the left side of the canvas.
Hide the rectangle and make the project, manually positioning the design as noted above. Use a sticky mat or use some painters tape to help secure the faux leather paper to the mat, particularly if the paper is still tightly rolled. Take care if using a 12×12 inch mat, as some material will extend beyond the edge of the mat.

Soak the paper in hot water for 15-20 minutes.

Crumple and twist the wet paper to create texture. The paper is quite sturdy and will tolerate vigorous handling, except take some care around any small or delicate pieces in the cut design.

Smooth the damp paper on a covered surface using your hands. While still damp, paint using inks or paint of your choice. The sample project was colored with Jacquard Dye-Na-Flow Fabric Paint. Allow to dry.

Glue a contrasting piece of faux leather or other paper or fabric behind the die cut opening in the cover. Place a weight on top and allow to dry.

Measure and cut a rounded rectangle for the exterior cover from your prepared fax leather piece. A rectangle about 15.75 x 10.25 inches will fit a standard composition notebook with seam allowance and a bit of wiggle room.

Cut 2 pieces of faux leather paper 5.5 inches wide from the roll for the interior flaps.
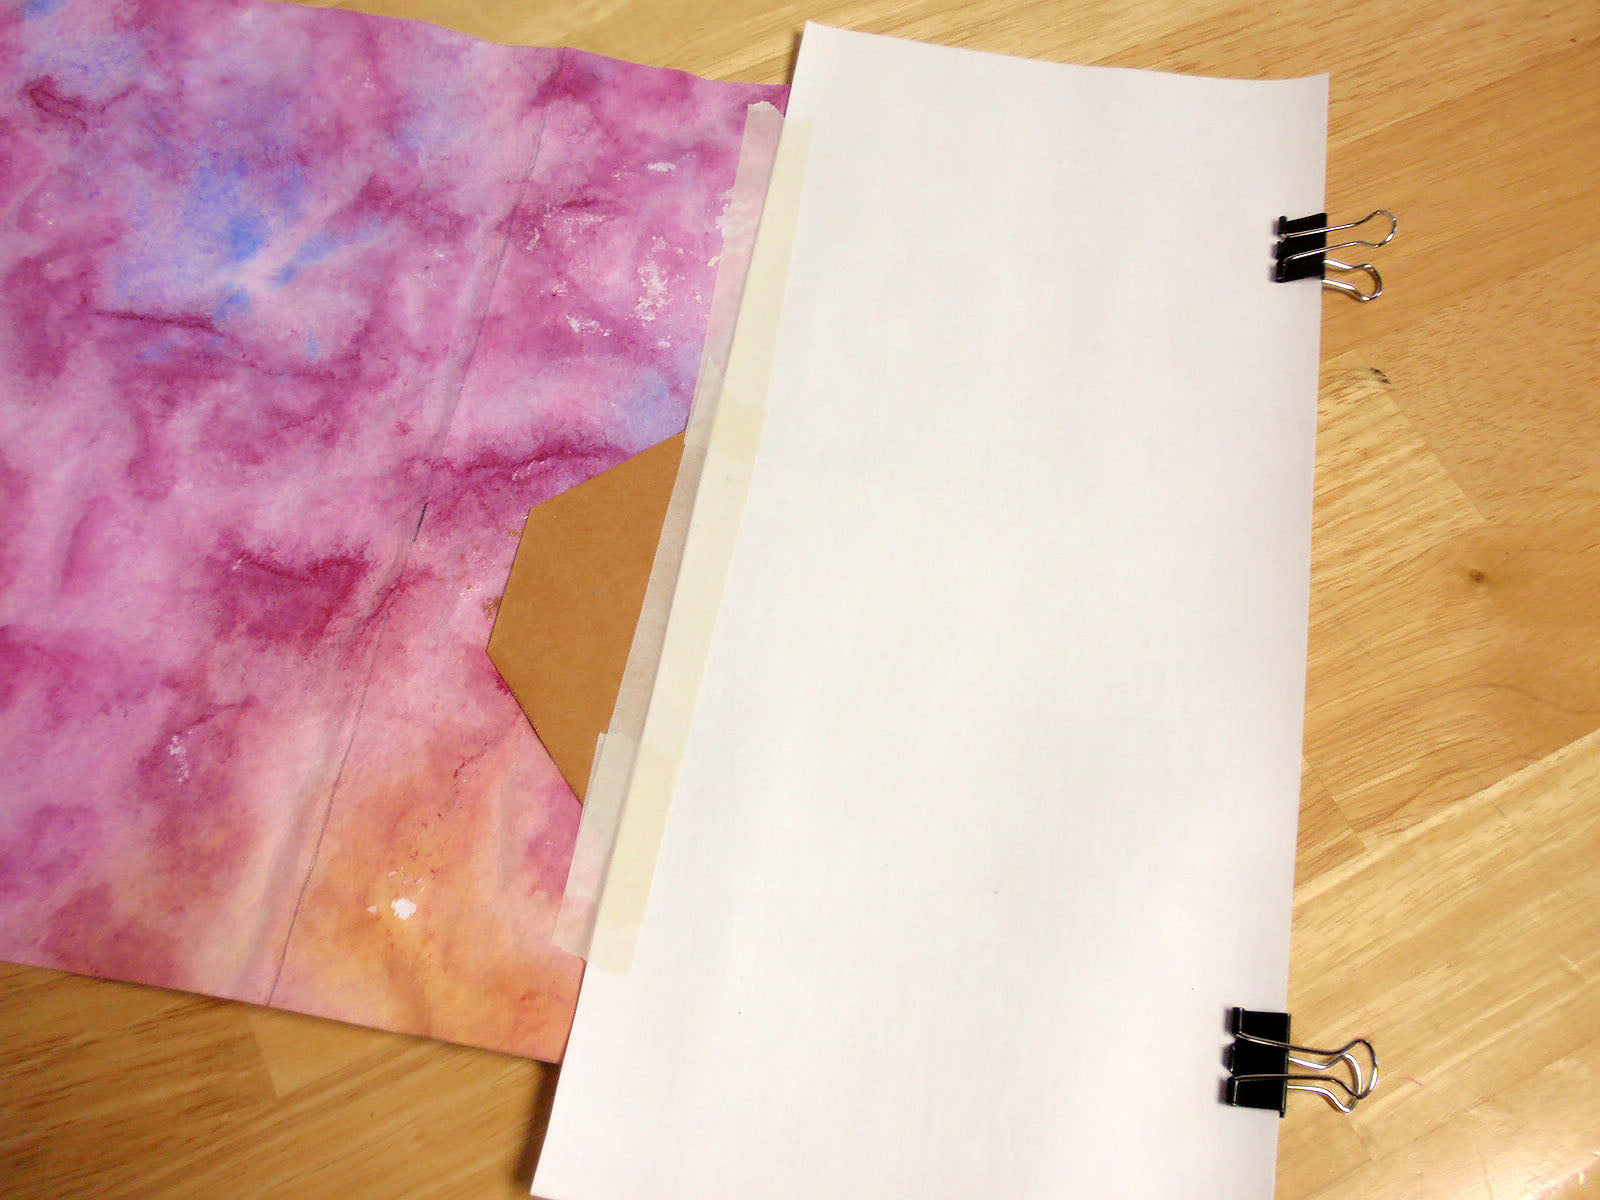
Position the flaps behind the ends of the exterior cover. Allow the flap pieces to extend beyond the exterior cover at least a little bit; you will be trimming the flaps after sewing.

Use clips and masking tape to hold the flaps in place for sewing. Though you might typically use pins to hold fabric pieces for sewing, pins will create small holes in the paper that you want to avoid.
Top stitch around all edges of the exterior cover about 1/8 inch from the edge. Remove the binder clips as the stitching crosses the flaps, stitching the flaps to the cover.

Paint the flaps using acrylic paint. Paint right over the stitching to help secure it in place. Allow to dry.


Trim excess paper from the flaps close to the exterior cover.


Apply a coat of varnish to the exterior cover if desired. The sample was finished using a gloss varnish to provide protection from handling and help to secure the stitching. Allow to dry.
Embellish the edges of the cover using paint or trim if desired.

Fit the cover to your composition notebook by sliding the covers inside the flaps.


Mini Keepsake Pocket Book and Envelope Gift

Leave a comment