
Free Shipping
On Orders $49+
On Orders $49+

Looking for a fun and easy DIY project that combines two of your favorite materials? This blog post has got you covered! In this tutorial, we'll show you how to create your very own Metallic Leather Hearts Coasters using Cricut materials. With just a few supplies including our free design files, you'll be on your way to making beautiful coasters that will be sure to impress your guests. Plus, who doesn't love having an abundance of coasters around the house? So, grab your supplies and let's get started!

Download the free design files used with this project here.
To start, apply the metallic leather to a StrongGrip cutting mat. We highly recommend using a brayer or scraper tool to really push the leather onto the mat well. Then apply masking tape to all four sides of the leather to help secure it down to the mat. The reason we stress making sure that your leather is applied well on to your mat is because we don't want it to move while it's cutting.
Next, move the star wheels (the white wheels) all the way to the right and insert the Knife Blade. Or if you’re using the Deep Point Blade, insert that instead. Then get cutting - your Cricut will cut the leather in a few passes. If you're using the Knife Blade, your Cricut will pause and ask you to check the material to see if it needs to do another pass or if it’s finished cutting. If you can easily remove the leather from the mat, it is finished cutting. If you're using the Deep Point Blade, it will finish on its own.
 Once the leather is finished, we will cut the iron-on. You can use any kind of iron-on/heat transfer vinyl you'd like. There are tons of options for you to choose from!
To cut the iron-on, you'll need to insert the Fine Point Blade and place the iron-on on a StandardGrip mat. It's important to remember to place your iron-on shiny-side down on to the mat and to click on "Mirror Image" in Design Space. This will make sure that your iron-on gets cut properly! Use a scraper tool to help burnish it on the mat and then get cutting.
Next, once it is finished cutting, you’ll need to weed the iron-on. If you’re not familiar with weeding, it just simply means to remove any excess iron-on vinyl from around the design. Make sure that you are removing the excess iron-on and not the transparent carrier sheet.
 Now that you have all your materials cut, it’s time to pull out your EasyPress or iron and press the iron-on onto the coasters. If you’re using an EasyPress, you’ll need to preheat it to 255F and set the timer to 30-seconds. Once it’s heated up, it’s time to start the heat transfer process. We will start by preheating the leather for five seconds. Then, while it’s still heated, apply the iron-on to the coaster. Then press the EasyPress on the coaster for 30-seconds. Lastly, flip the coaster over and heat the back for five seconds.


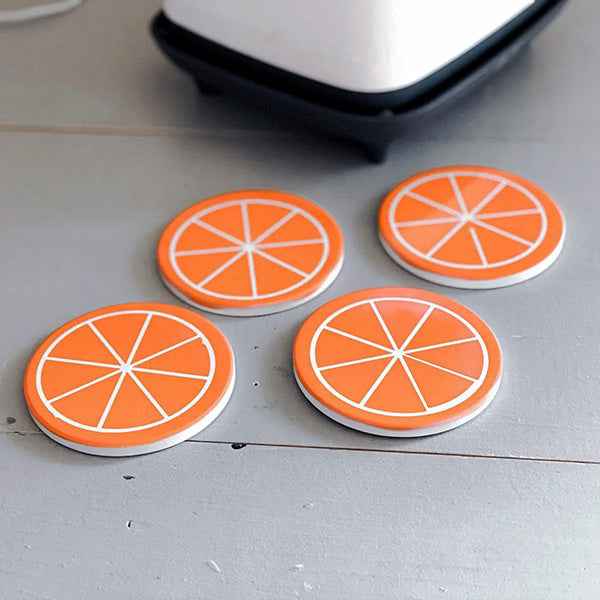
When you’re completely finished, set the coaster off to the side to let it cool and then repeat these steps for the rest of the coasters. Once your coasters have cooled, you can slowly remove the liners. Lastly, you may want to trim off any residue that may be hanging off the edges of the coasters. That’s all - you’re done, your very own coasters!

When you use your blades often, they will start to dull. If you start to notice your Cricut is having difficulty cutting, try changing the cutting settings to "More Pressure" before replacing your blade. If that doesn't work, then it is probably time to replace your blade. On the other hand, if your blade is new and cutting through the material onto the mat, you may want to choose "Less Pressure".
The brayer tool is one of our favorite tools to use. Imagine a miniature rolling pin and that’s what the brayer tool is! It really helps to press the leather into the mat well, beyond just what you can press with your hand. It’s really important to make sure that your leather is adhered well to the mat, otherwise you could risk the leather moving on the mat in the middle of the cut. If that happens, then your leather will be ruined so make sure it’s on the mat well.
We recommend this tip when you are cutting metallic or genuine leather. It’s not necessary when you are cutting faux leather because it is so thin. By applying tape on all the sides of the leather, you'll help to prevent it from moving during cutting. If your mat is pretty new, you may not need to do this. You just want to make sure your leather will not move while it is cutting.
Before you hit cut, make sure you have the correct settings chosen! Again, this is a great tip for any project. The last thing you want to do is ruin any material on your project!
This is a great tip that we recommend for any material. When it’s your first time using a new blade or material, you should start off by cutting something small. This way if you make a mistake, you won’t waste a huge chunk of your material. This is especially true if you are working with materials that are not from Cricut - you’ll want to make sure you get the settings set correctly before committing to a huge cut for your project. Start by doing a few small cuts to make sure it’s cutting all the way through but also not cutting your mat. Then you’ll be set!
Depending on what leather you are working with, chances are that it will leave a lot of residue behind on the mat. Typically, the only kinds of leather that will leave residue behind are genuine and metallic, so if you are working with faux pebbled leather this most likely won’t apply to you. We highly recommend that you clean your mat immediately after use, otherwise it may end up ruining your mat. You can use baby wipes or soap and a washcloth to clean your mat. This is always a good rule of thumb for any material!
Some crafters like to put transfer tape between the leather and the tape. It serves as a barrier between the mat and leather to help prevent residue on the mat. The transfer tape also helps to make sure that your leather doesn’t bunch or shift during the cutting process. Again, definitely give this a try before attempting it on a big project.
If you couldn’t tell by now, reducing the amount of residue on your mat is essential. Trust us when we say, if you don’t keep it clean - you’ll ruin your mat and potentially ruin your project too. Another way to reduce residue is to flip your leather upside down on your mat and then mirror your image in Design Space (don't forget this step!). In other words, you’ll put the leather shiny side down and then the fuzzy side up. This will prevent the "fuzzies" from getting on your mat - you'll have less to clean up.
Due to its nature, sometimes you’ll have “fuzzies” hanging off the edges of your cuts. If this happens, you can simply use scissors to trim off the excess. Or if you like the look, leave it on!
Love coasters as much as we do? Enjoy these other coaster projects created by our design team on our blog. And happy making!


Leave a comment