
Free Shipping
On Orders $49+
On Orders $49+

Cricut’s new aluminum sheets offer a unique way to add personalized touches to any project. These sheets, available in sizes ranging from 4x4 to 5x7 to 8x8 inches, are compatible with the Cricut Maker series machine’s engraving tip and housing, but any Cricut machine owner can use them with infusible ink heat transfers sheets. The combination of the two makes for a one-of-a-kind design that’s both permanent and durable. In this tutorial, we’ll walk you through the process of making a personalized house number sign using Cricut Infusible Ink Transfer Sheets and Cricut Aluminum Sheets.

Read more about infusible ink project supplies in What Tools Do I Need for Cricut Infusible Ink on our blog.
Create your cut design in Cricut Design Space. I have divided my 8x8 inch sign into 2 rectangular sections – one 8x5.5 inches (for the street number) and one 8x2.5 inches (for the street name). Cut the sign background from infusible ink transfer sheets and the sign foreground (street number and street name) from contrasting permanent vinyl. Weed the cut materials.

If you haven’t cut infusible ink transfer sheets before, note you’ll want to mirror your design before cutting and place the sheet ink side up (clear carrier sheet side down) on your cutting mat. Keep the sheets in a dark, dry location before you’re ready to use them, and wash your hands to remove lotions and natural oils before handling. Minimize your handling of infusible ink transfer sheets as much as possible by using tools and touching them in places that will not be part of your final ink transfer.
Occasionally I find that my Cricut machine cuts not only the infusible ink but through the clear carrier sheet. While this is generally not a problem for completing a transfer, you can minimize this by choosing “less pressure” from the Design Space settings screen before the cut.
However, as for most materials, working with a clean and sharp blade is often the best “tip” for success in cutting infusible ink transfer sheets. Learn how to install a replacement fine point blade in How to Replace Fine-Point Blade in Cricut Machine on our blog.
Weeding infusible ink sheets is a bit different than weeding iron-on or vinyl. Infusible sheets handle like heavy paper attached to a plastic carrier sheet. Cricut recommends gently rolling the cut design so cut lines separate and are easier to see. Then use the handy tools in this Cricut Tool Kit to remove the excess material around your design, leaving the design on the clear liner.
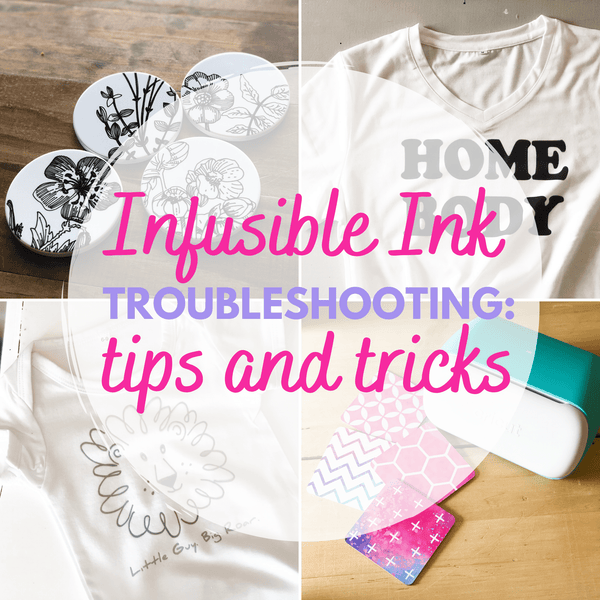
Get more details about these and other Infusible Ink Troubleshooting Tips and Tricks from the Craft-e-Corner Design Team.
Cricut Aluminum Sheets come from the box with protective film applied to both sides of the sheet. One side with protective film appears silver (the film is clear), and the other side appears gold (the film is gold). Only the silver side of the Cricut Aluminum Sheet with the clear protective liner is suitable for use with infusible ink.

You'll need to remove both pieces of protective film from the sheet before applying the infusible ink. Keep track of which side is the "silver side" because that's the side you'll want facing up when you build your infusible ink stack. I like to use a piece of tape to help me grab onto the protective film and peel it from the surface of the aluminum sheet.

Put a sheet of white cardstock on your EasyPress Mat, and then place the aluminum sheet "silver side" up on top. Wipe the sheet's surface with a lint-free cloth to remove any lint, dust, or other particles that might interfere with the transfer.
Apply your infusible ink cut design to the aluminum sheet, securing with heat-resistant tape as needed. Lay a sheet of butcher paper (that comes with your infusible ink transfer sheets) over the top. These steps complete the "stack" for applying infusible ink to aluminum sheets.

Preheat your EasyPress 2 to 385 degrees. When the heat press is ready, apply it to the stack without pressure. Cricut recommends an application time of 40 seconds for aluminum sheets. I needed two applications of heat at 40 seconds for a good transfer. Work carefully so you do not move the stack while applying and removing the heat press.
Remove the butcher paper and allow the metal to cool before carefully removing the remains of the infusible ink sheet.

Use transfer tape to apply the vinyl cuts to the sign. Apply each vinyl decal slowly, beginning from one side, using your hand or a scraper to get as bubble-free an application as possible. Use gentle heat to address any small bubbles that do result, taking care with the heat gun to avoid damaging the vinyl.

I crafted a hanger for my sign from a pair of washers adhered to the back of the sign with outdoor glue. You could also create screw holes by drilling directly into the sign or mount your sign in a frame for hanging.
Display your house number sign in a protected location to increase its lifespan. While the materials in the sign are water resistant, the infusible ink is not intended to withstand prolonged sun exposure. Further, while aluminum doesn't rust, it surface appearance can be affected by exposure to air over time.

Besides Aluminum Sheets, Cricut infusible Ink Transfer Sheets create exciting design options for clothing, tote bags, coasters, and more! Get more infusible ink project inspiration from these posts on the Craft-e-Corner blog.
These personalized quotes on custom magnets made a fun gift for a co-worker.

Add some "Flower Power" to your decor with colorful pillow covers. Design your own fabric with seamless transfers - perfect for embellishing with hand stitching!

Infusible ink coasters are another colorful summer project with Cricut. Fun to make and fun to give.


Leave a comment