
Free Shipping
On Orders $49+
On Orders $49+
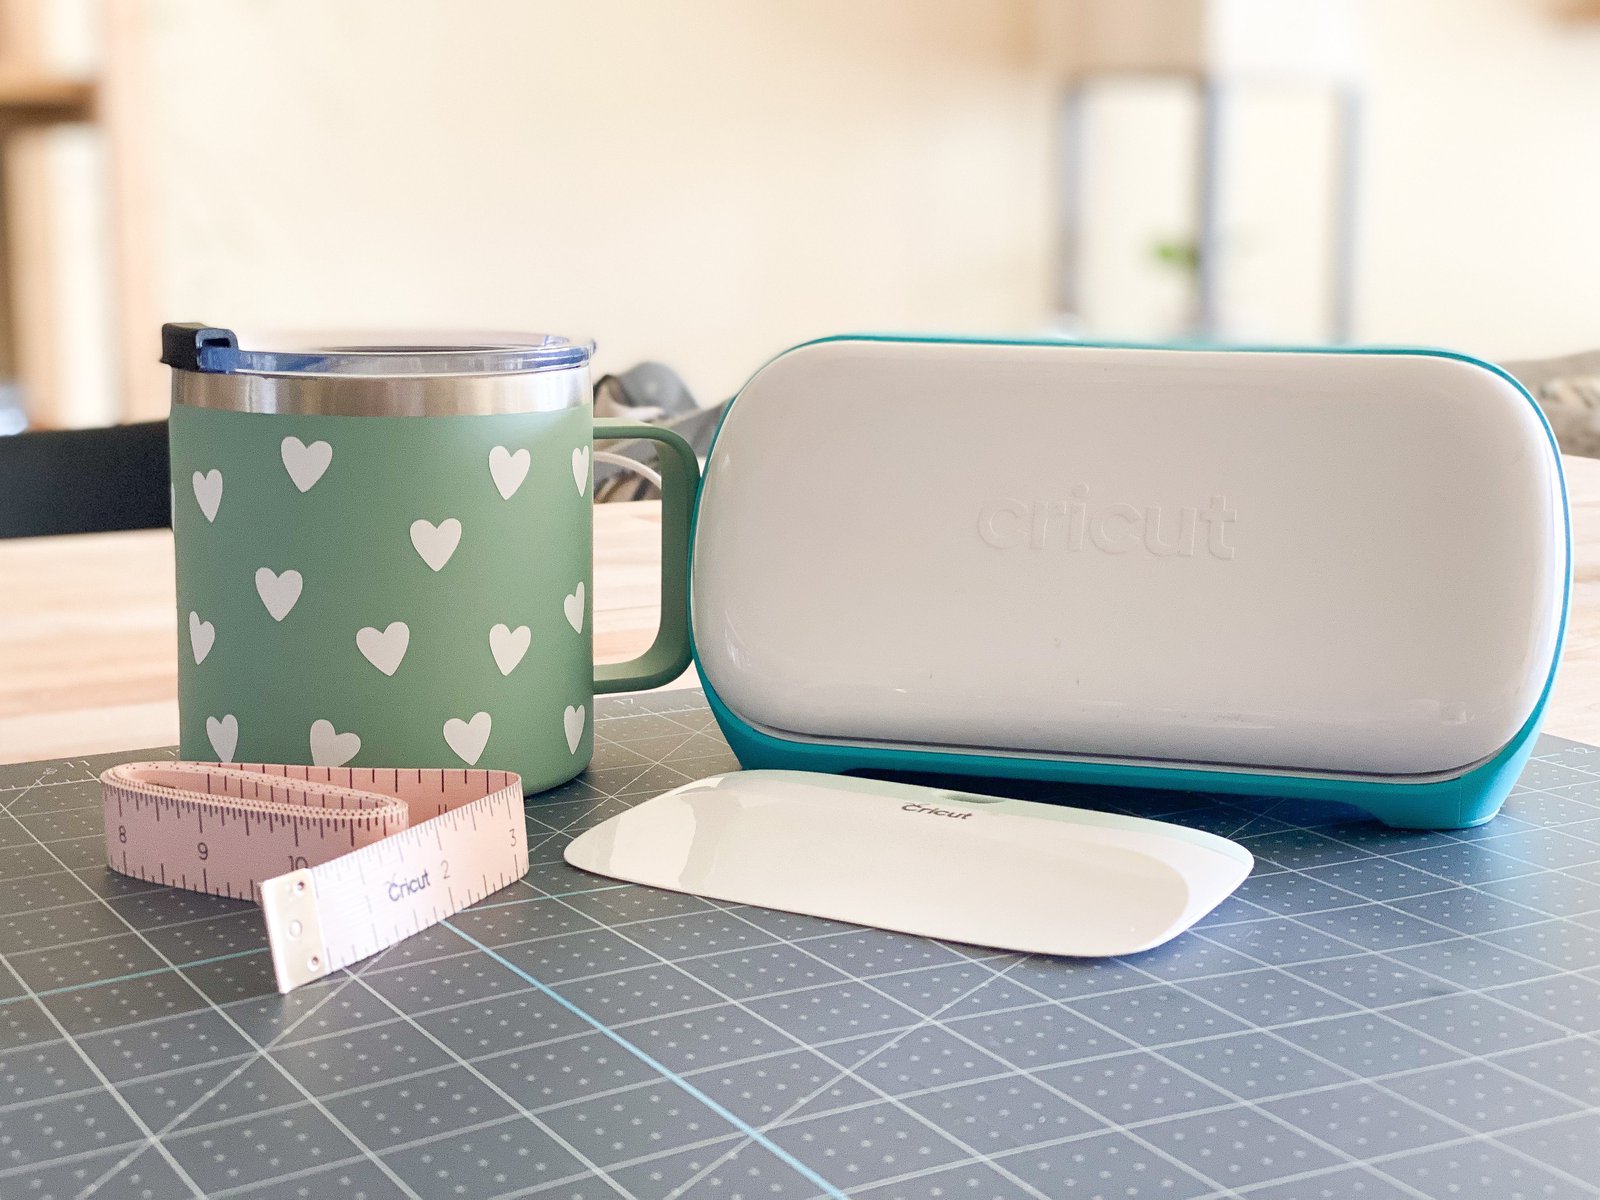

Let's make a custom coffee mug with Cricut Joy! In this project tutorial today, I'm going to be adding this heart vinyl wrap to a custom coffee mug. It's so simple but I love it so much and I'm so excited to show you how to make it.
Materials:

I started by measuring my mug with a tape measure. I wrapped the measuring tape around the mug and determined my width to be 13.5" and height 3.5". Then when I was in Design Space, I added a rectangle to the canvas in those dimensions so I knew how big to make my design. Then once I had the rectangle on the canvas, I found a heart that I liked (you can find the one I used here: #M8B28C8C) and I added a bunch of different hearts onto the template. I turned them in different directions and just kept at it until I got what I liked! Lastly, attach all of your hearts together and then hide your rectangle template. Then click on "Make It" in the top right-hand corner of Design Space and click on "On Mat".

Next, place your vinyl on a cutting mat and select your cutting setting. If you are using Smart Vinyl, you won't need to use a cutting mat. In this case, I am using regular adhesive vinyl, so I'm going to place it on a StandardGrip cutting mat (you could use a LightGrip mat as well).

Once it's finished cutting, remove your vinyl from the mat and use a weeder tool to remove the vinyl from around the hearts.

Next, apply transfer tape to the top of your vinyl. Use a scraper tool and burnish on the front and the back of the vinyl. When it's applied on well, remove the paper backing from your vinyl.

I started at one side of my mug and then centered my vinyl on the design. Then I placed the transfer tape down carefully - starting on the left and slowly making my way to the right - applying a little piece at time as I go.
Tip: Watch the video for more a more in-depth tutorial!

I hope this inspires you to customize a coffee mug of your own! I love the simplicity of this and how this project turned out. Happy crafting!
-Courteney
3 Ways to Customize Starbucks Cold Cups for Spring

Leave a comment