On Orders $49+
On Orders $49+


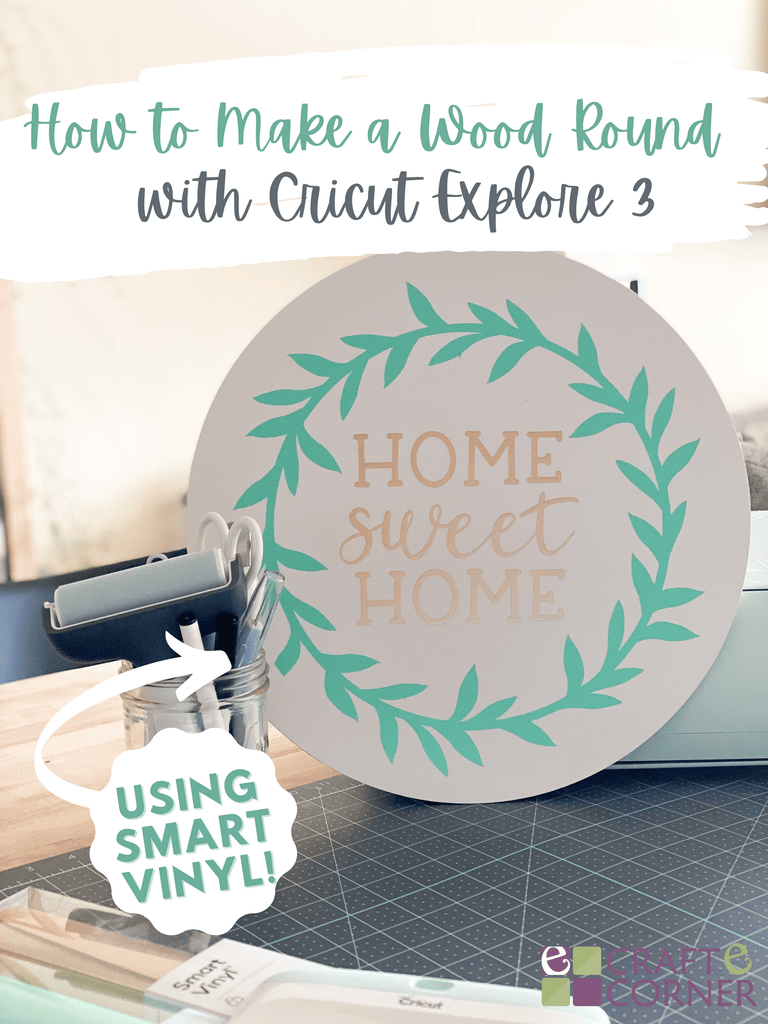
I love making projects for my house with my Cricut. It's affordable and allows you the ability to customize your projects however you want! In this tutorial today, I'm going to be creating a wood round to hang on my front door. I'll be using two colors of Smart Vinyl to create this project on my Explore 3. And since I'm using Smart Vinyl, I don't need to use a cutting mat.
Materials:
Find the video tutorial and written instructions below.


Here's a preview of what the design looks like. I started by adding a circle and adjusting the size to be 14". The circle is simply going to be a template to help me size everything — we won't actually be cutting it. I found the wreath design while searching "Wreath" in the Cricut Image Library. If you type this tag (#M1571CCE) into the search bar, the wreath will come up. Then I enlarged it to fit on my round.
Next, I added some text. I used two fonts: DTC Barn Acre and DTC Cottage Style (script font). These are both Cricut fonts. Once I had them added to the canvas, I aligned them horizontally and also distributed them evenly so it was a perfect fit. Then I welded them together and sized them inside of the wreath. If you need more help figuring out the design aspect of this, be sure to watch the video tutorial. I walk through the entire process much more in depth there!

We are going to cut our vinyl next. For this project, I am using both removable and permanent Smart Vinyl. This wasn't intentional, it's just what I had on hand. I think you could use either permanent or removable vinyl for this project!
Since we are using Smart Vinyl, we won't need to use a cutting mat. To load in your Smart Vinyl, align your vinyl up against the guides on the left, push it up against the roller bar and then click on the flashing "Load/Unload" button. Then the Cricut will pull the material through to align it and ensure we have enough material. Cut both colors of vinyl. If you're using two different kinds of vinyl like I am here, make sure you change your cutting setting between cuts.
Then when that is finished, you can weed your vinyl. Before I weeded my circle, I cut out the inside of the wreath and saved that vinyl for another project. That would've been a lot of wasted vinyl if I had weeded it!

Now we are going to apply our transfer tape on top of our vinyl. I'll start with the wreath first, that way I can easily line up the champagne vinyl in the center of the wreath after. When I'm applying transfer tape, I typically like to start at one end of the material, apply a small portion and then work my way over. In this example, I started by applying the vinyl on the left and then moving towards the right. Once you've got it applied on, use a scraper tool (I love the XL Scraper!) to burnish the tape well on the front and back side of your vinyl. Once it's adhered well, carefully remove the paper backing from the vinyl.

Next, apply your vinyl to the sign. Like I just mentioned, I'm going to do the wreath first and then the words. Once you've got it applied on your sign, use your scraper tool to push down really well and then carefully remove the transfer tape. If you find any air bubbles, make sure to push those out with your fingers or scraper tool.

And just like that, we're all finished! I am going to finish off my project by adding some burlap or ribbon on the top so I can hang this from my front door. I love how this turned out and I love even more not having to use a cutting mat thanks to the Smart Vinyl! How would you customize this project? Happy crafting, friends!
-Courteney
Hello Summer Bassword Sign with Cricut Maker 3
Leave a comment