So Halloween is next week you say? Well! Then it's the procrastinators perfect time for pumpkin carving! What? No time for that mess? No problem! Here are two super cute ways to pull together some pumpkin decor without the mess and in a fraction of the time.
Materials:
- Pumpkins (Real or Faux)
- Black Vinyl (I used Cricut Removable Vinyl)
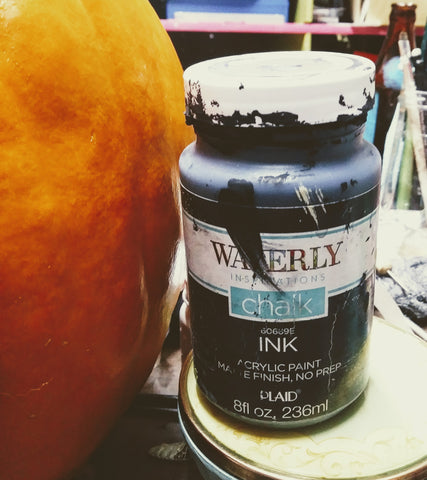
- Black Chalk or Acrylic Paint (I used Waverly brand "Ink" from Walmart)
- Stencil or Paint Brush
Directions:
First, I found these adorable faces on design space, but any jack o' lantern image will do. I used this image from the Pumpkin Carvings Cartridge:
Jack-O-Lantern Mad Face - #M3D868
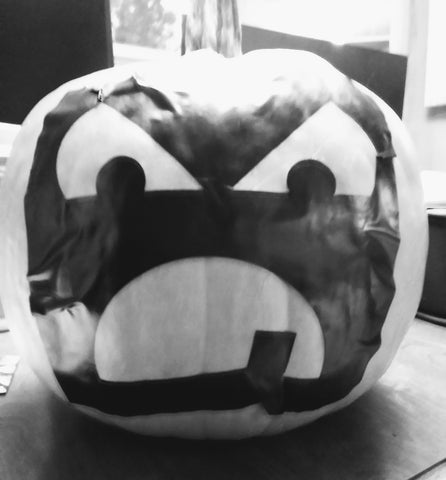
Then I cut it out with my Cricut. Now, I have both a decal and a stencil. The design is simple enough that there is not much weeding or complicated shapes involved. I took the eyes and mouth and rearranged them on my pumpkin, making sure that I wiped down the surface with a rag first. I didn't want twins so I flipped them to create a slightly different face. This also worked out well because one of the pumpkins was much shorter than the other and I could scrunch the face to fit.
Now I have this "stencil" left. I love the fact that you really get to utilize all of the vinyl. I placed this on my pumpkin and tried to smooth everything to a corner so the wrinkles wouldn't affect the design. Just try to make it work with the shape of your pumpkin the best you can. It does not need to be perfect.
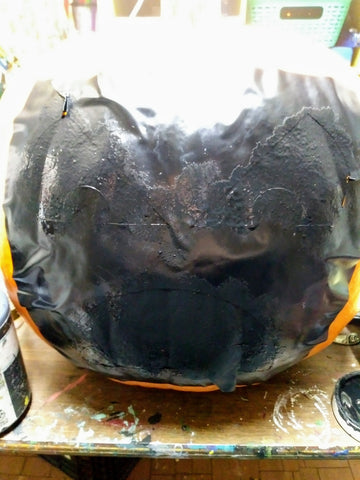
Once you are confident that your vinyl on the way you want it, you can go ahead and start painting. I did two coats letting the paint dry for about an hour in between, but if your paint looks dry sooner, go ahead and apply your second layer.
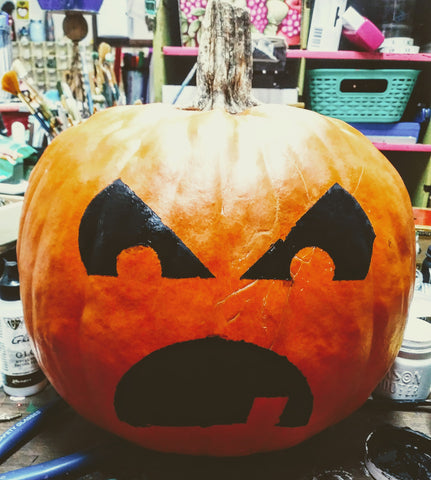
Let your second layer dry and peel your vinyl! So cute! Also, this would be a good time to touch up any edges or paint smudges. You can use some q-tips or a fine tip brush and just crisp the edges if you so desire.
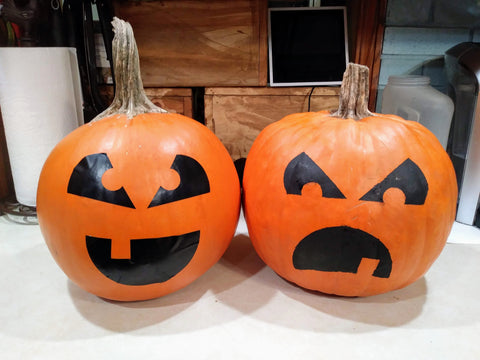
Here they are together!
I think they turned out nice for an evening project without the mess of carving!
We would love to see some of your examples too! Share them with us in our Facebook group! Happy Halloween everyone!
Related Posts
DIY Outdoor Fall Decor with Cricut Vinyl
Adorable Halloween Black Cat Candy Huggers
5 DIY Halloween Decorations with Cricut


Leave a comment