
Free Shipping
On Orders $49+
On Orders $49+
Have you heard about Print Then Cut? Print Then Cut is process in Cricut Design Space that allows you to print an image on your home printer and then use your Cricut Explore or Maker series cutting machine to cut it out. Print Then Cut works with images printed on a wide variety of white or plain light-colored paper products, including Cricut Sticker Paper, as well as Cricut Printable Vinyl.
See Print Then Cut in action in this short 30 second video.
Photos are a popular option for use with this Design Space feature. Use a photo of each kid or grandkid to make labels for your mudroom. Create refrigerator magnets from photos of each family member. Make stickers for meme-style greeting cards featuring your pet.
Browse and select from your computer a photo or drawing or scan of your original art.

If needed, select and remove the background.

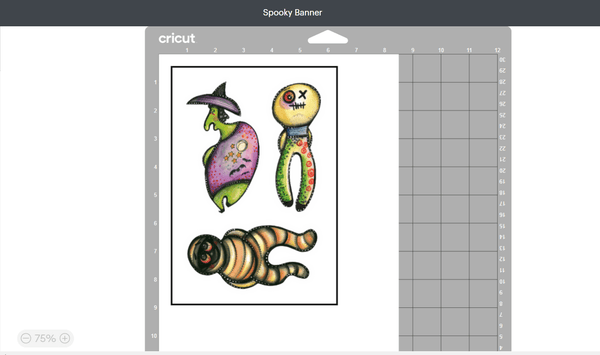
Upload the image as a Print Then Cut Image, and not a Cut Image.

Add the image to your canvas. Note the operation type will be Print Then Cut.

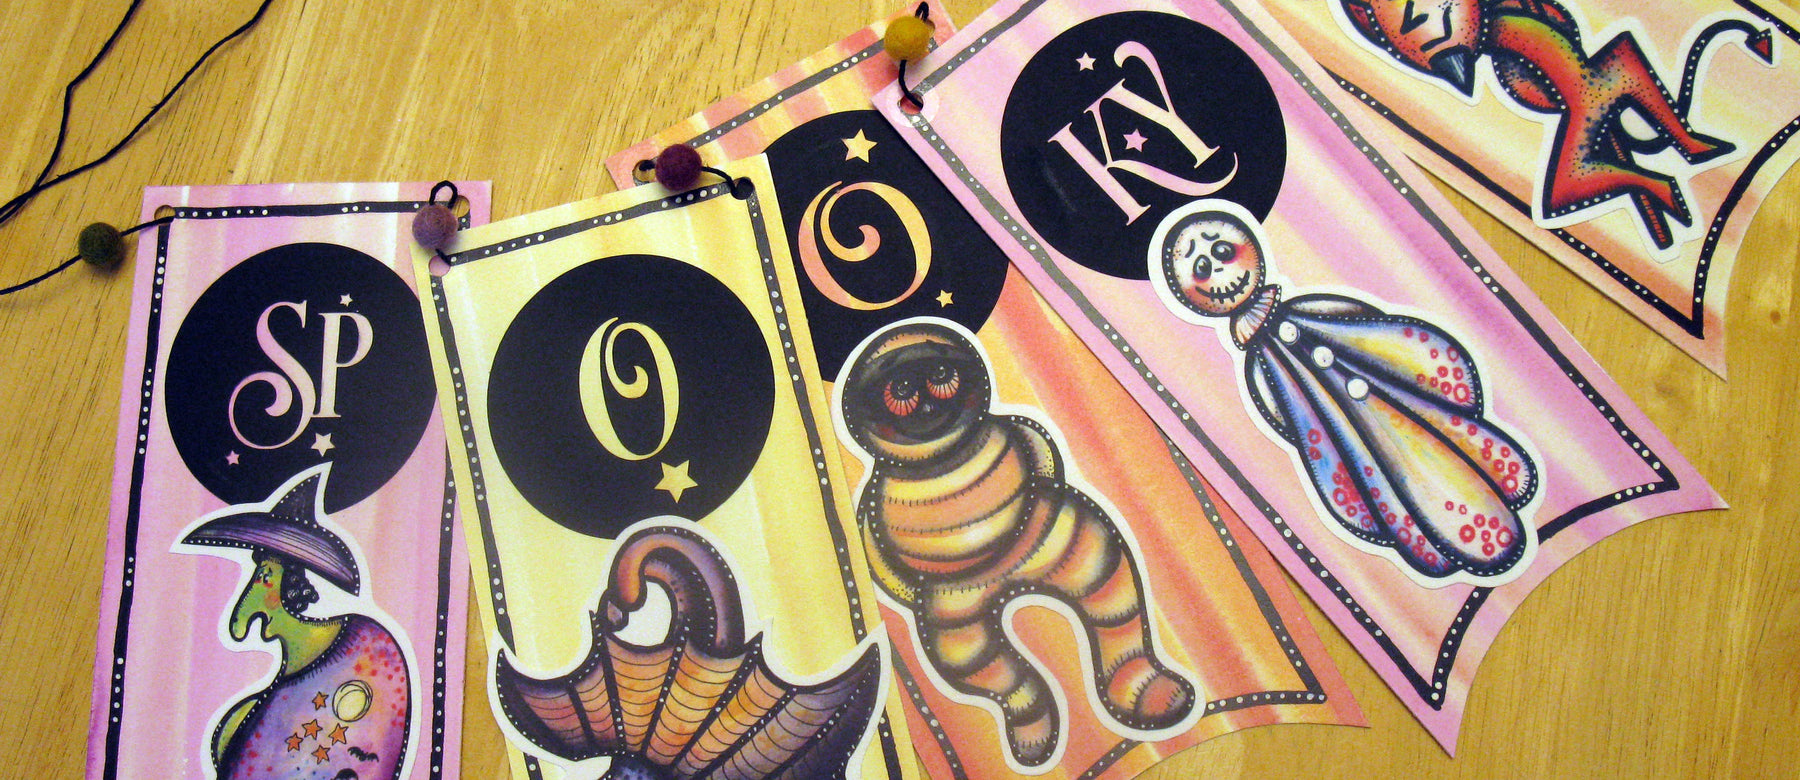
But I really love using Print Then Cut as a means for re-using and extending my own art without any more work! Create an image once, and then use it for any number of cute gift or décor projects. Think stickers on birthday cards. Treat bags for a kids party. Or this (not so) Spooky Halloween Banner:)


The files for this project include 5 Halloween character illustrations created using watercolor paint and colored pencils on watercolor paper plus 4 hand-painted banner pennant backgrounds. Upload the images to Cricut Design Space as shown above and follow the prompts to cut your banner pieces using your Cricut Machine. Or cut the banner by hand using a pair of scissors.
One of the limitations to cutting the images with your Cricut is that you are limited to a maximum Print Then Cut image size of 9.25 x 6.75 inches.
You'll need to print the banner pennants on heavy white cardstock. Two pennants will fit on one sheet of letter size cardstock in their original size of approximately 9 x 4 inches. This is the placement I would recommend for each pennant if you are hand cutting. If you are machine cutting, you can opt to reduce the size of the pennants to fit within the size constraints noted above - or cut only one pennant from each sheet of cardstock.

Size the Halloween figures at about 5 inches for the largest dimension to fit on a 9x4 inch pennant. You can print the figures on the same cardstock used for the pennant, or on white sticker paper like I did.
Create text for your banner using your favorite font. I'm using the "Spooky!" text design (#M26D561BB) from Cricut Access. I sliced the design into smaller letter groups and then sliced the resulting letter groups from black cardstock circles sized at 3 inches in diameter.

Adhere a text circle near the top center of each pennant. Adhere the Halloween characters at the bottom of each pennant. Some characters may overhang the pennant background as shown.

Use a hole punch to make 2 holes at the top right and top left corners of the banner pennants. Reinforce the holes with clear tape or self-adhesive hole reinforcement stickers if desired. Thread cord or ribbon through the holes to hang the banner. Add beads, pom poms, ribbons or any other embellishments to the cord if desired.

You can read more about how I create painted figures for sticker art in Make Cricut Print then Cut Stickers with Your Own Artwork on our blog.

And check out these other projects for more Print Then Cut ideas. Happy making!


Leave a comment