
Free Shipping
On Orders $49+
On Orders $49+
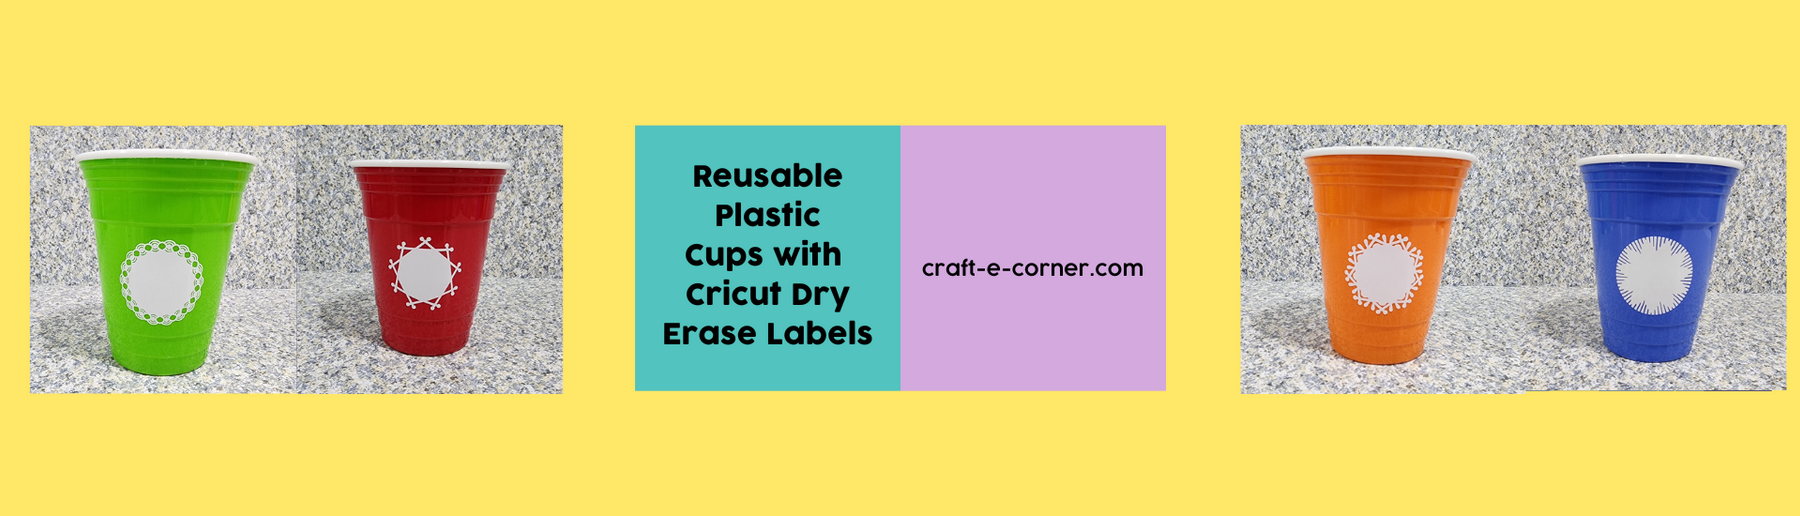

Have you ever used plastic cups labeled with a permanent marker when entertaining? I came up with this project when I found some colorful reusable plastic cups. They look just like the disposable ones you can buy, but they are hard plastic.

I wanted to be able to personalize them over and over, so I used Cricut Dry Erase Vinyl to cut out labels. I chose a different design for each label to make it more fun. I weeded them using reverse weeding, as some of the labels had intricate designs.
Materials:
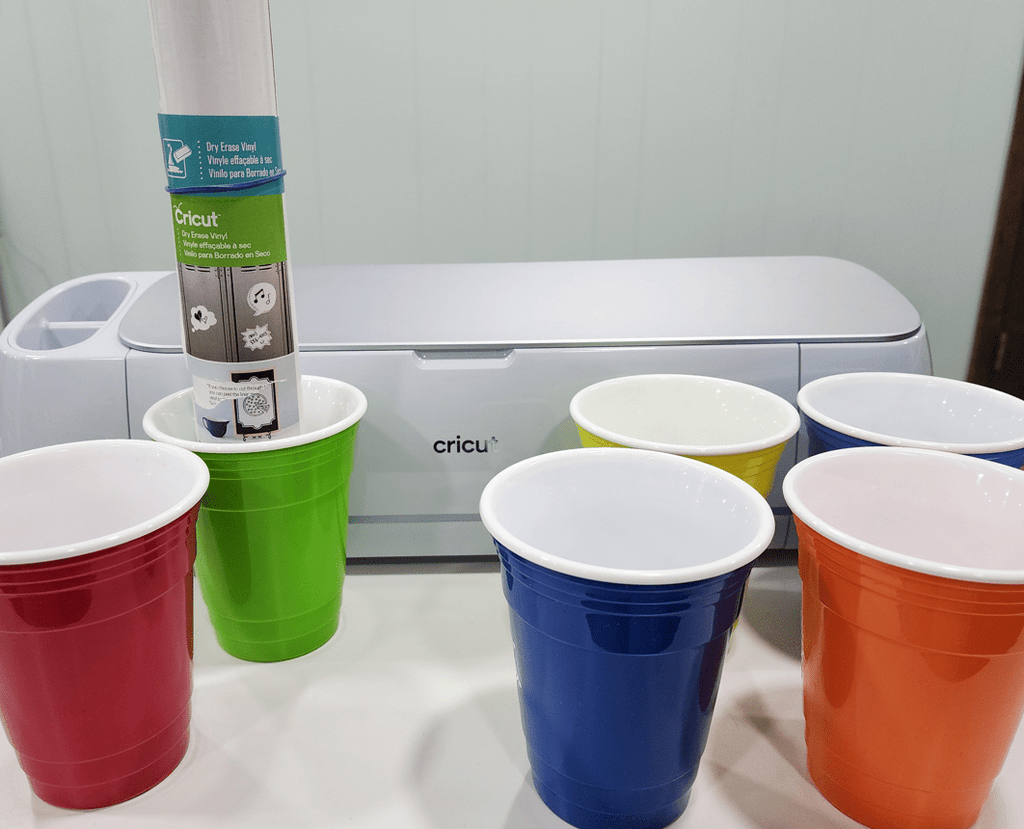
Reusable plastic cups
Cricut Dry Erase Vinyl
Cricut machine
Transfer tape
Label designs
Dry Erase Markers
All the label designs I used were found in Design Space Images. After adding each one to my canvas, I sized them all the same. The dimensions were close to 1.85 inches square for each. I found out later that I could have made them a bit bigger, perhaps 2 inches each.

Once they were ready to cut out, I grouped and attached the labels and placed the dry erase vinyl on my Standard Grip cutting mat, using a brayer to smooth it out. The shiny side of the vinyl was facing up.

After my Cricut Maker 3 cut out all the labels, I used the reverse weeding method to remove all the extra vinyl. With reverse weeding, you adhere the transfer tape to your design before weeding it.

In this case, I cut apart the individual labels after the transfer tape was stuck to them.

First, I removed the vinyl backing from each piece, leaving the transfer tape with the vinyl design attached to it. A few pieces of vinyl stuck to the vinyl backing, but luckily those pieces needed to be removed anyway.

Next, I began pulling the unneeded pieces of vinyl off the transfer tape for each label. Here is one design with the outer vinyl and some of the inner pieces removed.

And here it is all weeded, already on the transfer tape and ready to be applied to a cup.

I completed this process for the rest of the labels until they were all weeded and ready to apply. Below, you can see a different type of label being weeded. This one had tiny cuts all around the edge.

Here are all six of my label designs weeded and ready to go.

Now it was time to adhere them all to the cups. I centered each label on a cup as evenly as possible and smoothed out the transfer tape.

After using my scraper to get the label adhered well, I carefully peeled back the transfer tape and pulled it off.

Then I continued applying the rest of the labels to the other cups. Here they are all done.

I went ahead and wrote my name on one of the labels with a dry erase marker because, of course, I had to try it out. The marker wiped off easily afterwards.

I can't wait to use these cups for our next gathering or when my grandchildren come over. They will probably enjoy picking their favorite cup and writing their name on it. I just have to remember to give them dry erase markers instead of permanent ones.
What would you put dry erase vinyl on? You can add it to any smooth surface, such as glass, ceramic, metal or even walls. It is great for temporary message boards or banners. How about making your own dry erase board? You are only limited by your own imagination.
Sometimes all you need is a little splash of color.
Leslie
Beginner Cricut Project - Glass Jar with Wipe-Off Labels
Leave a comment