
Free Shipping
On Orders $49+
On Orders $49+
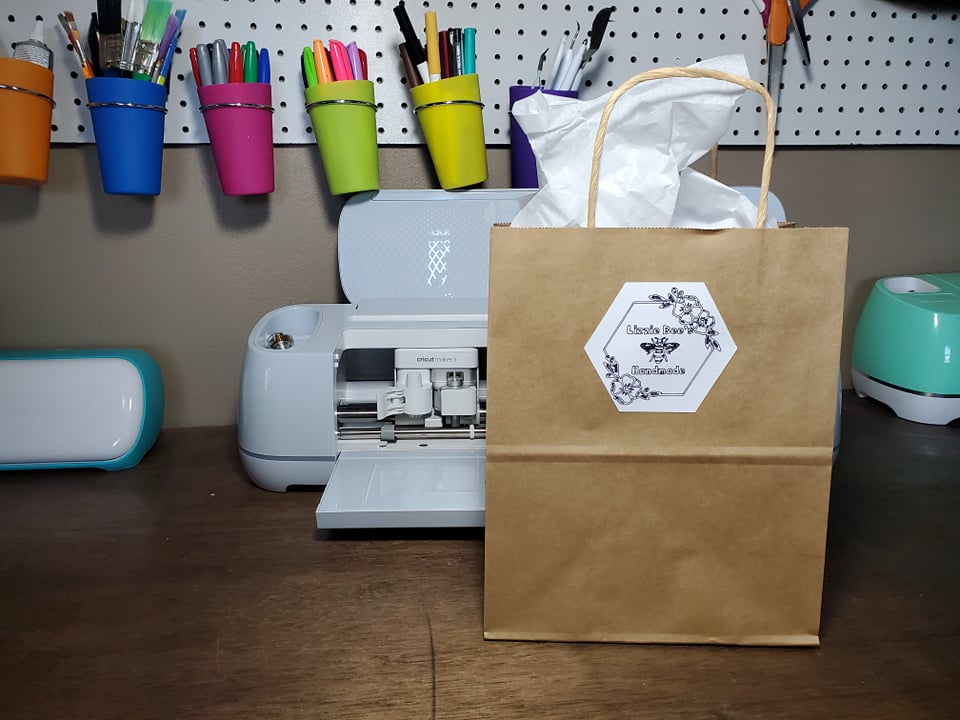

I just did my very first craft fair a couple weekends ago. It was just a fun learning experience. But I wanted to personalize the bags that I was using for when someone purchased something from me. I used the Cricut Smart Sticker Cardstock! I didn’t have to worry about putting it on a mat or using tape to adhere it to the bag. So convenient!
Materials:
Cricut Maker 3 or Explore 3
Smart Sticker Cardstock
Cricut Pen
Bags
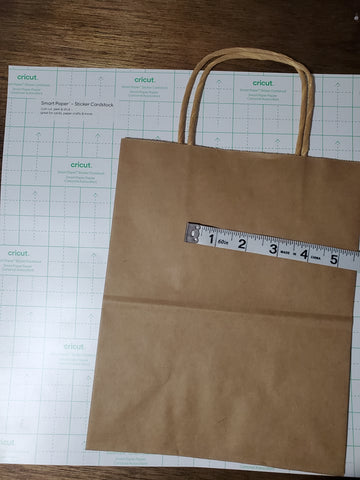
I first measured the space on the bag that I was wanting to put my logo.

I inserted a hexagon and sized that to the size I wanted my sticker on the bag. I then uploaded my logo/design into Design Space. I changed the operation to Pen so that the Cricut knew to draw and not cut. You will notice that my design is just outlined now. The Cricut can not fill this in as it is a cutting machine and can only recognize outlines. If I wanted to I could fill in by hand but I actually liked the look of the outline so I left it as is.

I placed my logo inside the hexagon. When I was happy with the placement of the logo, I attached the whole thing together.

I then clicked make it. It will ask you how you will load the material for this project. I selected ‘Without Mat.’

On the next screen it will show you how it will look while cutting/drawing.
After clicking continue, it had me select the material. Since I selected Without Mat earlier it only gives me the option to select a Smart Material.
I selected Smart Sticker Cardstock.
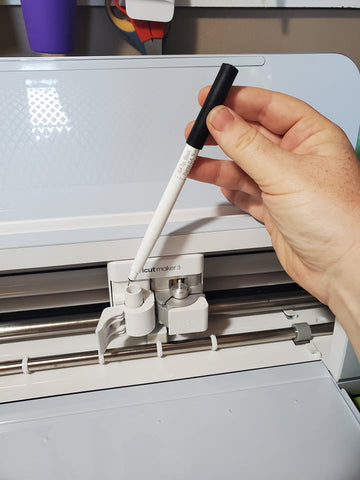

Then It told me to insert the black pen into Clamp A. You will hear a little click when it is fully inserted and then close the clamp.

When the load button was flashing I nudged the sticker cardstock under the rollers and pressed the load button. It will grab it and check to make sure there is enough material.

Then the Go button flashed. I pressed that and it began to draw. It then cut the outlining hexagon after. When it was done it allowed me to unload the project.

All I had to do then was to peel the hexagon right off the paper just like a sticker.

I was able to just place it right onto my bag. No tape necessary!

This really gave my customers a personalized touch to their buying experience. It also helps with them finding me on social media. Win-Win!
*Be fearless in the pursuit of what sets your soul on fire.
~Beth
How to Use Cricut Smart Paper Sticker Cardstock

Leave a comment