
Free Shipping
On Orders $49+
On Orders $49+


Looking for a creative way to showcase your vacation memories? Look no further than this DIY beach scrapbook album. Using a combination of cork, chipboard, and vinyl stickers made with a Cricut machine, you can create a unique and personalized scrapbook that will make your photos stand out. With a variety of designs available through Cricut Access, you can easily customize the book to your liking, giving your vacation memories the royal treatment they deserve. Follow these simple steps to make your own vacation scrapbook and let your creativity shine!
Materials:
Directions:
Create a base for your scrapbook pages. I used some heavy chipboard that I had on hand and cut it to 6×12 inches. I like the long narrow rectangle, but you could choose any shape, or even cut a more complex or irregular shape using a Cricut Maker. My finished scrapbook has 2 covers and 4 interior pages and needed a total of 6 chipboard pieces. Cut whatever number of pieces that you need for the size scrapbook you’d like to make.
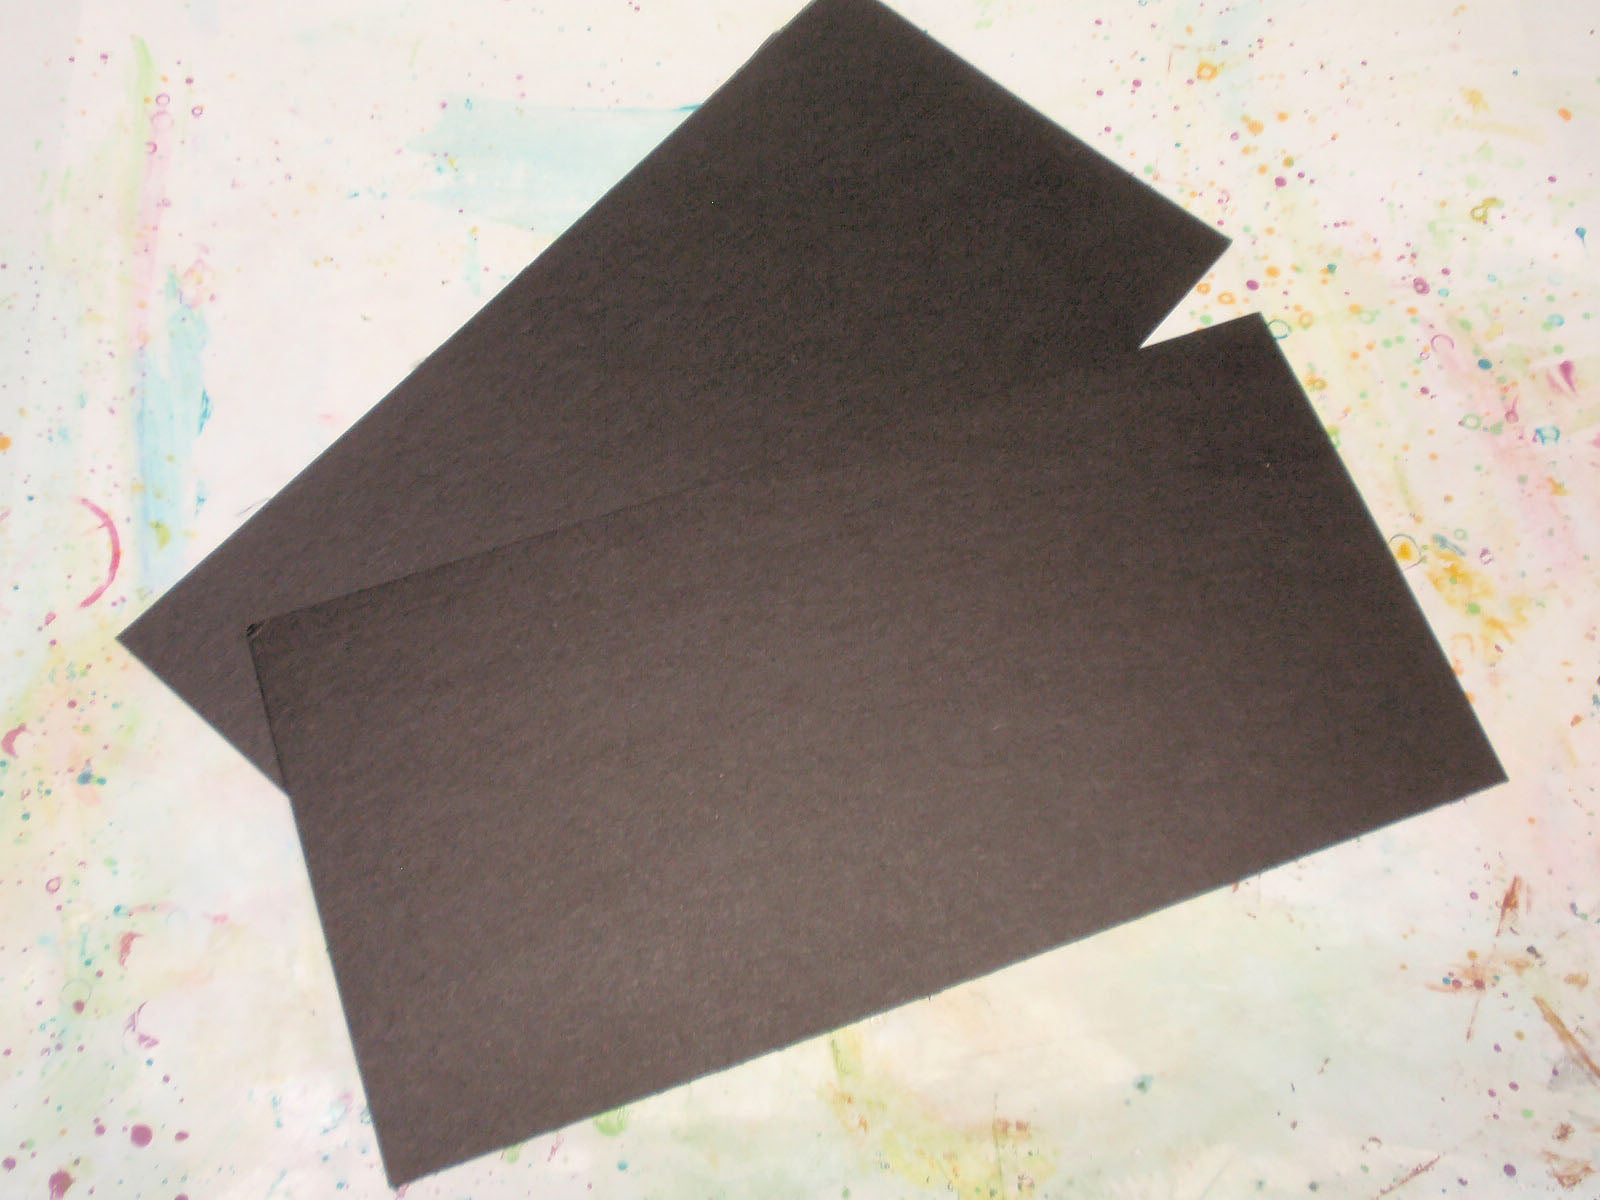
Cut a thin sheet of self-adhesive cork into two 6×12-inch pieces and apply each piece to a piece of chipboard. These will serve at the front and back covers of your book. Apply one or two coats of varnish in your choice of finish to the cork board and allow to dry. The varnish will help to protect the cork as well as provide a slicker surface for the vinyl to adhere.

Create a design for your cover in Cricut Design Space. Cut the design from vinyl in colors of your choice. Weed the design, removing the unwanted pieces, and apply the vinyl to the cork front cover. Simple shapes like these waves act like large stickers and can be easily applied by hand. Use transfer tape to apply the lettering, and burnish well to ensure good adhesion on the cork.

Create designs for additional stickers for the interior of your scrapbook in Cricut Design Space. These below combine several images available from Cricut Access and welded to make a something new. Cut your stickers from vinyl in your choice of color.

Gather scrapbook papers of your choice and cut to the size of your pages. Adhere to the uncovered chipboard using rubber cement or paper adhesive of choice.

Apply your vinyl stickers to the pages in your book. Like the cover, simple vinyl stickers can be applied by hand. Use a ruler and transfer tape to help apply more complex shapes with uniform alignment across all the pages of your book.


I also cut some corners from gold metallic vinyl to make faux metal corners on my scrapbook pages.


Punch 2 or 3 holes in the end of each page and insert a binder ring to bind your scrapbook. Now you’re ready for photos! Pick your favorites and adhere to your interior pages. Add additional embellishments like stickers, ribbons, buttons, etc. to personalize your book.


Transform a Simple Wood Frame with Patina Paint and Yarn

Leave a comment